
Introduction
Sprouting chia seeds is a simple yet transformative process that enhances their digestibility and nutrient absorption, unlocking even more of their inherent goodness.

This article serves as your comprehensive guide to mastering the art of sprouting chia seeds in just 7 easy steps. Whether you’re a seasoned sprouter or a beginner looking to explore a new culinary adventure, these steps will demystify the process and empower you to enjoy the maximum benefits of chia seeds.

Step 1: Gather Your Materials
Before you begin the sprouting process, it’s essential to gather all the necessary materials. Here’s what you’ll need:
- Chia Seeds: Choose high-quality chia seeds from a reputable source. Organic seeds are often preferred, as they are free from pesticides and other chemicals.
- Glass Jar or Container: Opt for a transparent glass jar or container with a wide mouth. This will allow you to observe the sprouting progress and ensure proper ventilation.
- Water: Use clean, filtered water to soak and rinse the chia seeds. The quality of water directly affects the overall quality of your sprouts.
- Breathable Cover: You’ll need a cover that allows air circulation while preventing debris or insects from entering the jar. A fine mesh cloth or cheesecloth secured with a rubber band works well.
With these materials in hand, you’re ready to embark on your chia seed sprouting journey.

Where to Buy Chia Seeds
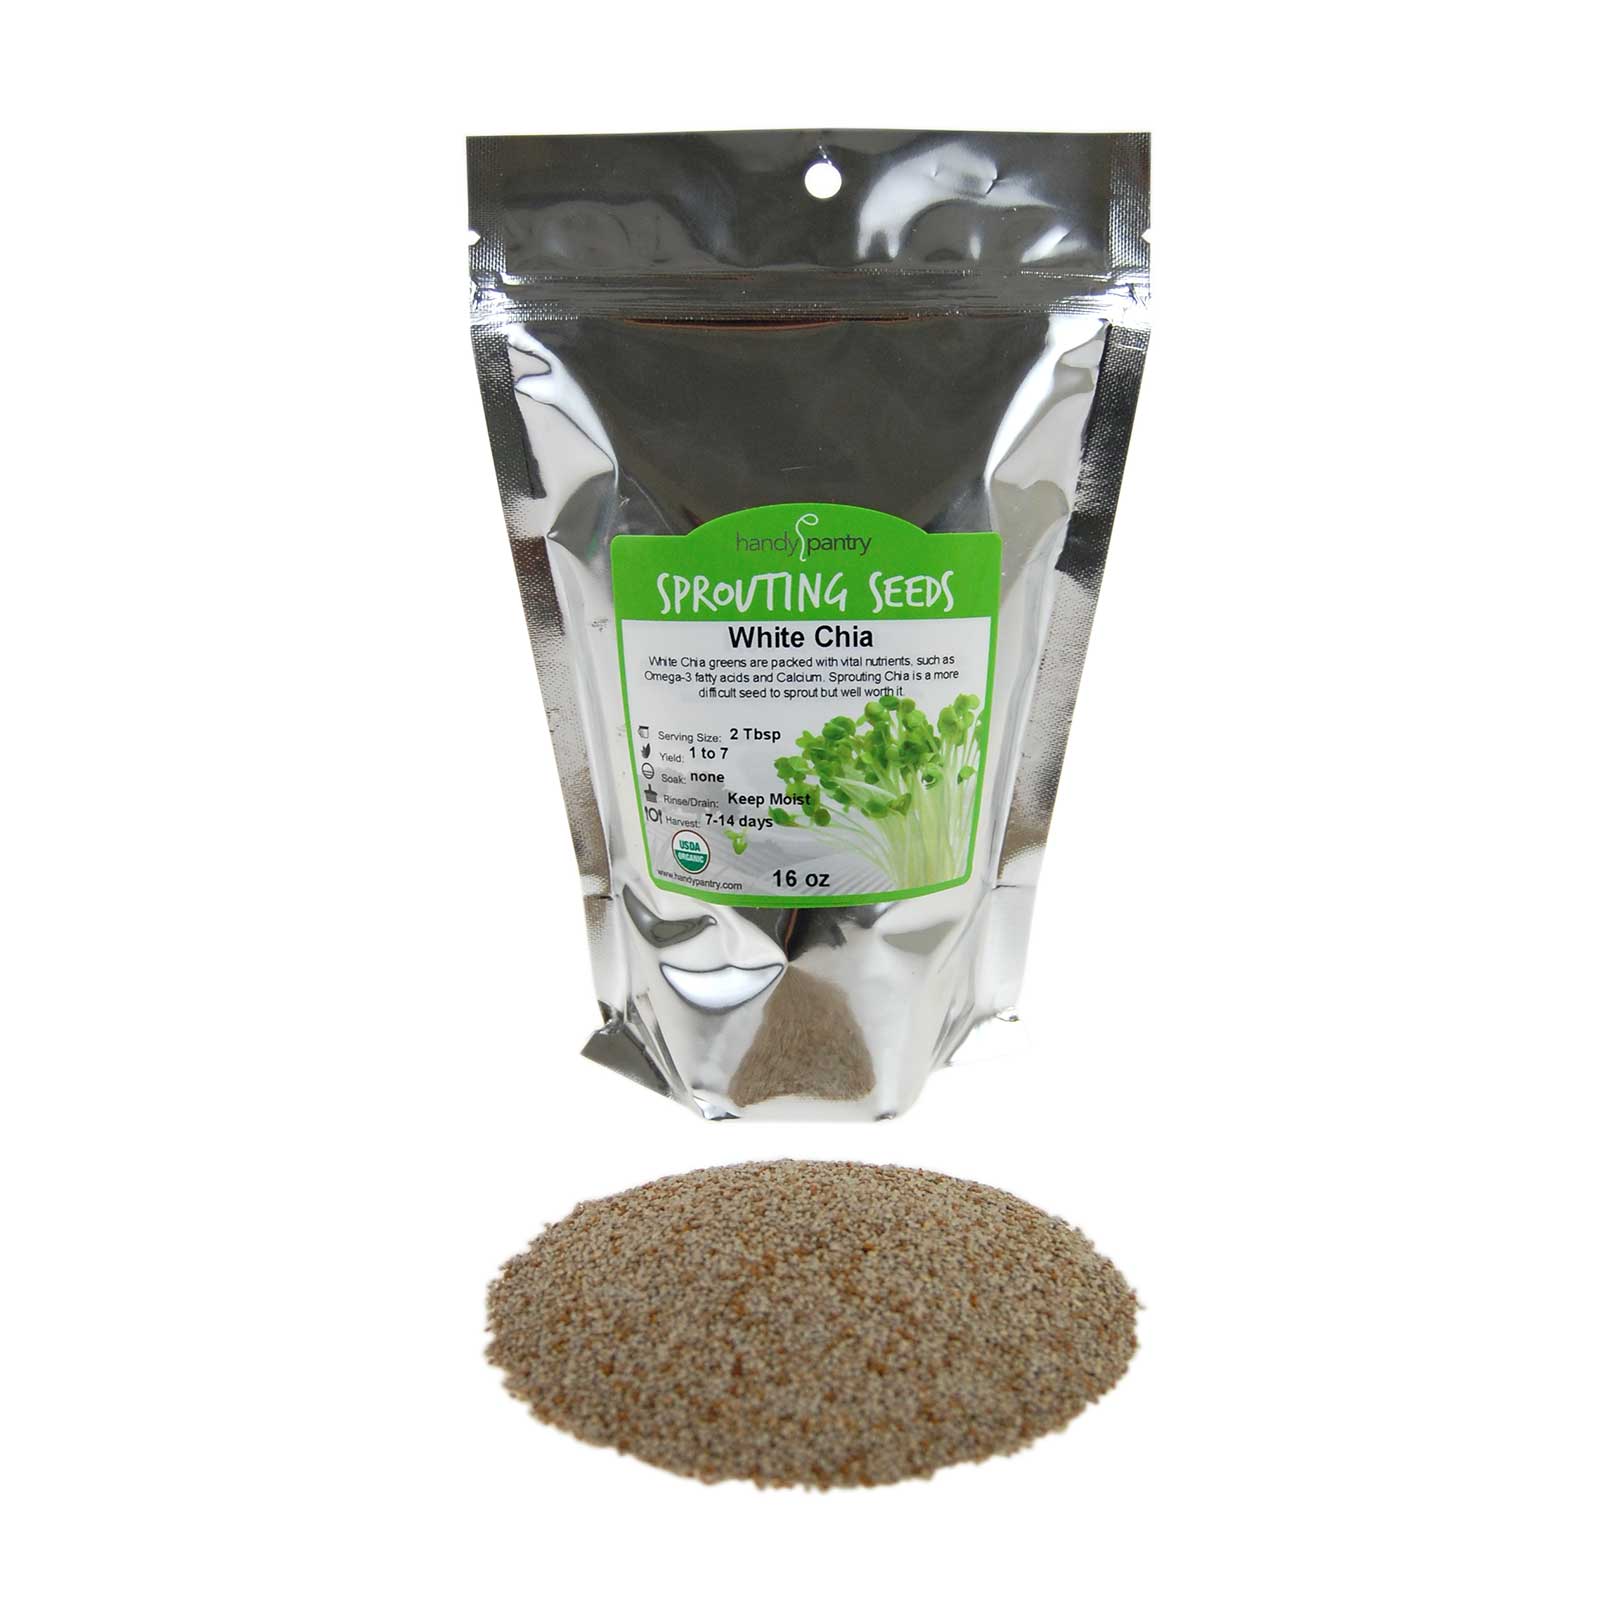
White Chia Sprouting Seeds. High germination rate. Great for chia pet refills, microgre… [More]
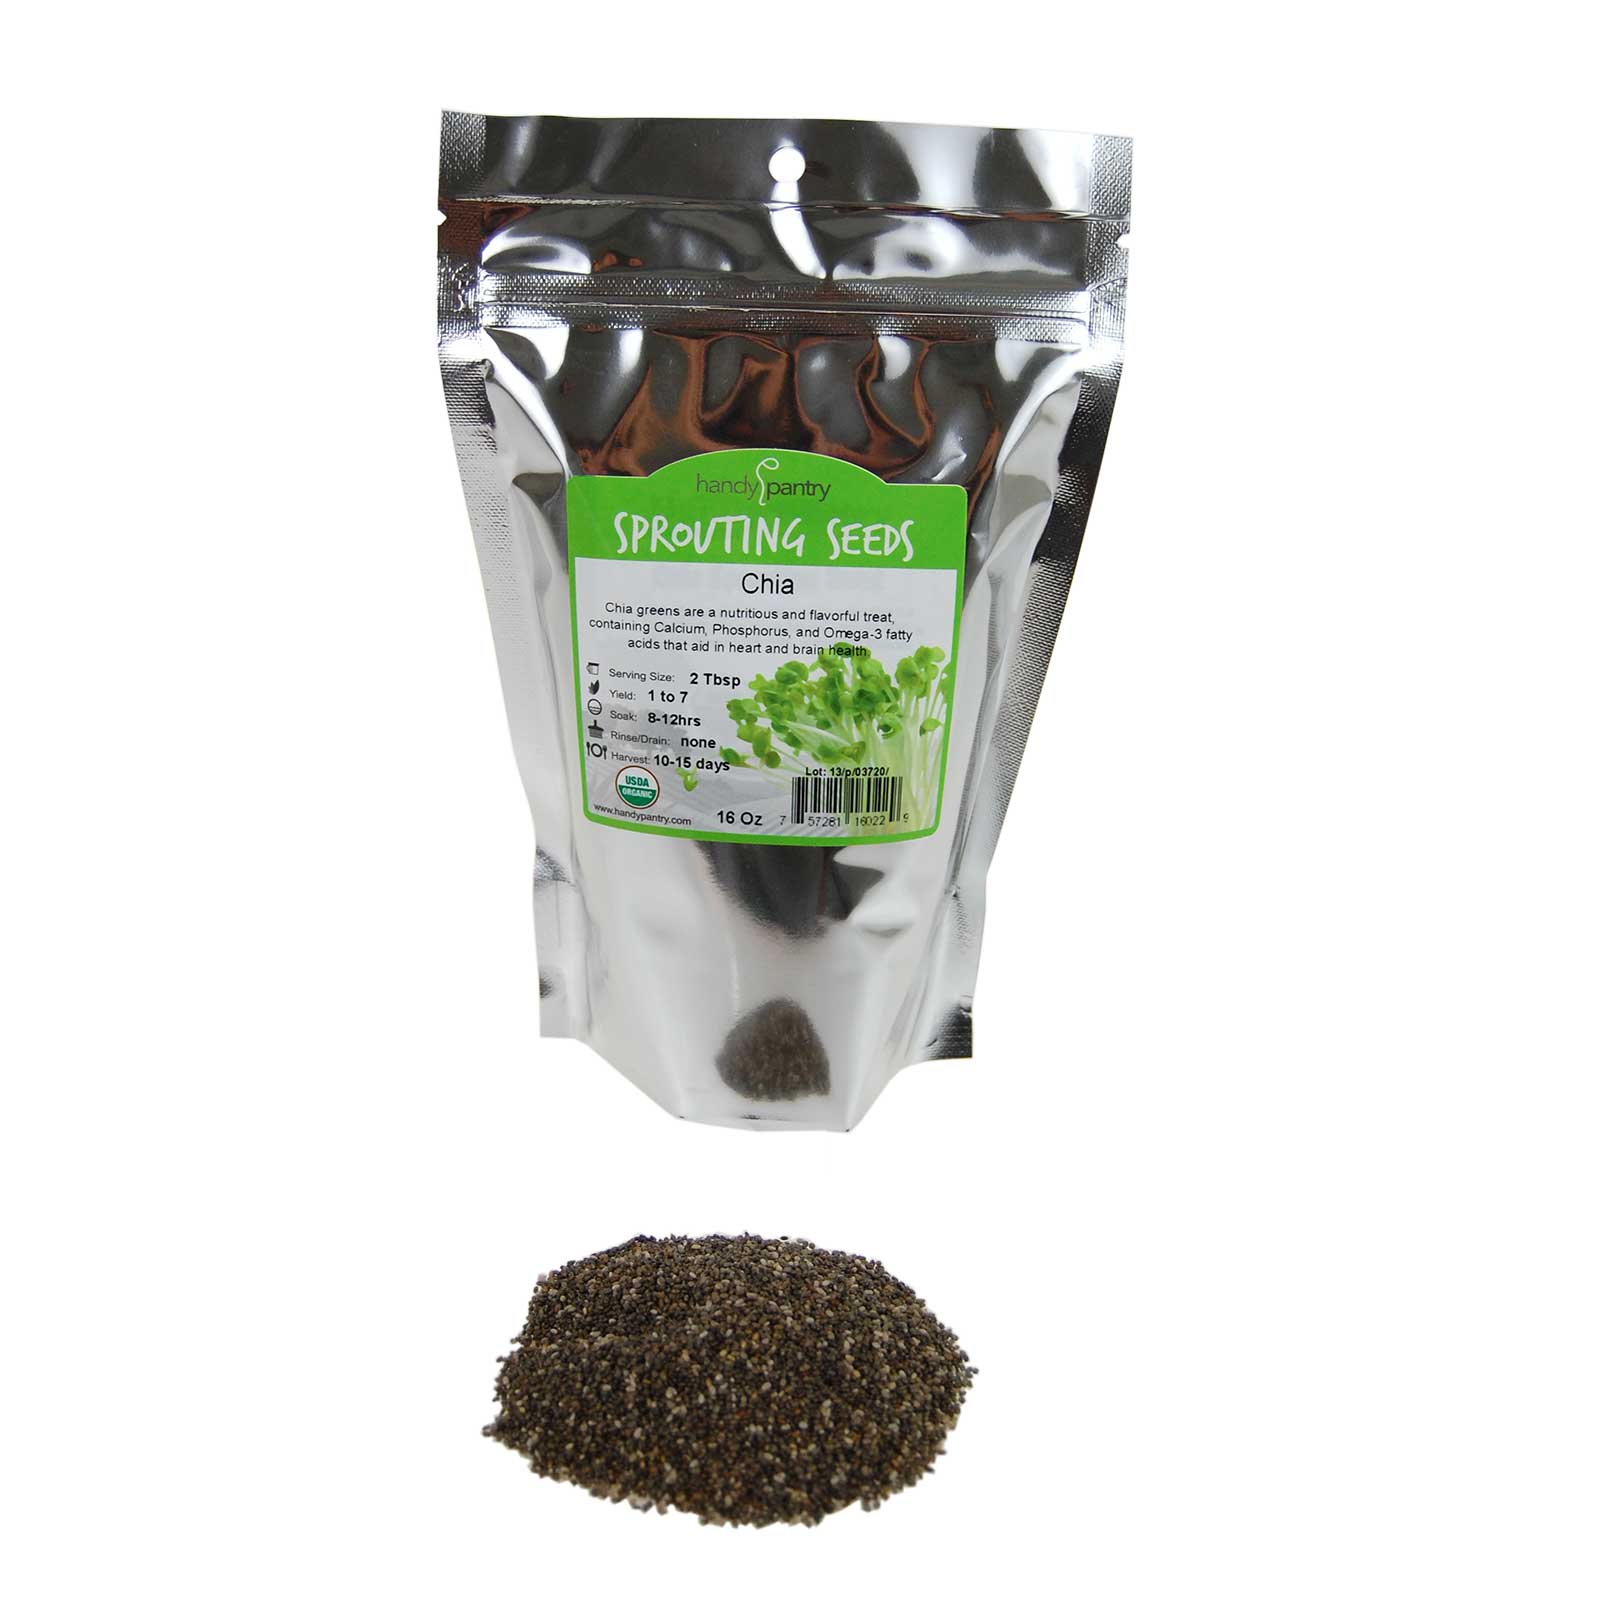
Black Chia Sprouting Seeds. High germination rate. Great for chia pet refills, microgre… [More]
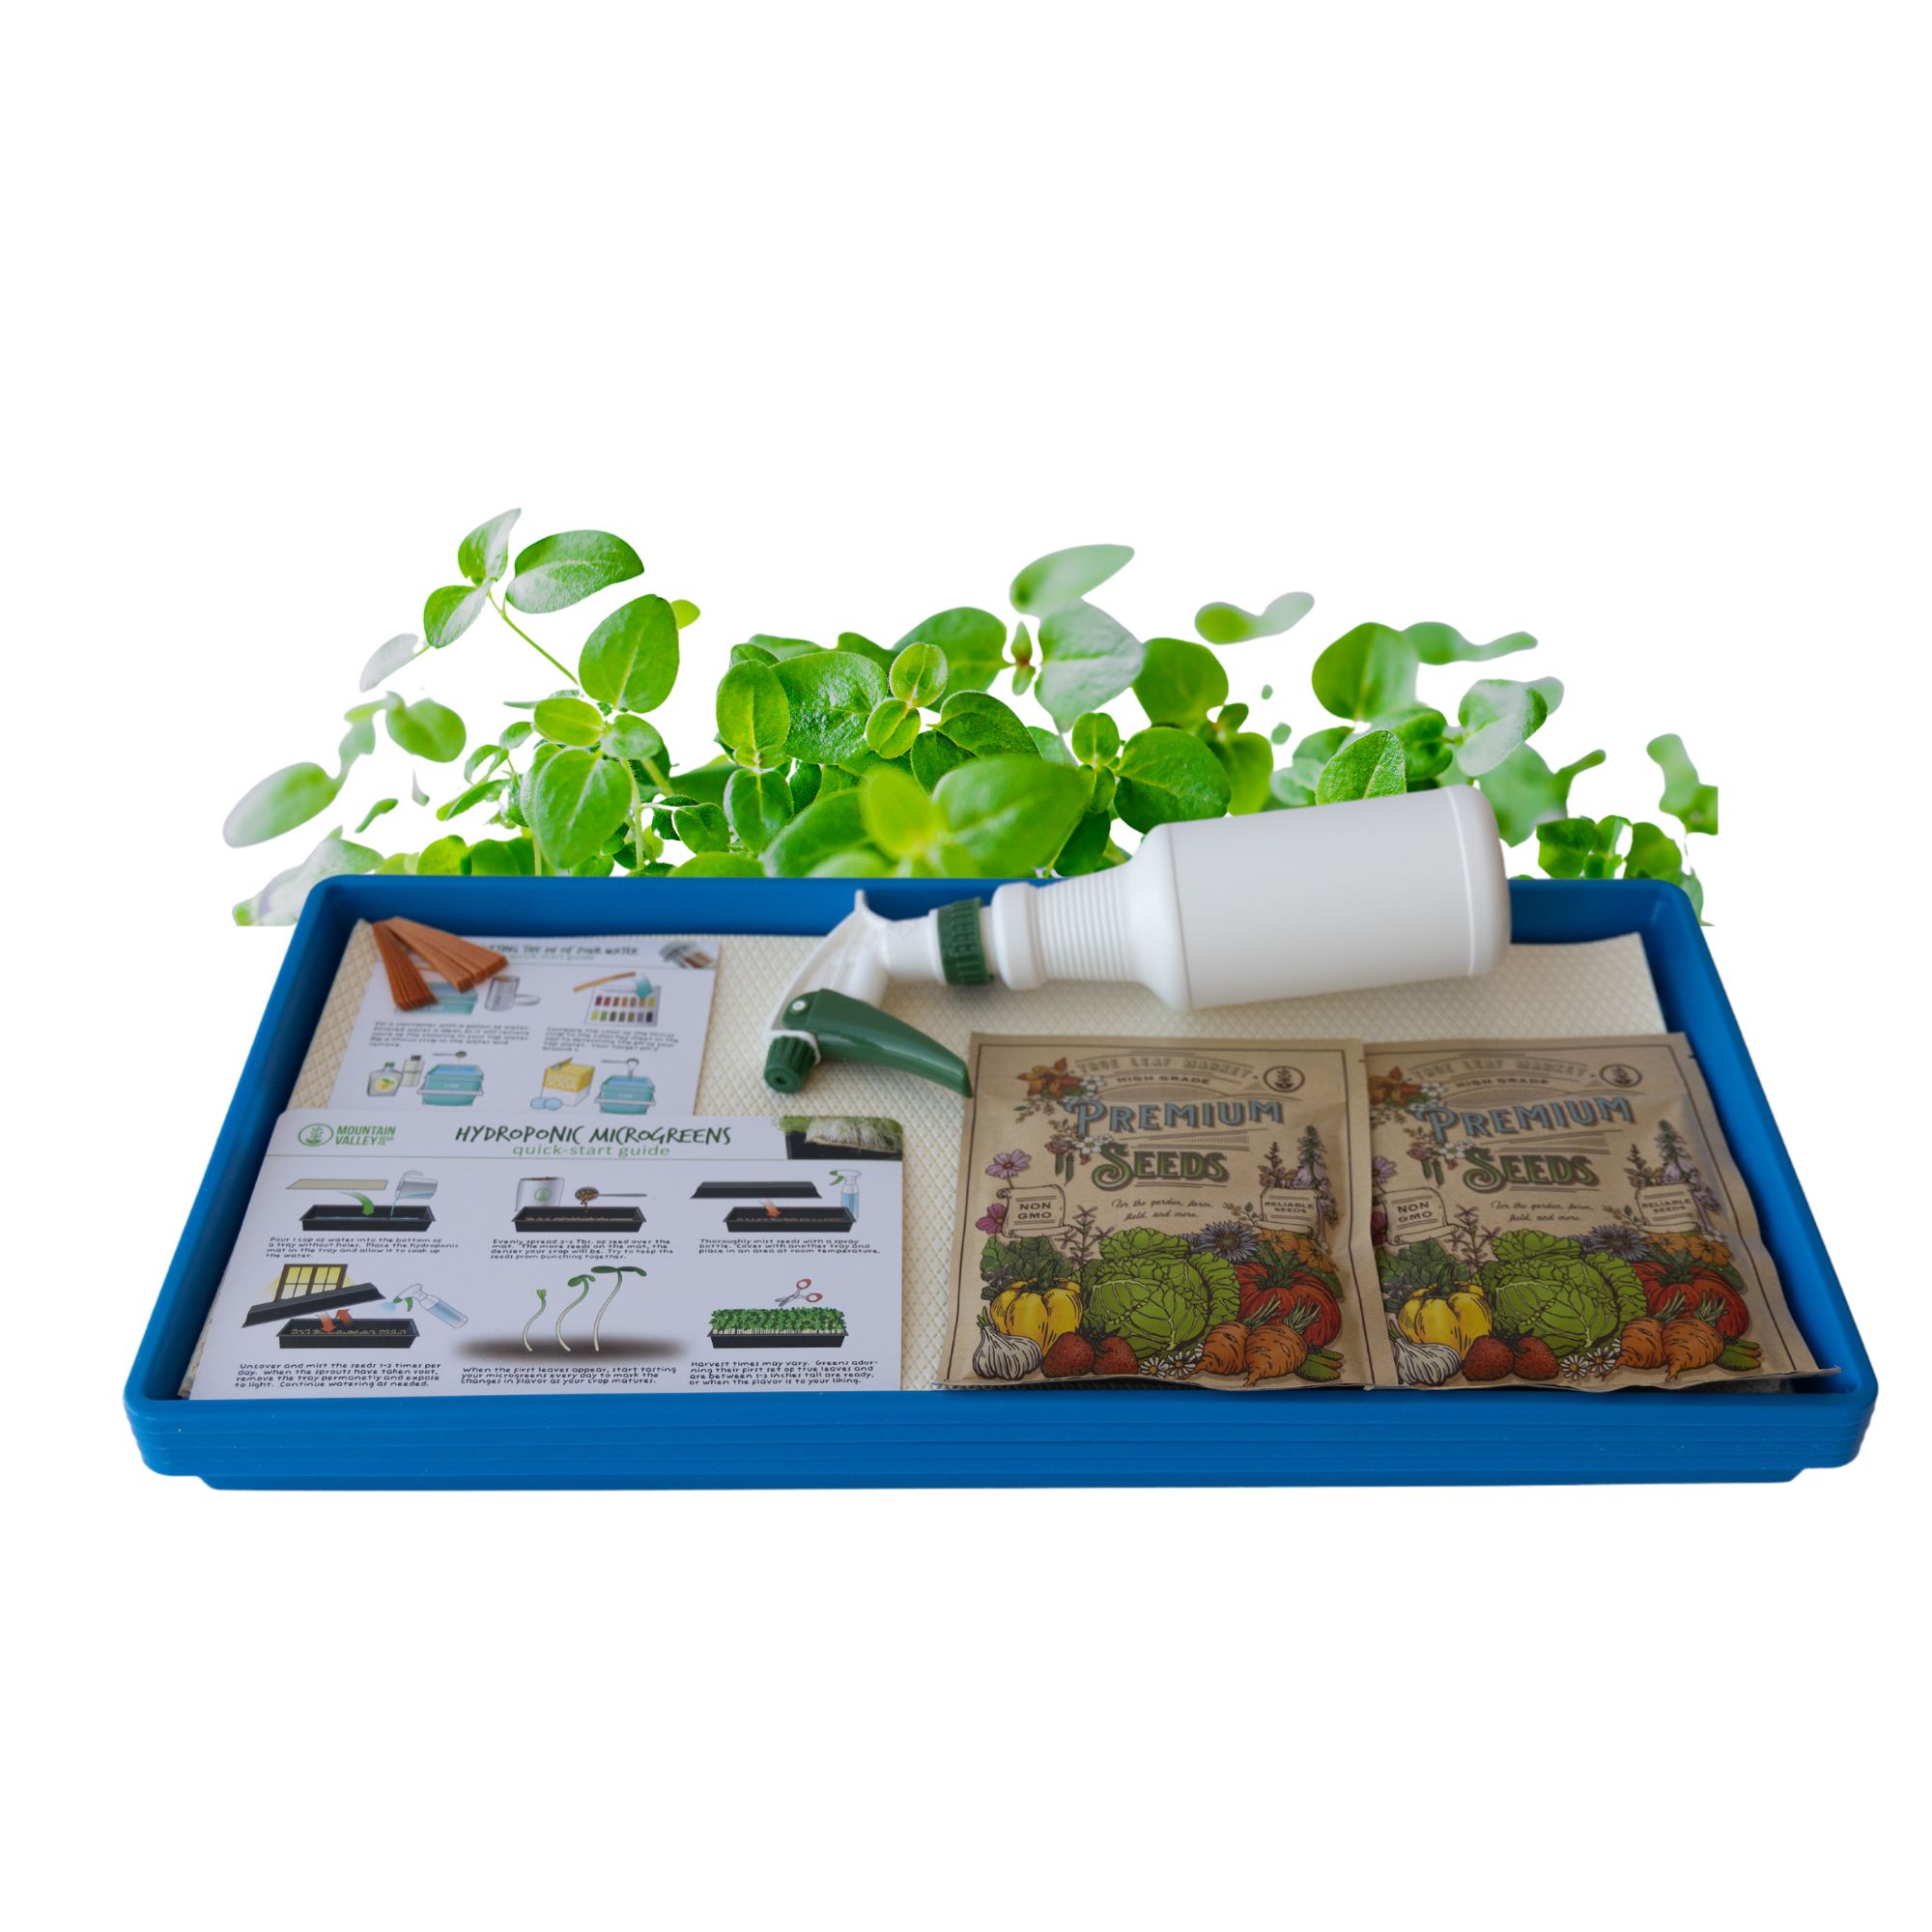
This kit is a hydroponic kit, which is soil free and minimal mess. Chia Microgreens can… [More]

Step 2: Measure the Chia Seeds
- Select Your Quantity: Decide how many sprouted chia seeds you’d like to have. A common rule of thumb is to start with 1 to 2 tablespoons of dry chia seeds, which can yield a moderate amount of sprouts suitable for most recipes.
- Use a Measuring Cup or Scale: Use a measuring cup or a kitchen scale to accurately measure the desired quantity of dry chia seeds. Keep in mind that chia seeds absorb water and expand, so a little goes a long way.
- Place in the Glass Jar: Once measured, gently place the chia seeds into the glass jar or container you prepared earlier. The seeds should rest in a single layer at the bottom of the container.
- Adjust the Quantity: If you’re sprouting chia seeds for the first time, you can start with a smaller amount to get a feel for the process. As you become more comfortable, you can adjust the quantity according to your preferences.

Step 3: Choose the Right Container
- Opt for Glass: Use a transparent glass jar or container with a wide mouth. Glass is an excellent choice because it’s easy to clean, doesn’t retain odors, and allows you to monitor the progress of your sprouts.
- Size Matters: Choose a container that provides ample space for the chia seeds to expand as they sprout. Aim for a container that is about one-third full when you add the dry chia seeds.
- Ventilation: Proper ventilation is crucial to prevent mold growth and ensure the sprouts receive enough air circulation. To achieve this, you can cover the mouth of the container with a breathable material, such as a fine mesh cloth or cheesecloth, secured with a rubber band.
- Sanitize the Container: Before placing the chia seeds in the container, make sure it’s thoroughly cleaned and sanitized. Use hot water and mild soap to wash the container, and rinse it well to remove any residue.

Step 4: Add Water and Soak
- Now that you have your container prepared, it’s time to initiate the sprouting process by soaking the chia seeds. Follow these steps to properly soak the seeds:
- Add Chia Seeds: Carefully pour the measured chia seeds into the glass jar or container. Make sure they are evenly spread across the bottom for consistent soaking.
- Add Water: Pour clean, filtered water into the container, covering the chia seeds completely. The water-to-seed ratio is typically around 5 parts water to 1 part chia seeds.
- Stir Gently: With a clean utensil, give the mixture a gentle stir to ensure that the chia seeds are evenly distributed and don’t clump together.
- Soak Time: Allow the chia seeds to soak for about 30 minutes to an hour. During this time, the seeds will absorb water and form a gel-like texture around them.
- Observe the Changes: As the chia seeds soak, you’ll notice their texture changing and expanding. They’ll become surrounded by a gelatinous layer, which is a sign that they’re absorbing water.
- Prepare for the Next Step: While the chia seeds are soaking, you can prepare the breathable cover that you’ll use in the upcoming steps. Cut a piece of fine mesh cloth or cheesecloth to fit over the mouth of the container.
Step 5: Drain and Rinse
After the chia seeds have soaked and developed a gel-like texture, it’s time to drain and rinse them. This step helps remove excess water and promotes the start of the sprouting process. Follow these instructions:
- Use a Fine Mesh Strainer: Place a fine mesh strainer over a sink or a bowl. This will help you drain the soaked chia seeds while preventing them from escaping.
- Drain the Seeds: Carefully pour the contents of the container into the strainer. Allow the excess water to drain out. You’ll notice that the chia seeds have absorbed a significant amount of water and have expanded further.
- Rinse with Water: Once the excess water has drained, gently rinse the chia seeds under cool, running water. Use your hands to agitate the seeds slightly during rinsing. This helps remove the gel-like coating that formed during soaking.
- Allow to Drain: After rinsing, let the chia seeds drain for a few moments to ensure that most of the water has been removed.
- Return to the Container: Transfer the rinsed chia seeds back into the glass jar or container. Spread them out evenly along the bottom.
- Prepare for Subsequent Rinses: At this point, you’ve completed the first rinse. You’ll need to repeat this process of draining, rinsing, and draining again twice a day for the next couple of days.

Step 6: Initiate Sprouting
With the initial rinsing complete, it’s time to initiate the sprouting process and guide your chia seeds toward becoming vibrant sprouts.
- Maintain a Routine: For the next 2 to 3 days, you’ll need to follow a routine of rinsing and draining your chia seeds twice a day. Aim for morning and evening rinses.
- Rinse and Drain: To begin each rinse, pour water over the chia seeds in the container, gently agitating them with your hands. This helps remove any residue and encourages oxygen flow for sprouting.
- Drain Excess Water: After agitating and rinsing, carefully drain out the excess water through the fine mesh strainer, as you did in the previous step.
- Return to Container: Once drained, return the chia seeds to the glass jar and spread them evenly along the bottom.
- Provide Indirect Sunlight: Place the container in a warm area with indirect sunlight. Avoid placing it in direct sunlight, as this can lead to overheating and drying out of the sprouts.
- Observe Growth: Over the next few days, you’ll notice small sprouts emerging from the chia seeds. Additionally, the gel-like coating around the seeds will become more prominent.
- Stay Consistent: The key to successful sprouting is consistency. Stick to your routine of rinsing and draining twice a day, ensuring that your chia seeds have the right moisture and conditions for optimal growth.

Step 7: Harvest and Enjoy
After a few days of consistent care and attention, your chia seeds have transformed into sprouts ready to be harvested and savored. Follow these steps to complete the sprouting process:
- Observe Sprout Growth: As your chia seeds continue to sprout, you’ll notice small green shoots emerging from the seeds. The gel-like coating around the sprouts will also be more apparent.
- Check for Readiness: After 2 to 3 days of sprouting, your chia seeds should have developed small, young sprouts. At this stage, they are ready for harvest.
- Harvest the Sprouts: Gently harvest the sprouts by carefully loosening them from the glass jar or container using your fingers or a clean utensil. Be cautious not to damage the delicate sprouts.
- Remove Gel Coating: You can choose to gently rub or rinse the sprouts under cool, running water to remove the remaining gel-like coating. This step is optional and depends on your preference.
- Dry the Sprouts: Place the harvested sprouts on a clean paper towel or cloth to remove excess moisture. Allow them to air dry for a short period before using them.
- Storage: If you’re not using the sprouts immediately, store them in an airtight container in the refrigerator. They can stay fresh for a few days.
Conclusion
Congratulations! You’ve successfully completed the sprouting process and transformed simple chia seeds into nourishing sprouts bursting with vitality. Your efforts have paid off, and you now have a wonderful ingredient to elevate the nutritional content and visual appeal of your culinary creations.
By following these seven easy steps, you’ve gained the knowledge and skills to sprout chia seeds at home, enhancing their digestibility and nutrient availability. This small yet rewarding endeavor offers a new dimension to your cooking and a wholesome addition to your diet.
Additional Tips
- Quality Matters: Start with high-quality chia seeds from a reputable source. The better the initial quality, the better the sprouting results.
- Hygiene is Key: Ensure your hands, utensils, and containers are clean and sanitized throughout the process to prevent contamination.
- Avoid Overcrowding: Don’t overcrowd the seeds in the container. This allows for proper air circulation and prevents mold growth.
- Consistent Rinsing: Stick to the routine of rinsing and draining twice a day. Consistency is crucial for promoting healthy sprout growth.
- Water Quality: Use clean, filtered water to soak and rinse the chia seeds. Chlorinated or heavily mineralized water can affect sprout quality.
- Mind the Sprout Length: Chia sprouts can grow quite quickly. Harvest them when they’re about 1-2 inches long for optimal flavor and texture.
- Experiment with Soaking Times: If you prefer different textures, experiment with soaking times. Longer soaking may lead to a thicker gel-like coating.
- Adapt for Climate: If you live in a particularly dry or humid climate, you might need to adjust your rinsing frequency to prevent drying out or excess moisture.
- Avoid Direct Sunlight: While chia seeds need light to sprout, avoid direct sunlight, which can lead to overheating and drying of the sprouts.
- Patience is Key: If sprouting conditions aren’t ideal, give the seeds a bit more time to sprout. Sometimes, it might take a day or two longer.
FAQs
Can I sprout chia seeds in a dark place?
While chia seeds require some light to sprout, they don’t need direct sunlight. A well-lit room without direct sun exposure is ideal.
What if mold develops during the sprouting of chia seeds?
Mold growth can occur if the sprouts are too moist. Make sure you’re draining well and providing adequate air circulation. If mold develops, it’s best to discard the batch.
Can I store sprouted chia seeds?
Yes, you can store them in an airtight container in the refrigerator for a few days. Just make sure they’re dry and not overly moist.
Can you sprout chia seeds?
Yes, you can sprout chia seeds by soaking them in water for a few hours and then draining them.
Will chia seeds from the grocery store sprout?
Yes, most chia seeds from grocery stores will sprout if soaked in water for a few days. Rinse them daily to prevent mold.
Where do chia seeds grow?
Chia seeds are from Salvia hispanica, native to central and southern Mexico.
