
What are microgreens?
Microgreens are young vegetables or herb seedlings that are harvested when they are only a few inches tall after the first set of true leaves has emerged.

They are often grown in soil or a soil substitute, such as peat moss or coco coir, and can be grown year-round indoors or outdoors, depending on the climate.
Microgreens are prized for their delicate textures, vibrant colors, and intense flavors, and are commonly used as a garnish or as a nutrient-rich ingredient in salads.
Microgreens are packed with vitamins, minerals, and antioxidants, making them a popular choice for health-conscious consumers.

Today, we will be looking at the 19 best microgreens to grow in a container with a bonus item at the end.
Tools you will need
- Potting Soil Mix: Most microgreens grow best in a well-draining soil mix that is rich in nutrients. A good potting mix or seed starting mix is recommended.
- Spray bottle: A spray bottle can be useful for watering delicate microgreens without disturbing the soil.
- Container: Most microgreens can grow very well in a container that is at least 2 inches thick.
- Grow lights (Optional): Consider getting grow lights if your microgreens are not able to receive at least 6 hours of sunlight each day
- Scissors: You will need a clean and sharp pair of scissors to harvest your microgreens when ready for consumption. It is a good idea to not use these scissors for anything else other than harvesting your microgreens.
- Self-Watering Growing Trays (Optional): If you want to avoid the hassle of watering your microgreens, you can get these self-watering growing trays that do the watering for you.
19 best microgreens to grow in containers
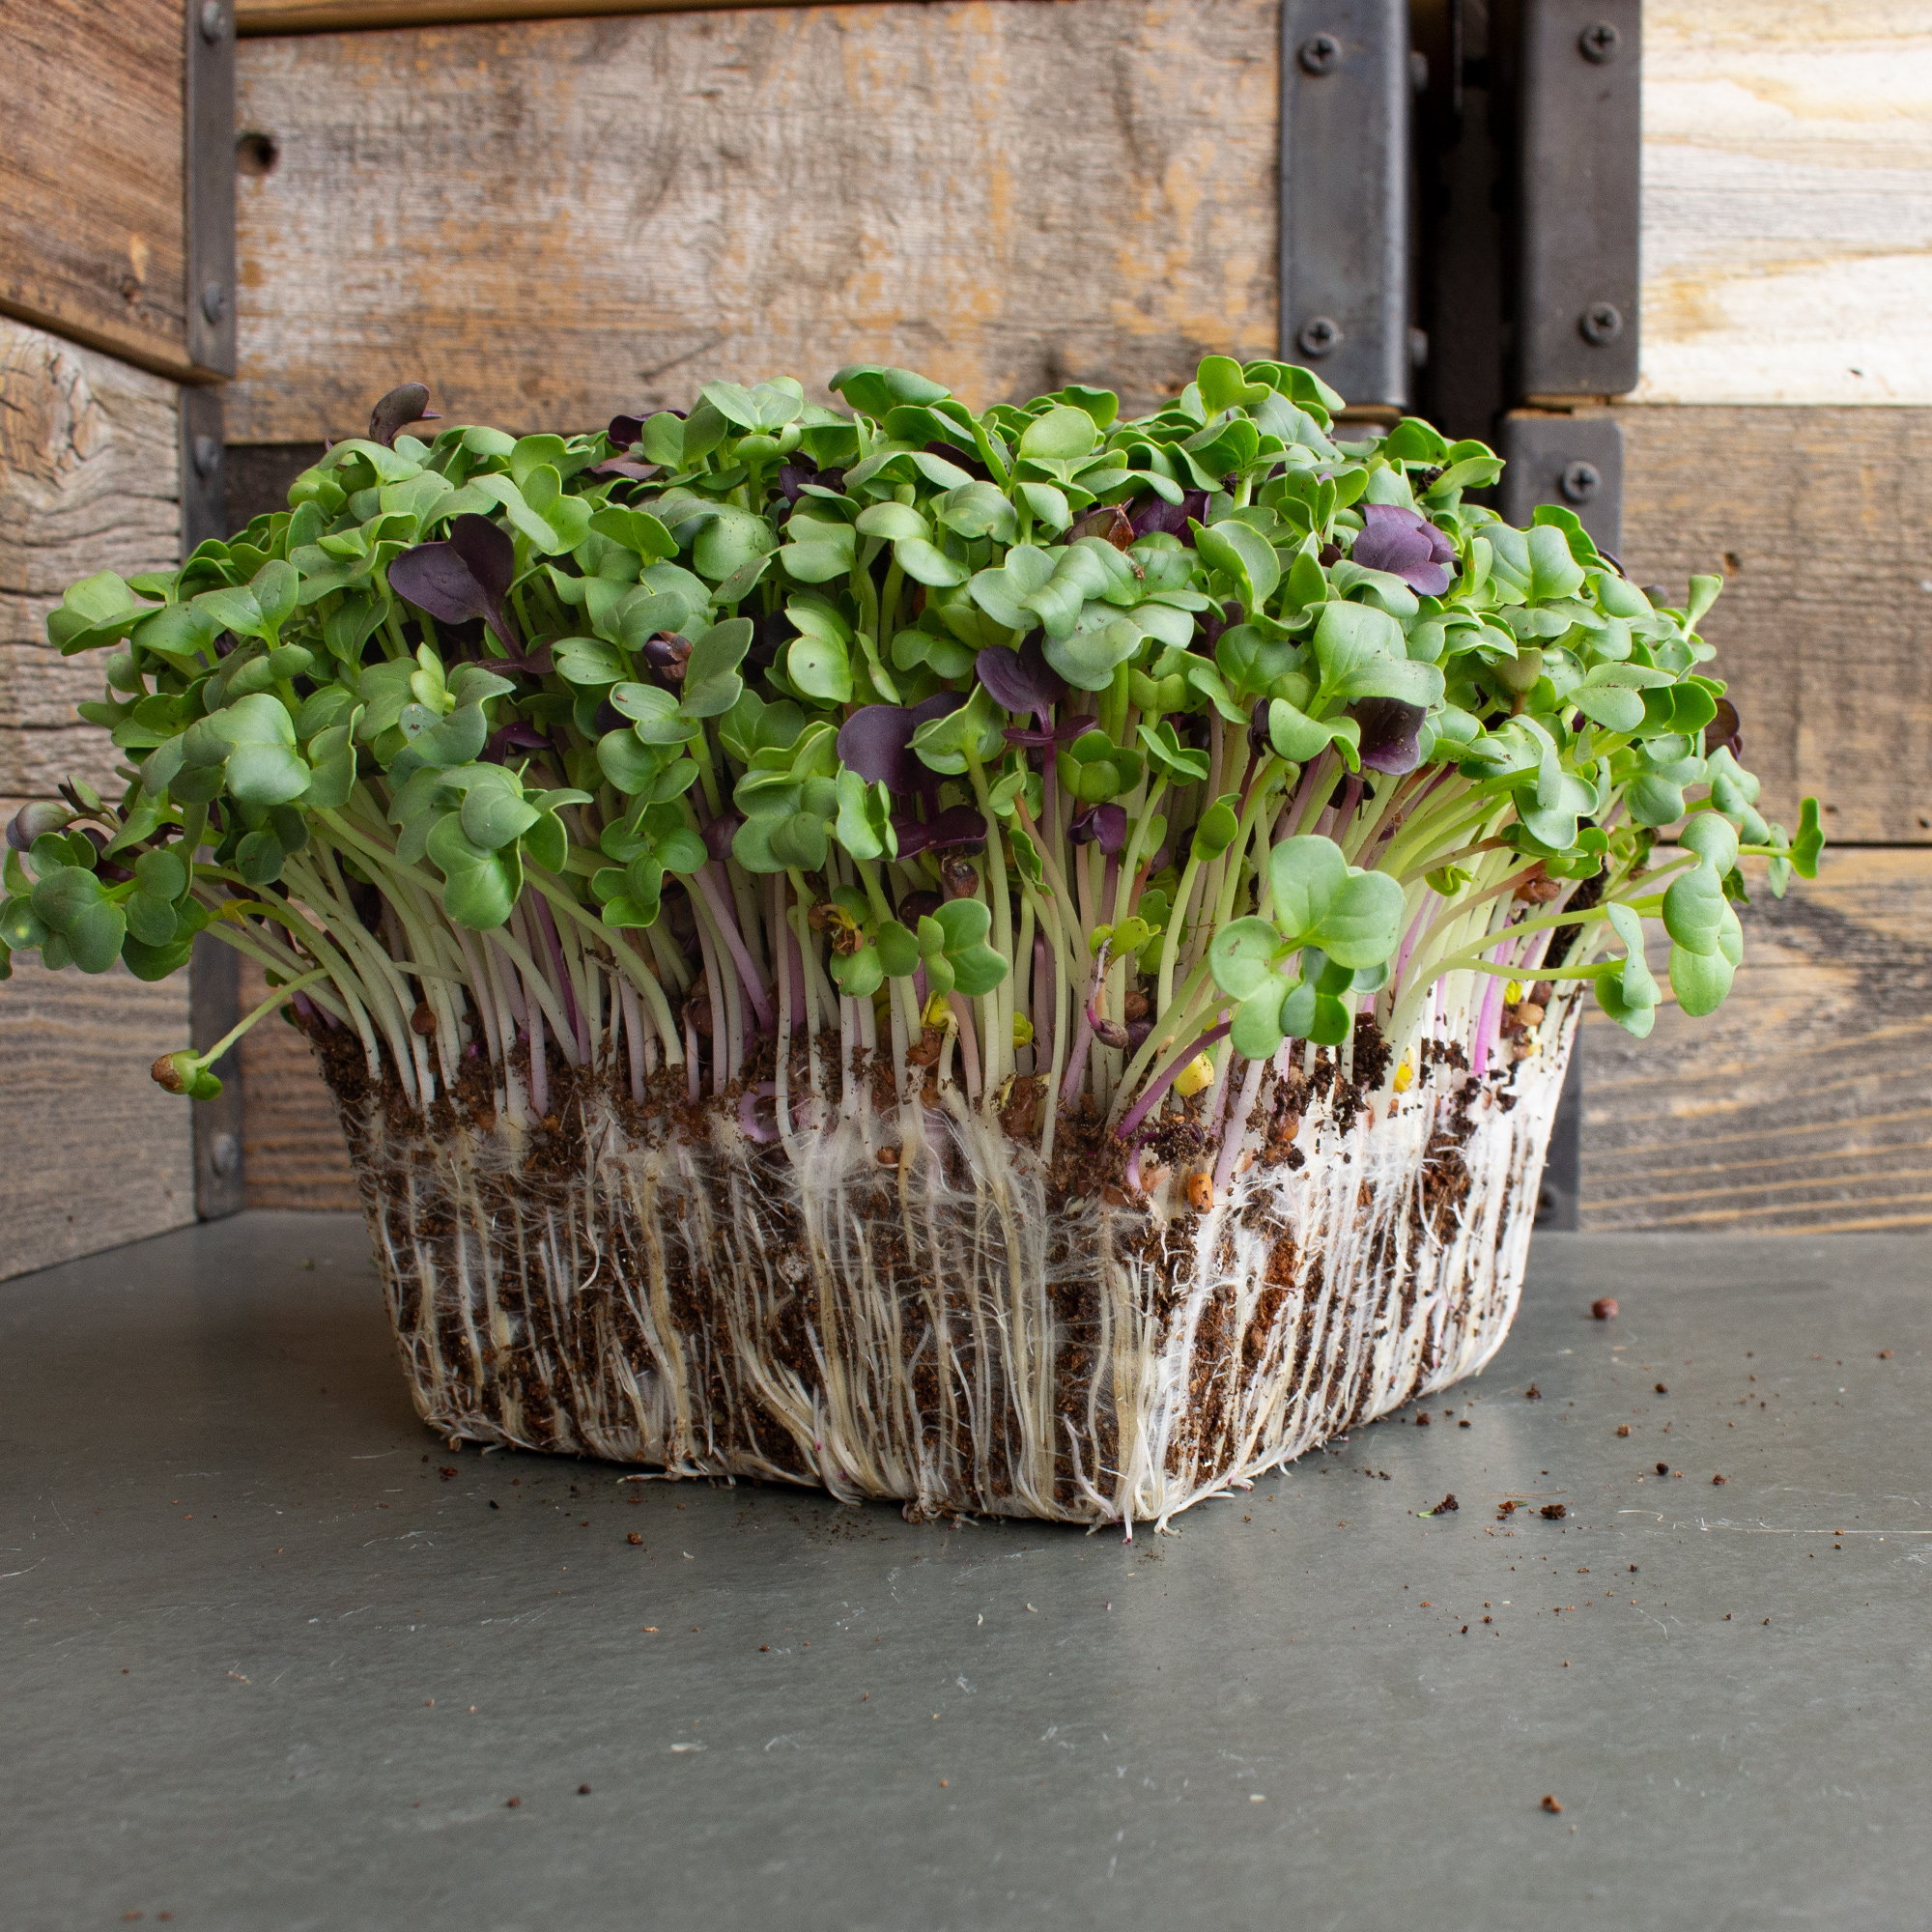
Arugula
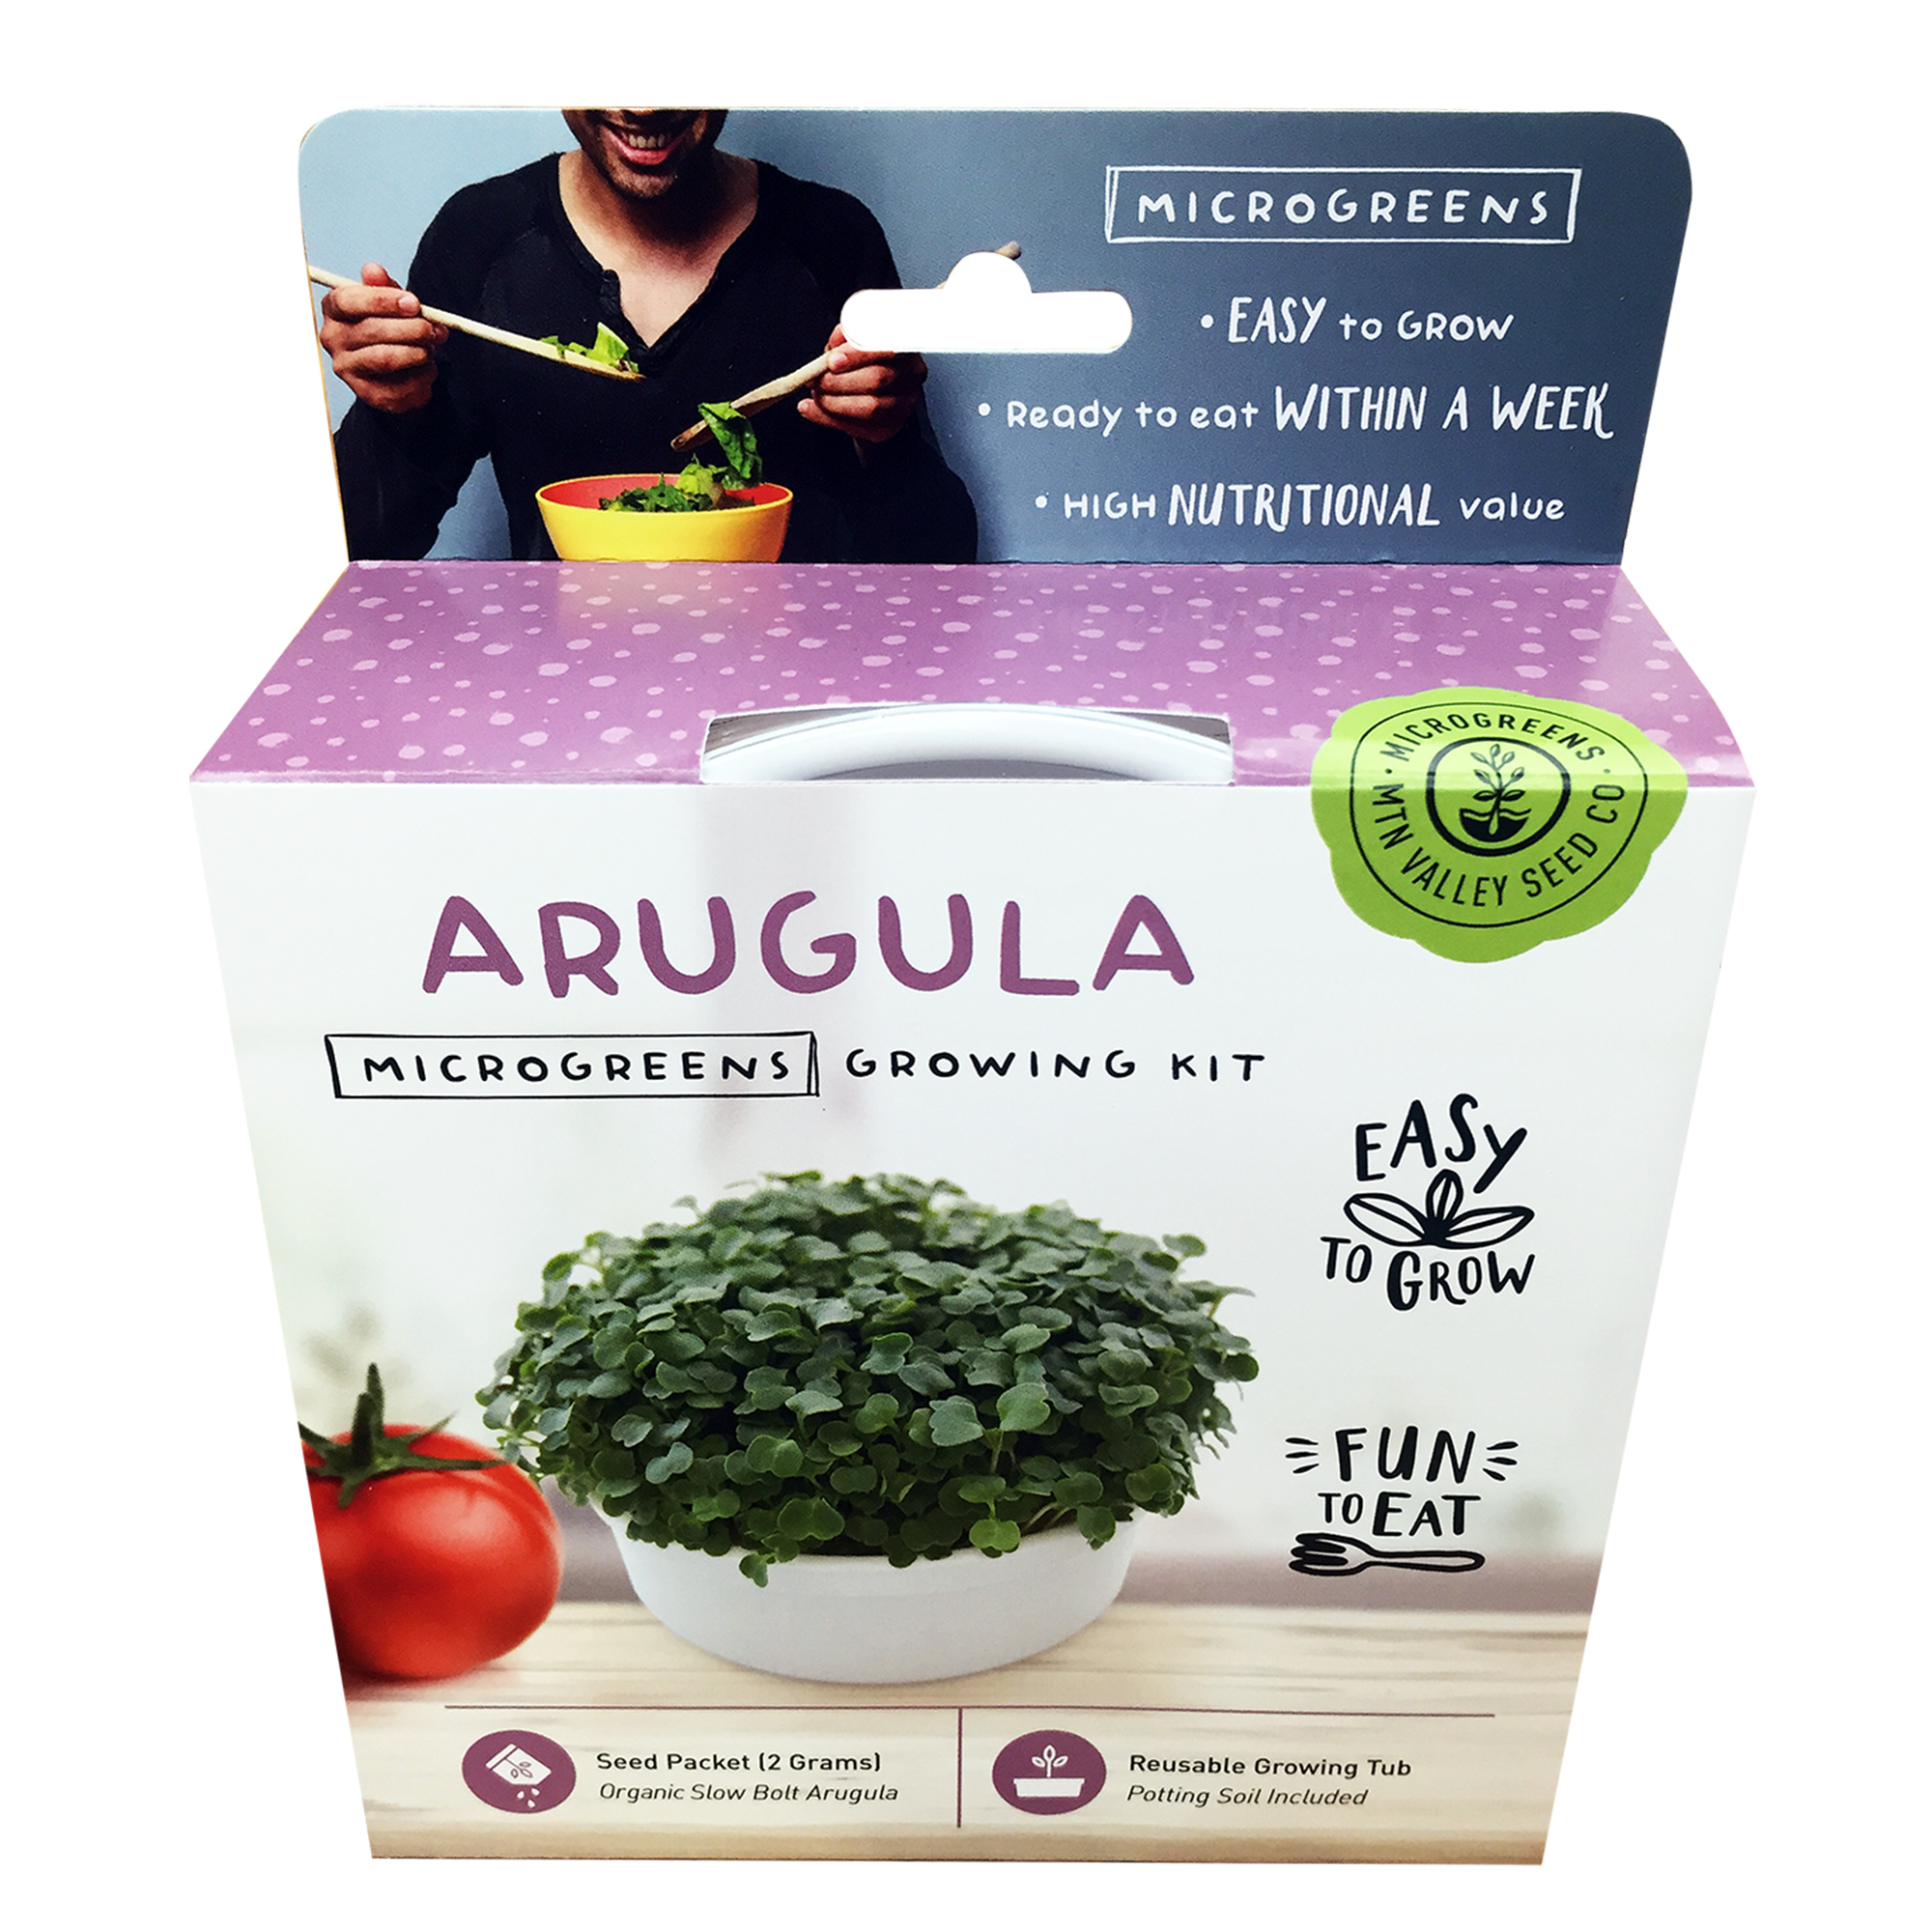
These single serve mini microgreens kits are a fun and inexpensive way to start growing… [More]
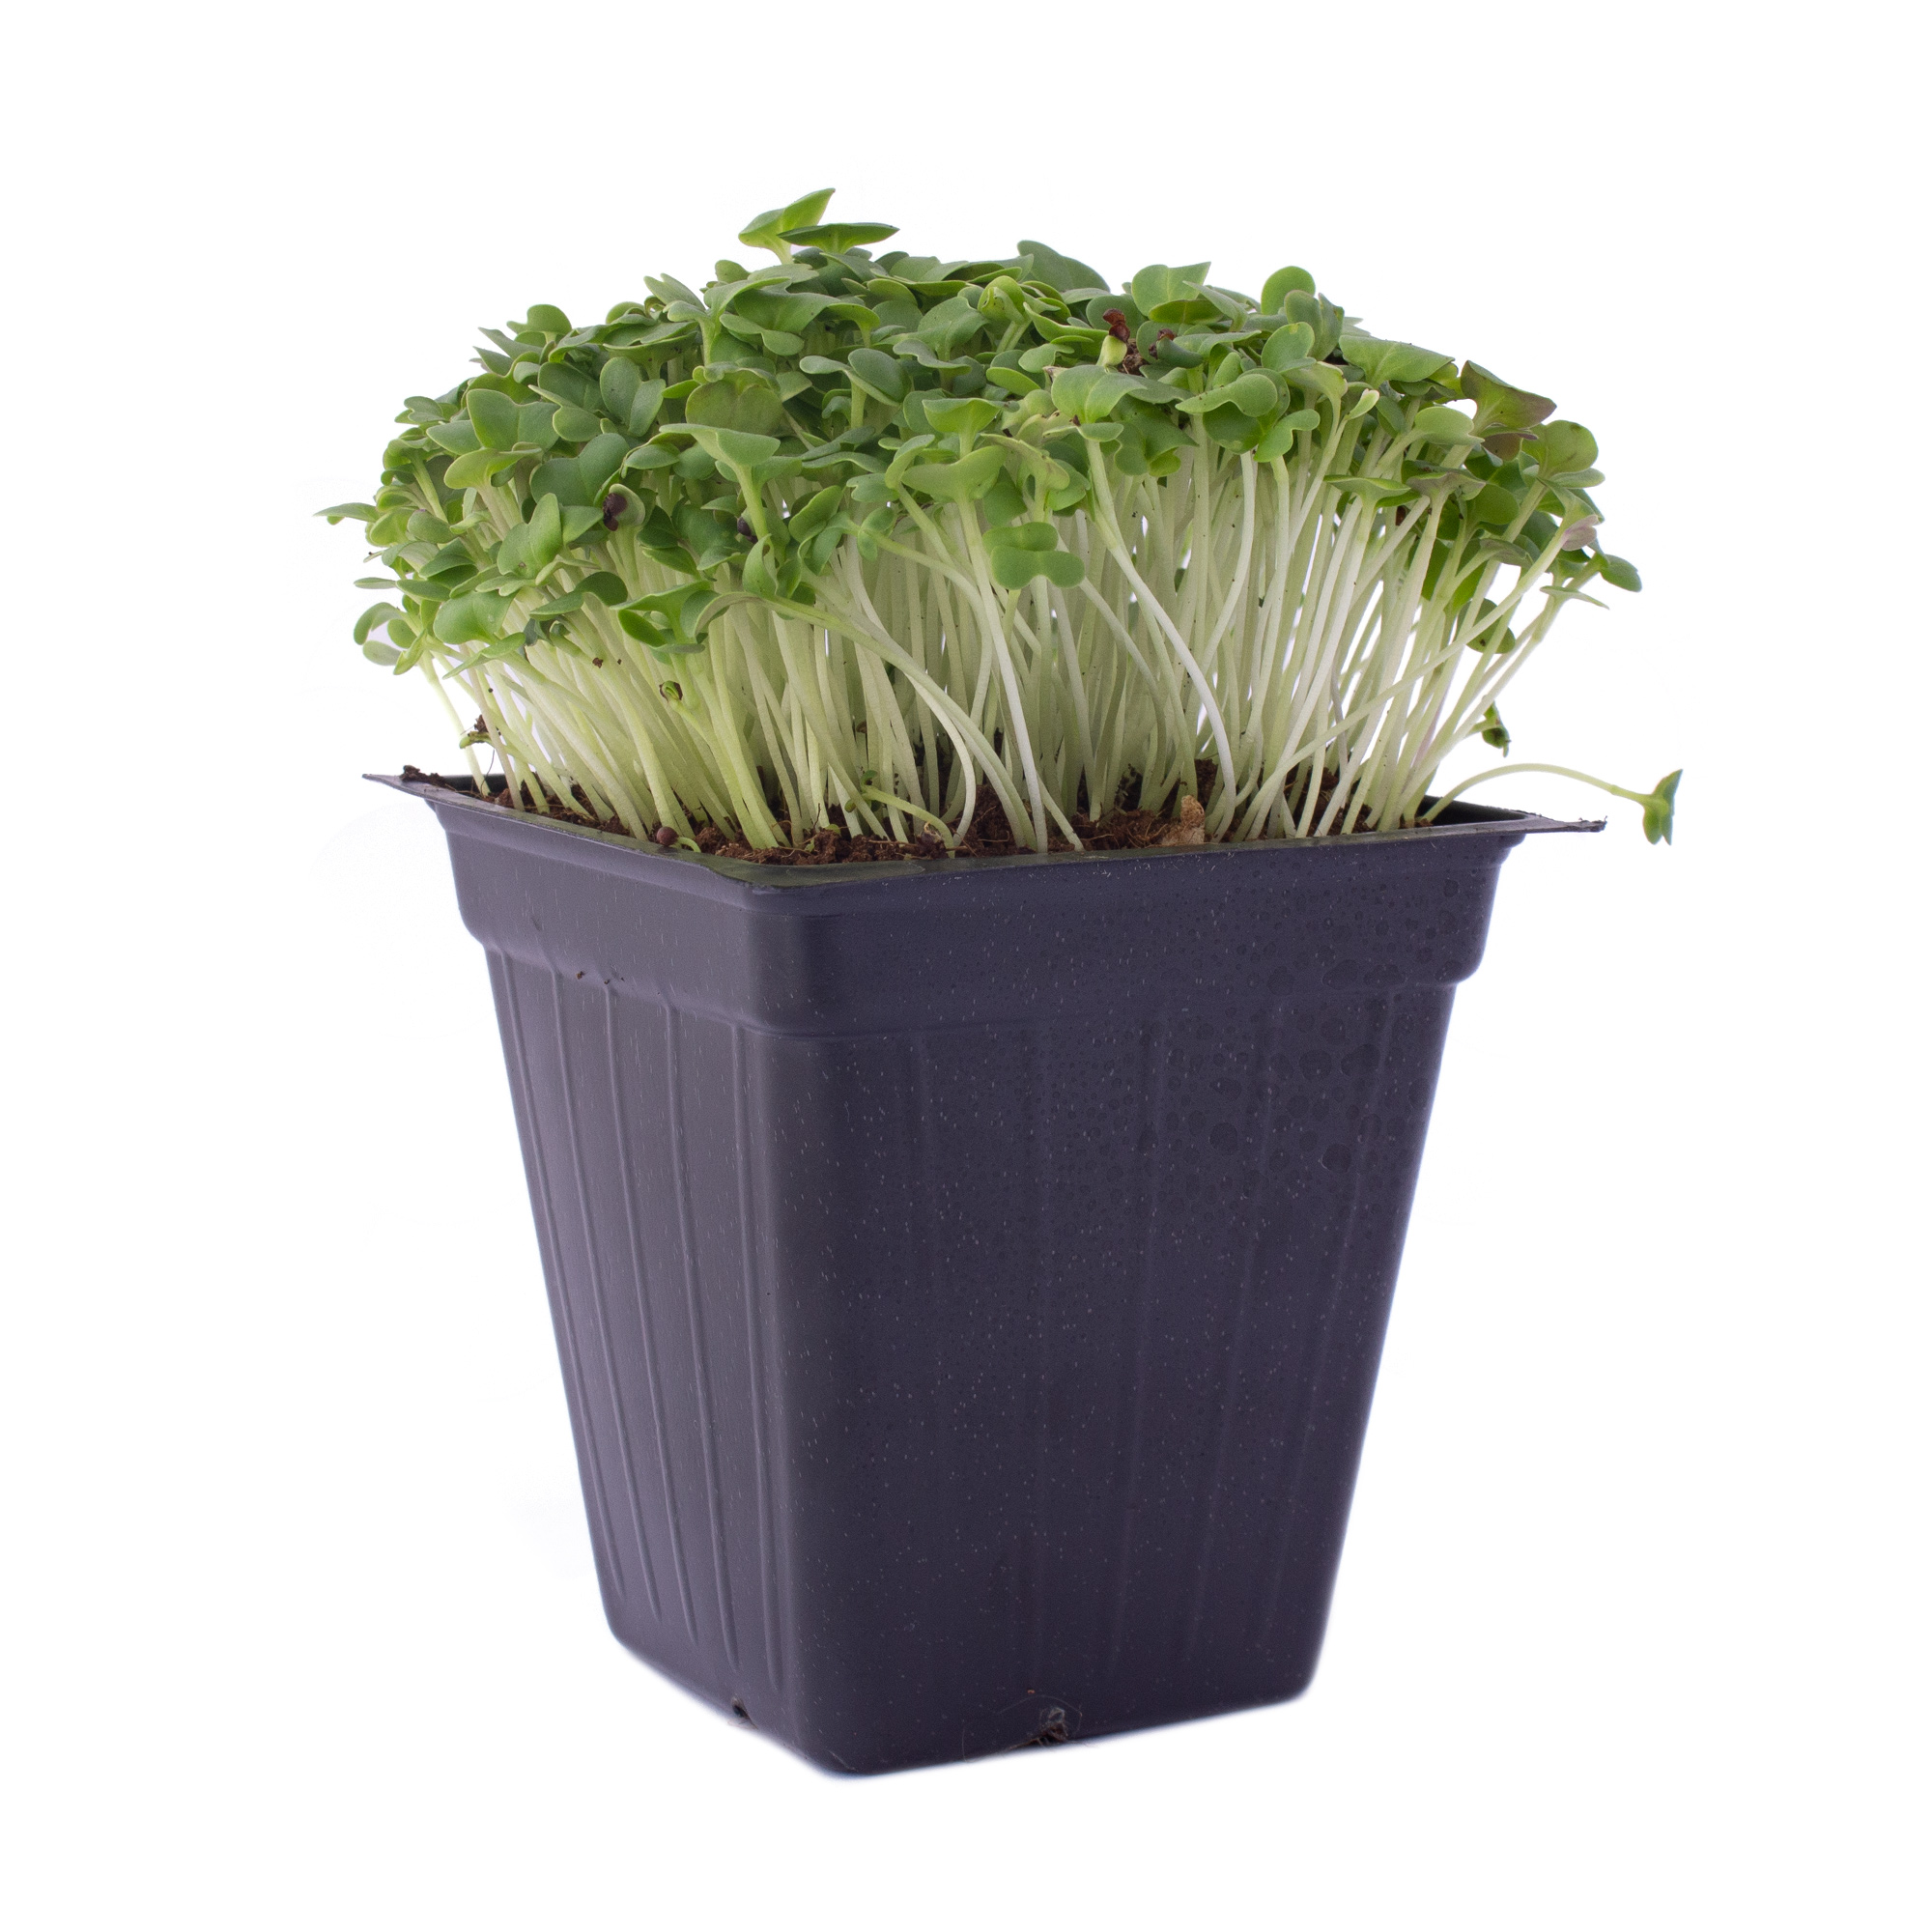
Arugula microgreens have a slightly spicy flavor and are rich in vitamin C and potassium.
- Soil: Make sure the soil is well-draining and not too compacted.
- Container: Choose a shallow container with drainage holes, such as a tray or pot. Arugula microgreens don’t need a lot of depth to grow, so a container that is at least 2 inches deep will suffice.
- Sowing: Scatter the arugula seeds evenly over the soil surface, making sure they are not too close together. Cover with a thin layer of soil and gently water.
- Light: Arugula microgreens require plenty of light to grow, so place the container in a sunny location or under grow lights. Aim for at least 6 hours of direct sunlight per day.
- Watering: Water the arugula microgreens regularly, keeping the soil moist but not waterlogged.
- Temperature: Arugula microgreens prefer cooler temperatures between 55-65°F, so avoid placing the container in a hot or drafty location.
- Harvesting: Arugula microgreens can be harvested in as little as 1-2 weeks after sowing, when they are around 2-3 inches tall. Use scissors to snip off the leaves at the base, leaving the roots intact. Rinse the harvested microgreens and pat dry before using.
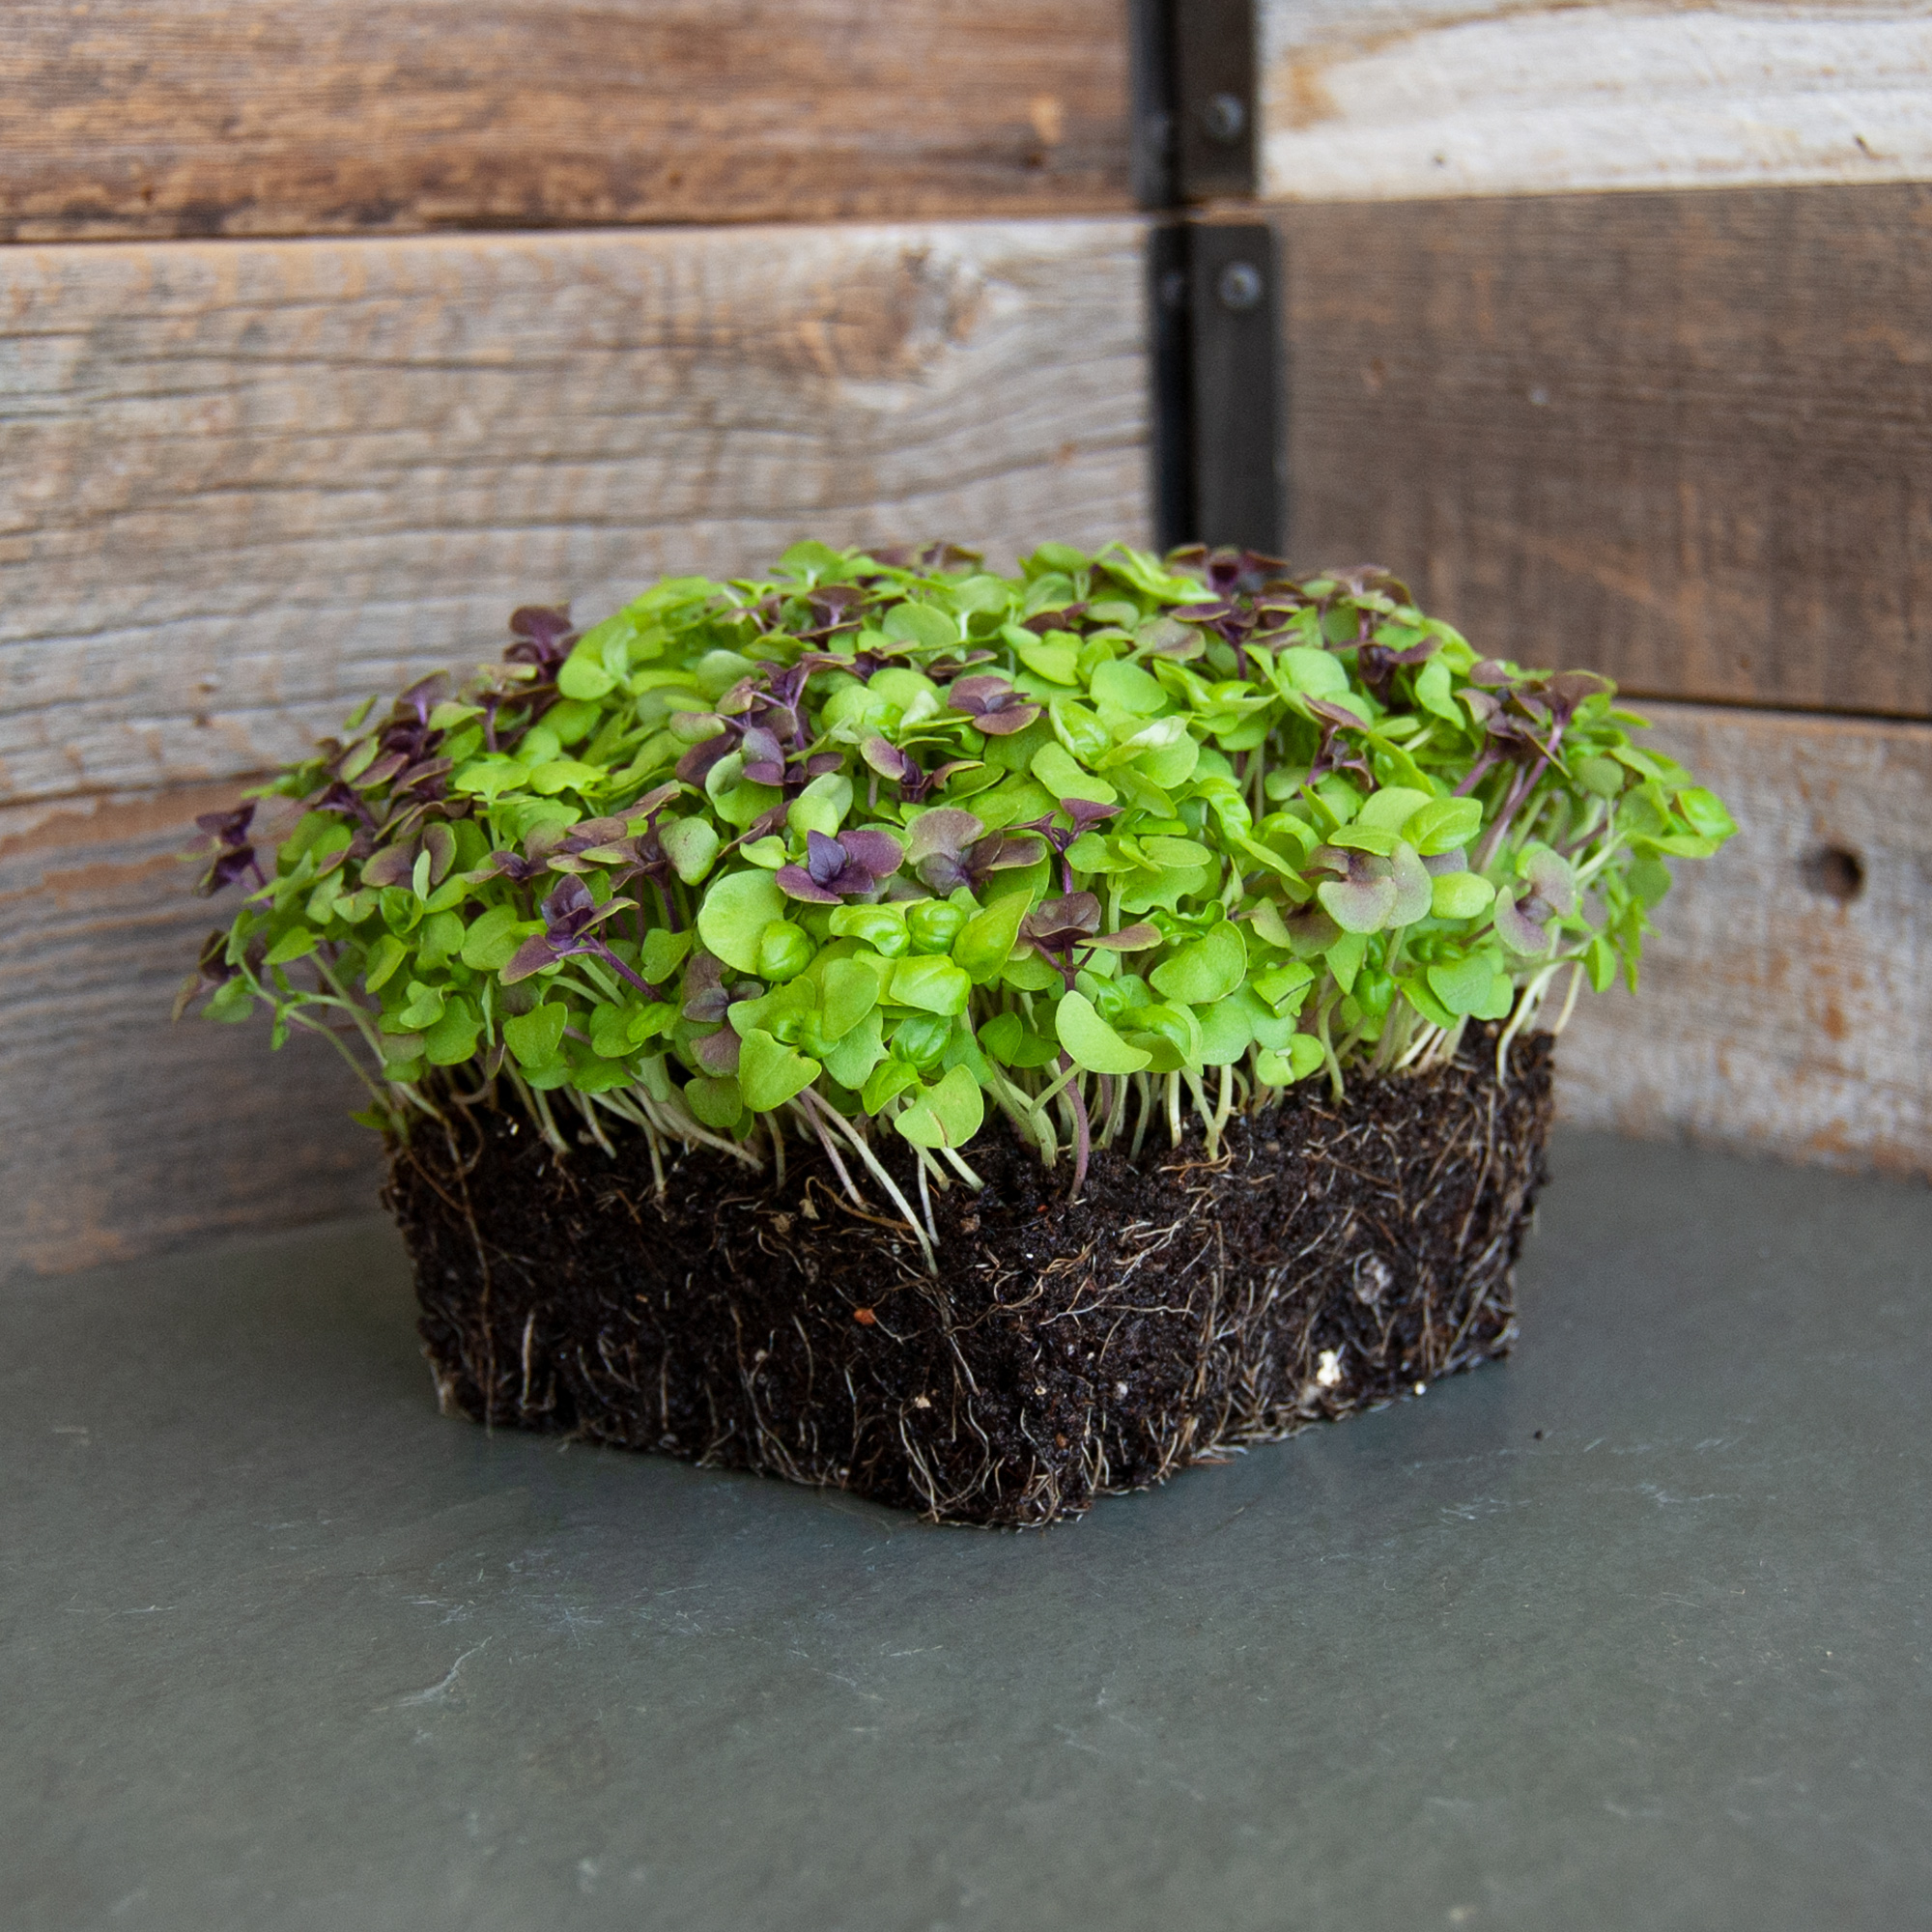
Basil
Different varieties of basil have subtly differing flavors and this mix hits them all, … [More]
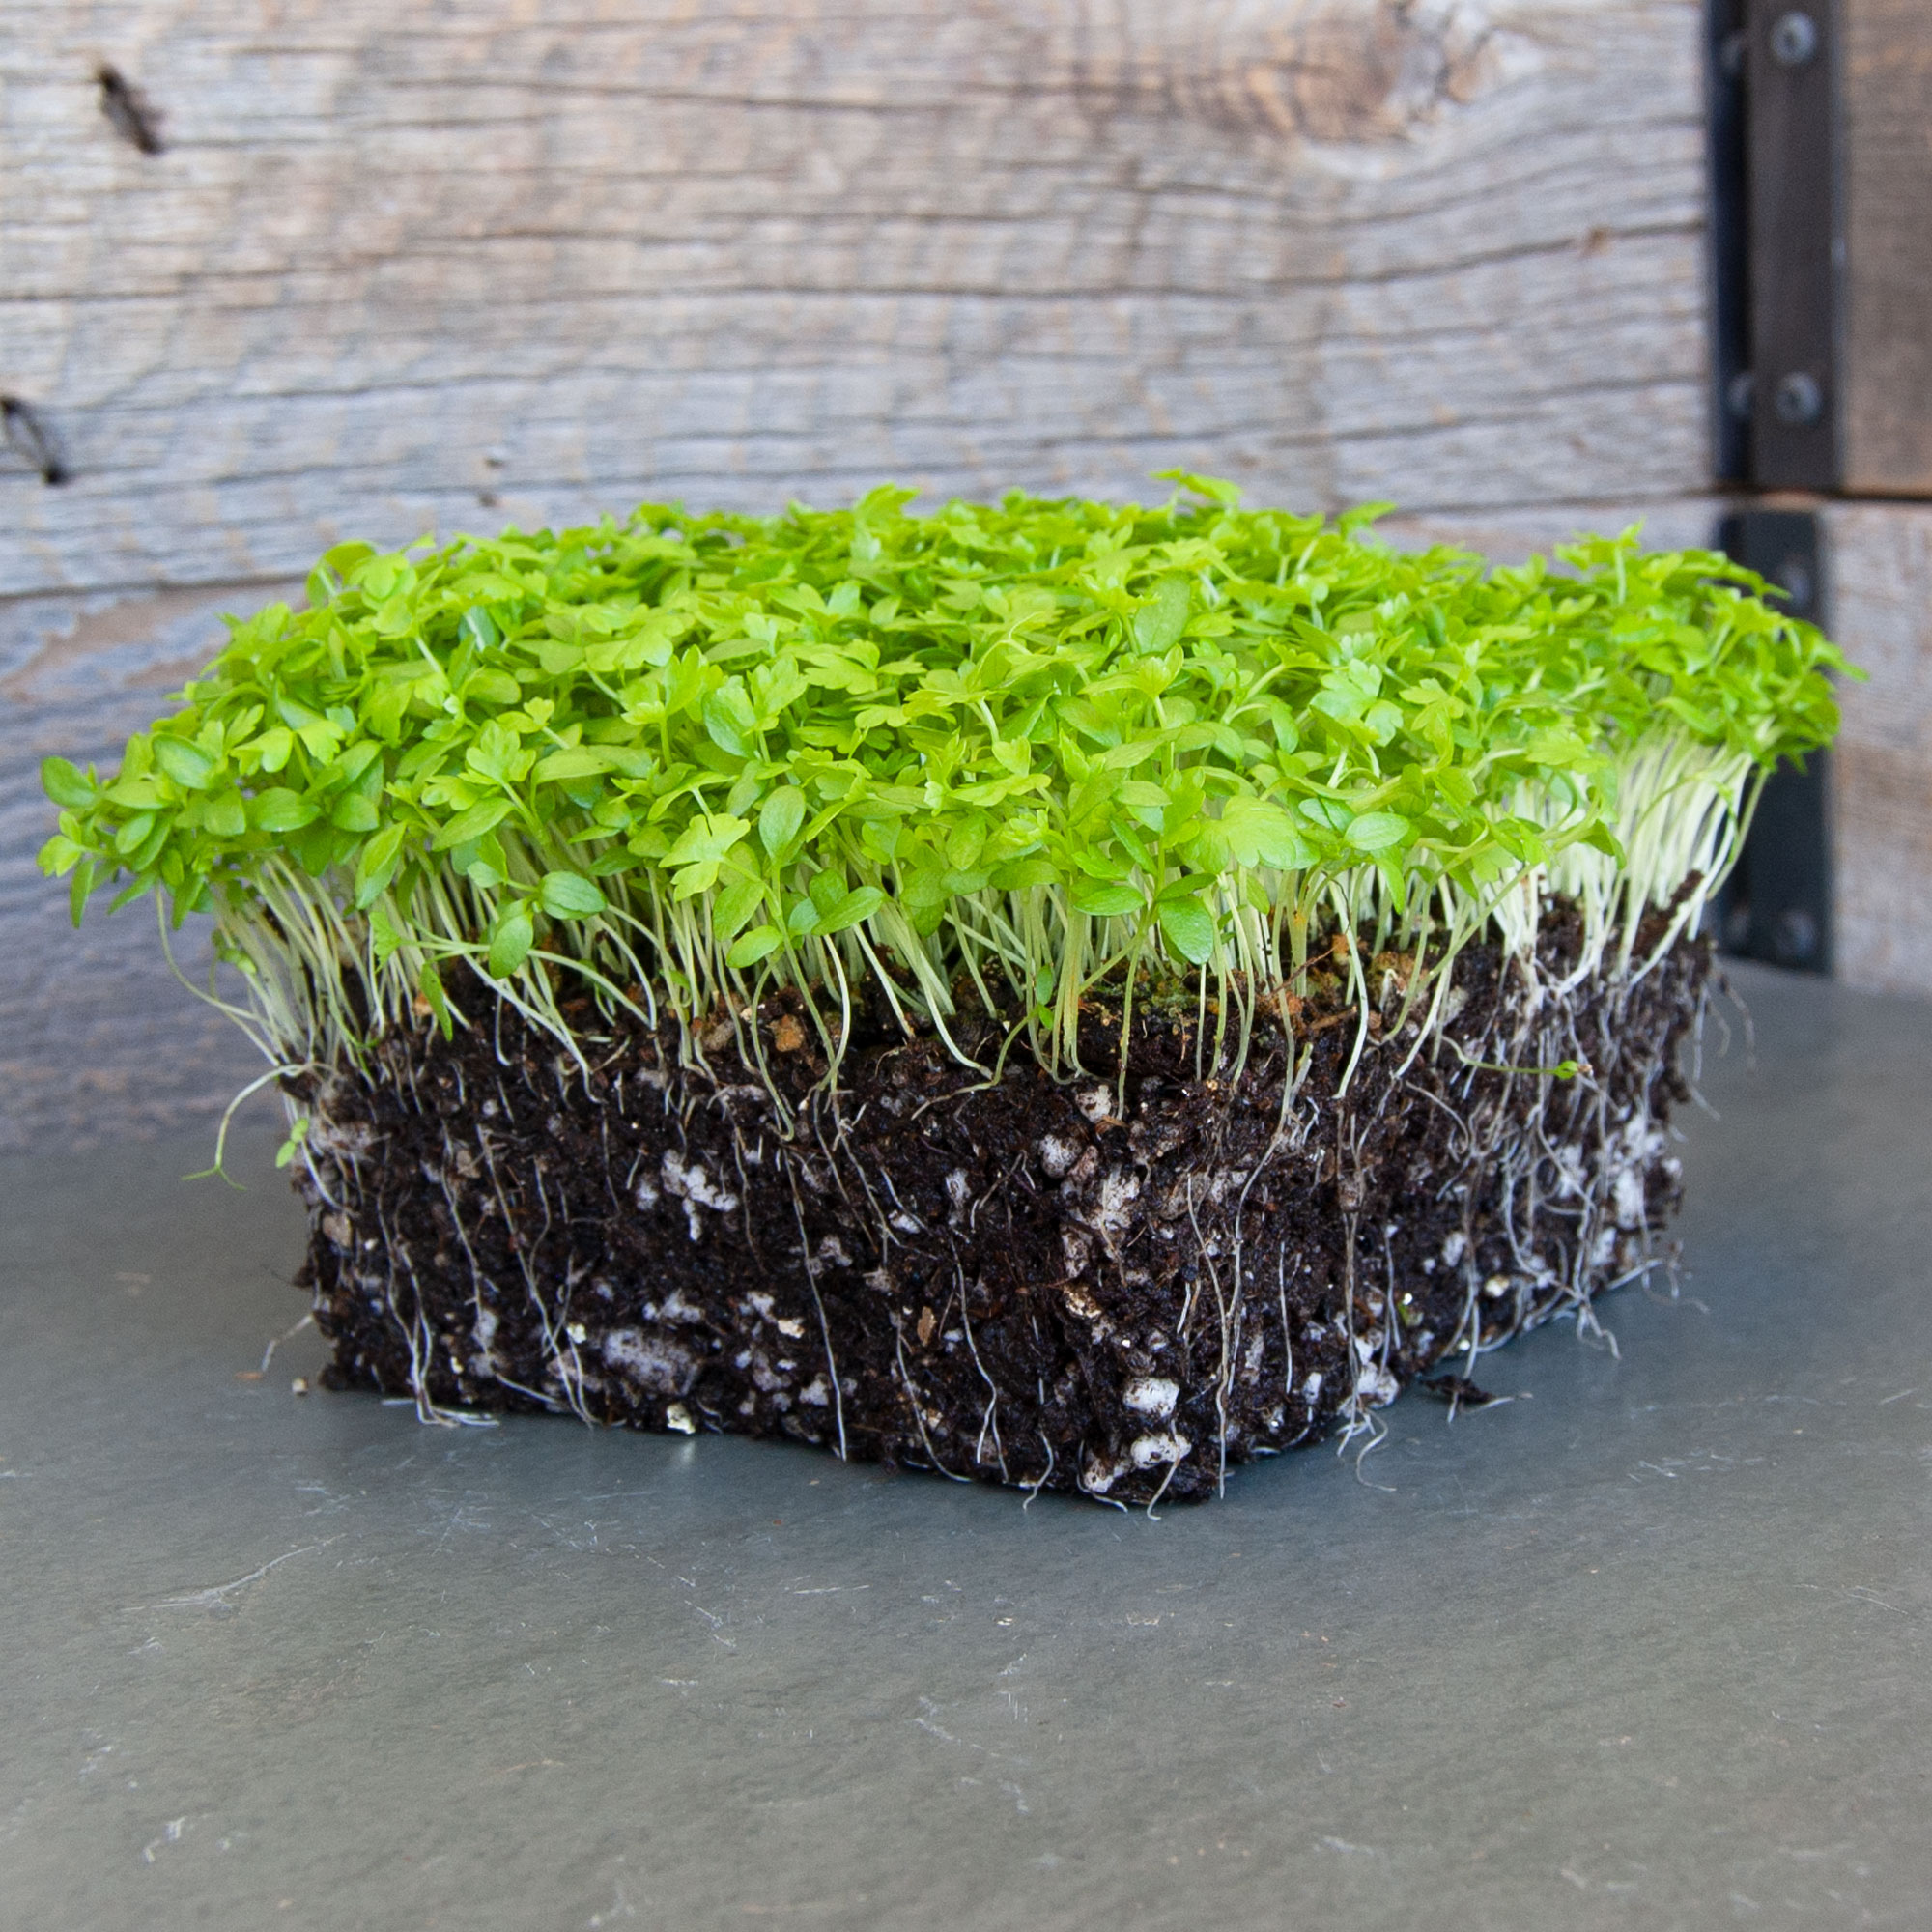
Basil microgreens have a sweet, aromatic flavor and are rich in antioxidants.
- Soil: Make sure the soil is well-draining and not too compacted.
- Container: Choose a container with drainage holes, such as a shallow tray or pot. Basil microgreens don’t need a lot of depth to grow, so a container that is at least 2 inches deep will suffice.
- Sowing: Scatter the basil seeds evenly over the soil surface, making sure they are not too close together. Cover with a thin layer of soil and gently water.
- Light: Basil microgreens require plenty of light to grow, so place the container in a sunny location or under grow lights. Aim for at least 6 hours of direct sunlight per day.
- Watering: Water the basil microgreens regularly, keeping the soil moist but not waterlogged.
- Temperature: Basil microgreens prefer warm temperatures between 70-80°F, so avoid placing the container in a cool or drafty location.
- Harvesting: Basil microgreens can be harvested in as little as 1-2 weeks after sowing when they are around 2-3 inches tall. Use scissors to snip off the leaves at the base, leaving the roots intact. Rinse the harvested microgreens and pat dry before using.
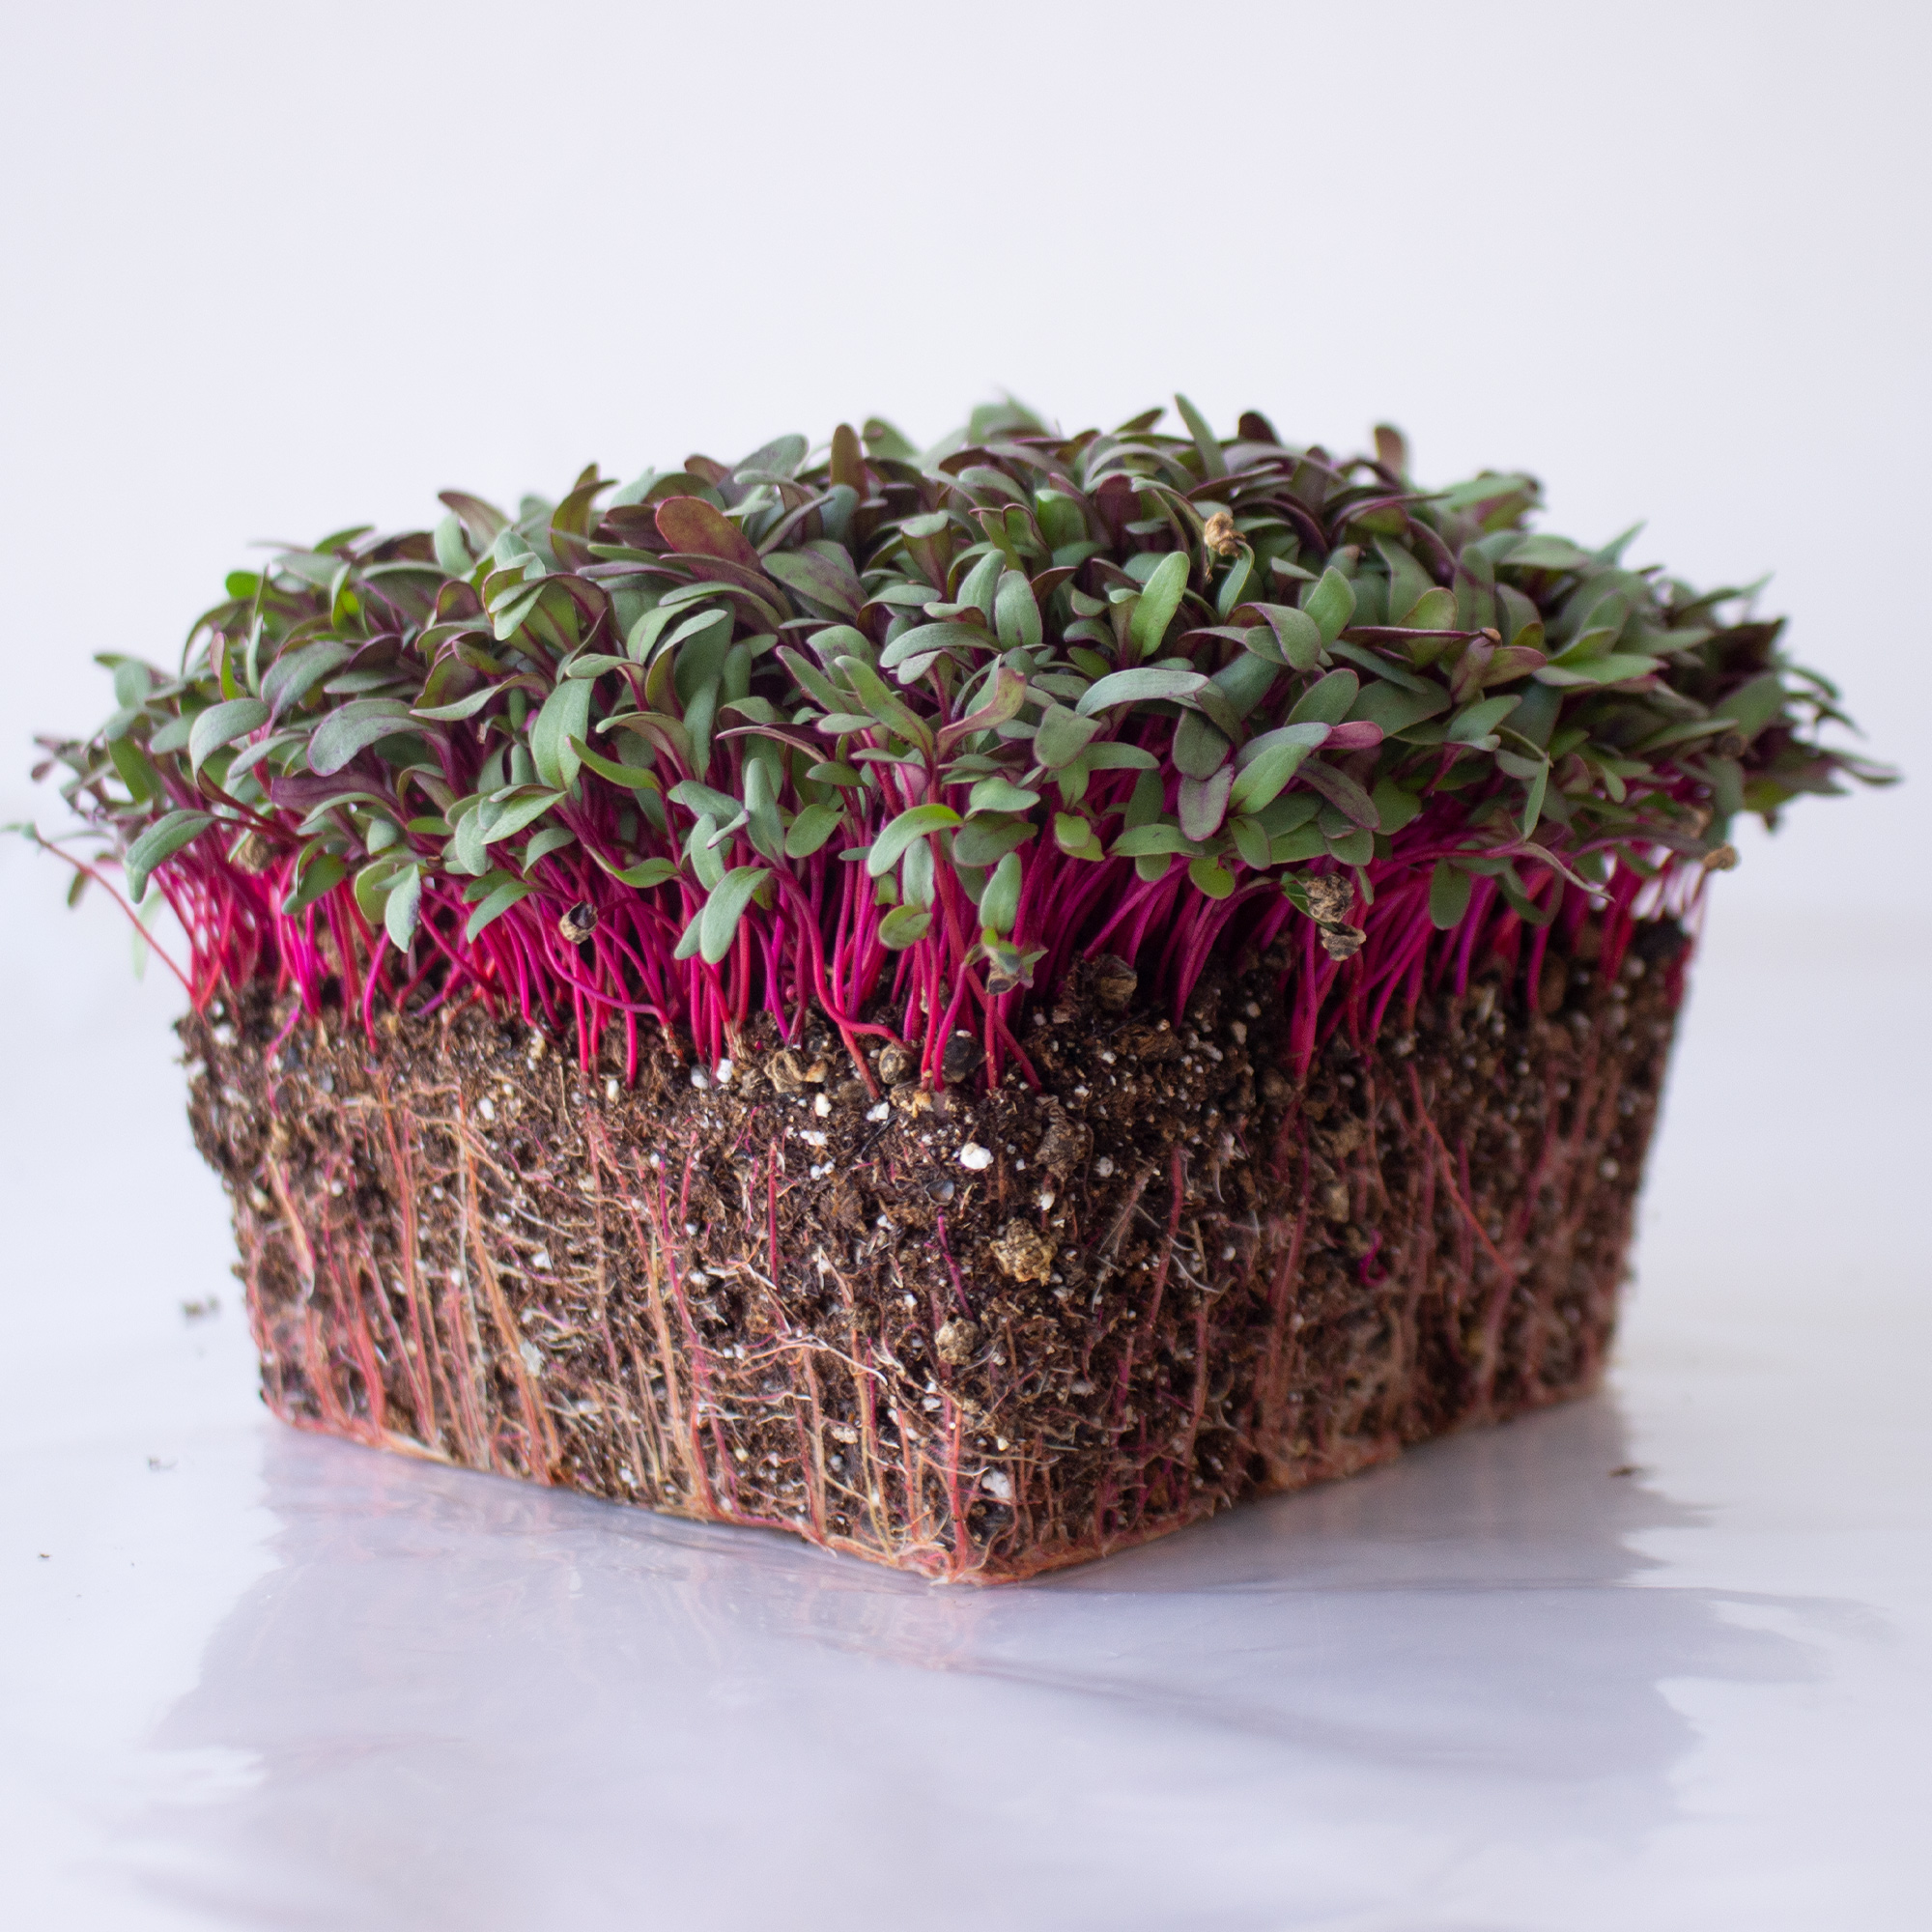
Beet greens
Red Round Beet Seeds. 60 Days. Beta vulgaris. Non-GMO, Heirloom, Open Pollinated, High … [More]
Beet greens microgreens have a mild, earthy flavor and are rich in iron and vitamin C.
- Soil: Make sure the soil is well-draining and not too compacted.
- Container: Choose a container with drainage holes, such as a shallow tray or pot. Beet greens microgreens don’t need a lot of depth to grow, so a container that is at least 2 inches deep will suffice.
- Sowing: Sow the beet seeds evenly over the surface of the soil, making sure they are not too close together. Cover with a thin layer of soil and gently water.
- Light: Beet greens microgreens require plenty of light to grow, so place the container in a sunny location or under grow lights. Aim for at least 6 hours of direct sunlight per day.
- Watering: Water the beet greens microgreens regularly, but don’t overwater. Aim to keep the soil moist but not waterlogged.
- Temperature: Beet greens microgreens prefer cooler temperatures between 60-70°F, so avoid placing the container in a hot or drafty location.
- Harvesting: Beet greens microgreens can be harvested in as little as 2-3 weeks after sowing, when they are around 1-2 inches tall. Use scissors to snip off the leaves at the base, leaving the roots intact. Rinse the harvested microgreens and pat dry before using.
Broccoli
Broccoli Microgreens Seeds. Broccoli microgreens have high sulforaphane content, are da… [More]
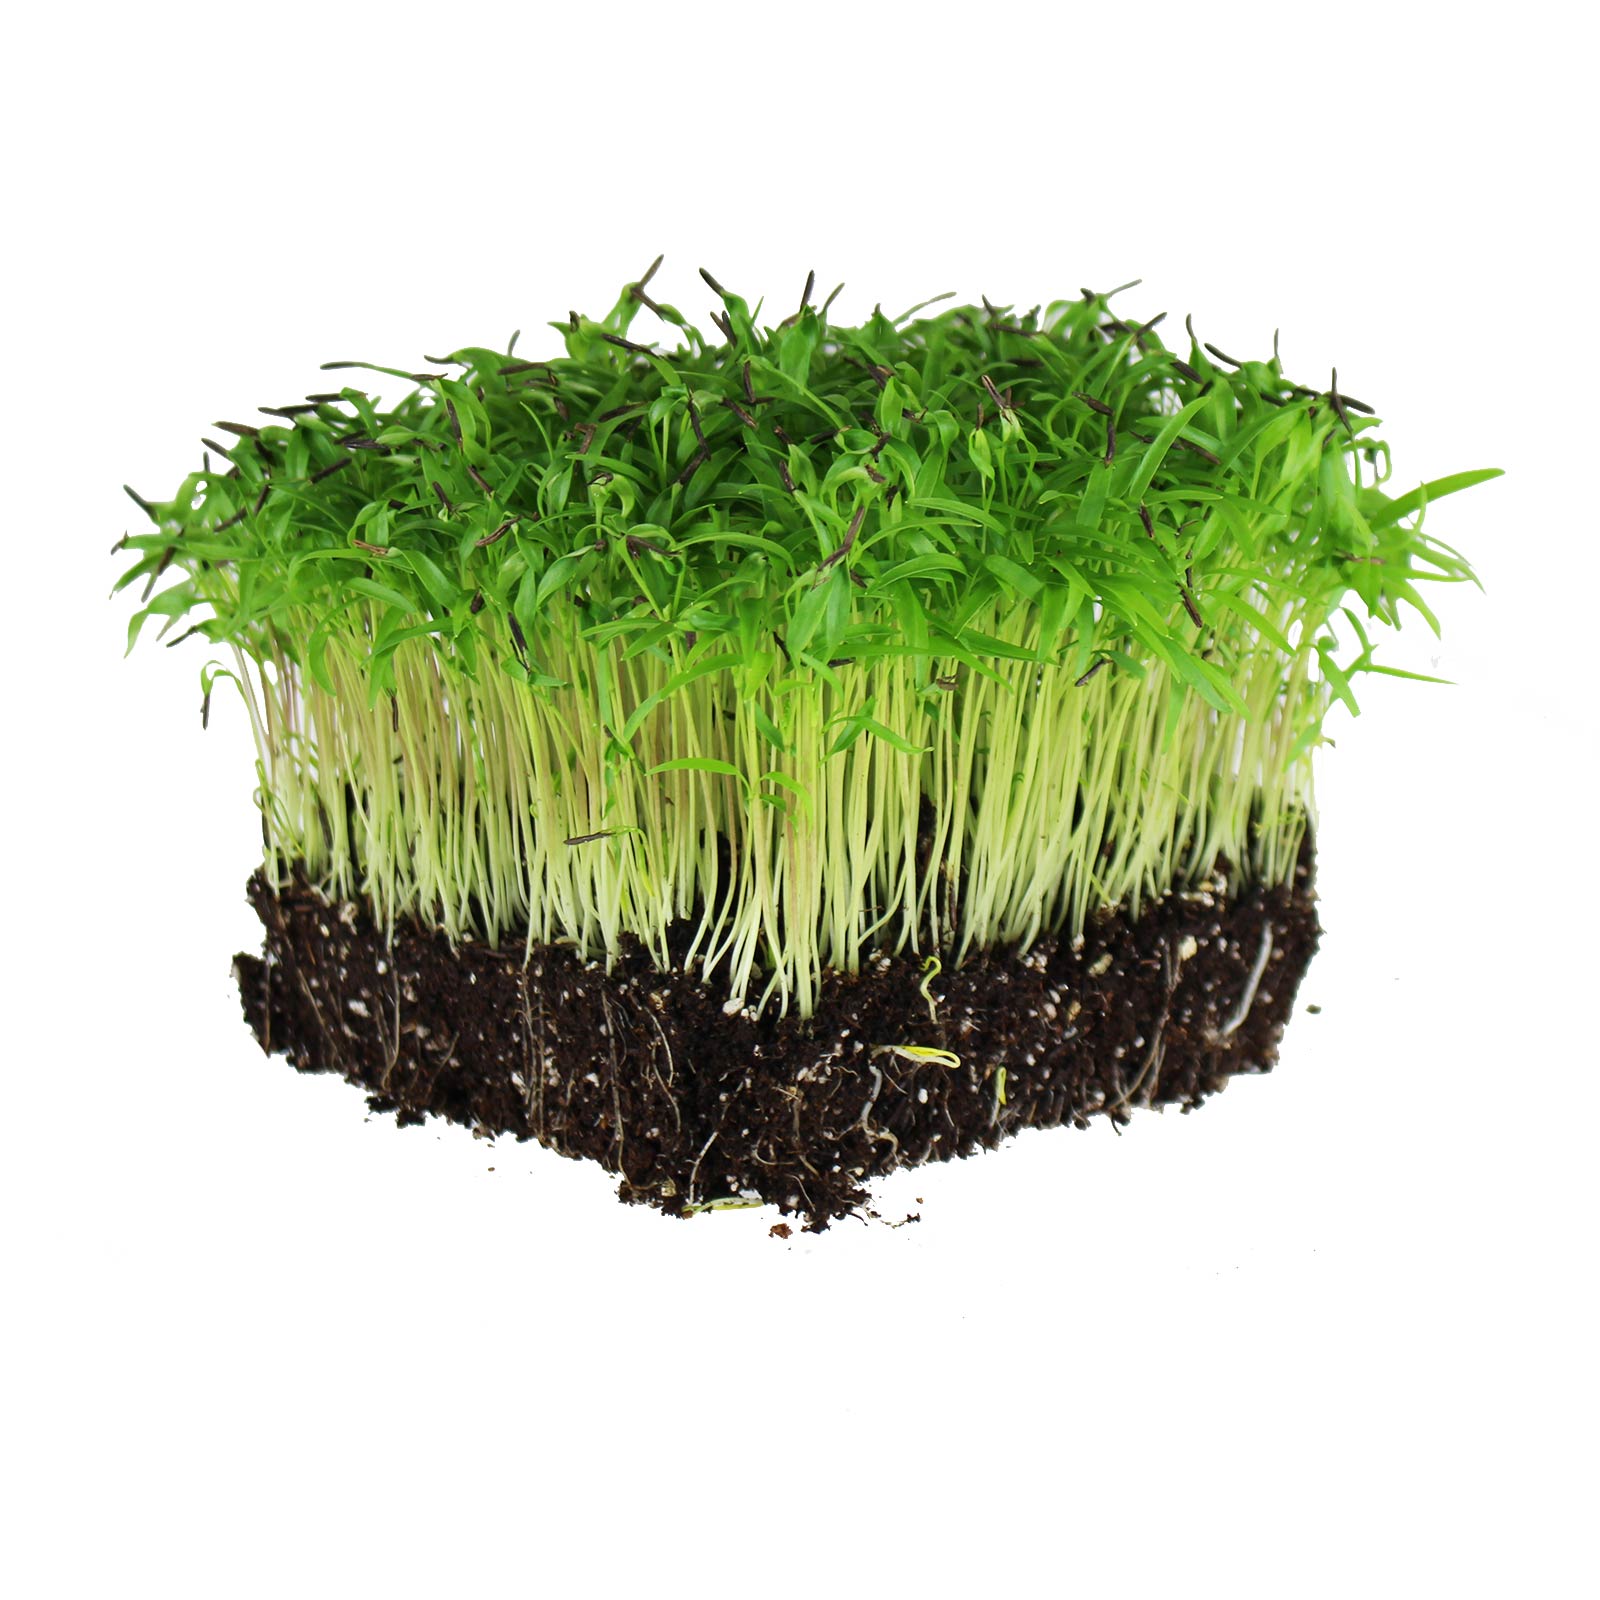
Broccoli microgreens have a mild, nutty flavor and are rich in vitamins A, C, and K.
- Soil: Make sure the soil is well-draining and not too compacted.
- Container: Choose a container with drainage holes, such as a shallow tray or pot. Broccoli microgreens don’t need a lot of depth to grow, so a container that is at least 2 inches deep will suffice.
- Sowing: Sow the broccoli seeds evenly over the surface of the soil, making sure they are not too close together. Cover with a thin layer of soil and gently water.
- Light: Broccoli microgreens require plenty of light to grow, so place the container in a sunny location or under grow lights. Aim for at least 6 hours of direct sunlight per day.
- Watering: Water the broccoli microgreens regularly, but don’t overwater. Aim to keep the soil moist but not waterlogged.
- Temperature: Broccoli microgreens prefer cooler temperatures between 60-70°F, so avoid placing the container in a hot or drafty location.
- Harvesting: Broccoli microgreens can be harvested in as little as 2-3 weeks after sowing when they are around 1-2 inches tall. Use scissors to snip off the leaves at the base, leaving the roots intact. Rinse the harvested microgreens and pat dry before using.
Cabbage
Green Cabbage Microgreens Seeds. Fast and easy to grow cabbagage micro greens seeds wit… [More]
Cabbage microgreens have a slightly sweet and nutty flavor and are a great addition to salads, sandwiches, and other dishes.
- Soil: Make sure the soil is well-draining and not too compacted.
- Container: Choose a container with drainage holes, such as a shallow tray or pot. Cabbage microgreens don’t need a lot of depth to grow, so a container that is at least 2 inches deep will suffice.
- Sowing: Sow the cabbage seeds evenly over the surface of the soil, making sure they are not too close together. Cover with a thin layer of soil and gently water.
- Light: Cabbage microgreens require plenty of light to grow, so place the container in a sunny location or under grow lights. Aim for at least 6 hours of direct sunlight per day.
- Watering: Water the cabbage microgreens regularly, but don’t overwater. Aim to keep the soil moist but not waterlogged.
- Temperature: Cabbage microgreens prefer cooler temperatures between 60-70°F, so avoid placing the container in a hot or drafty location.
- Harvesting: Cabbage microgreens can be harvested in as little as 2-3 weeks after sowing when they are around 1-2 inches tall. Use scissors to snip off the leaves at the base, leaving the roots intact. Rinse the harvested microgreens and pat dry before using.
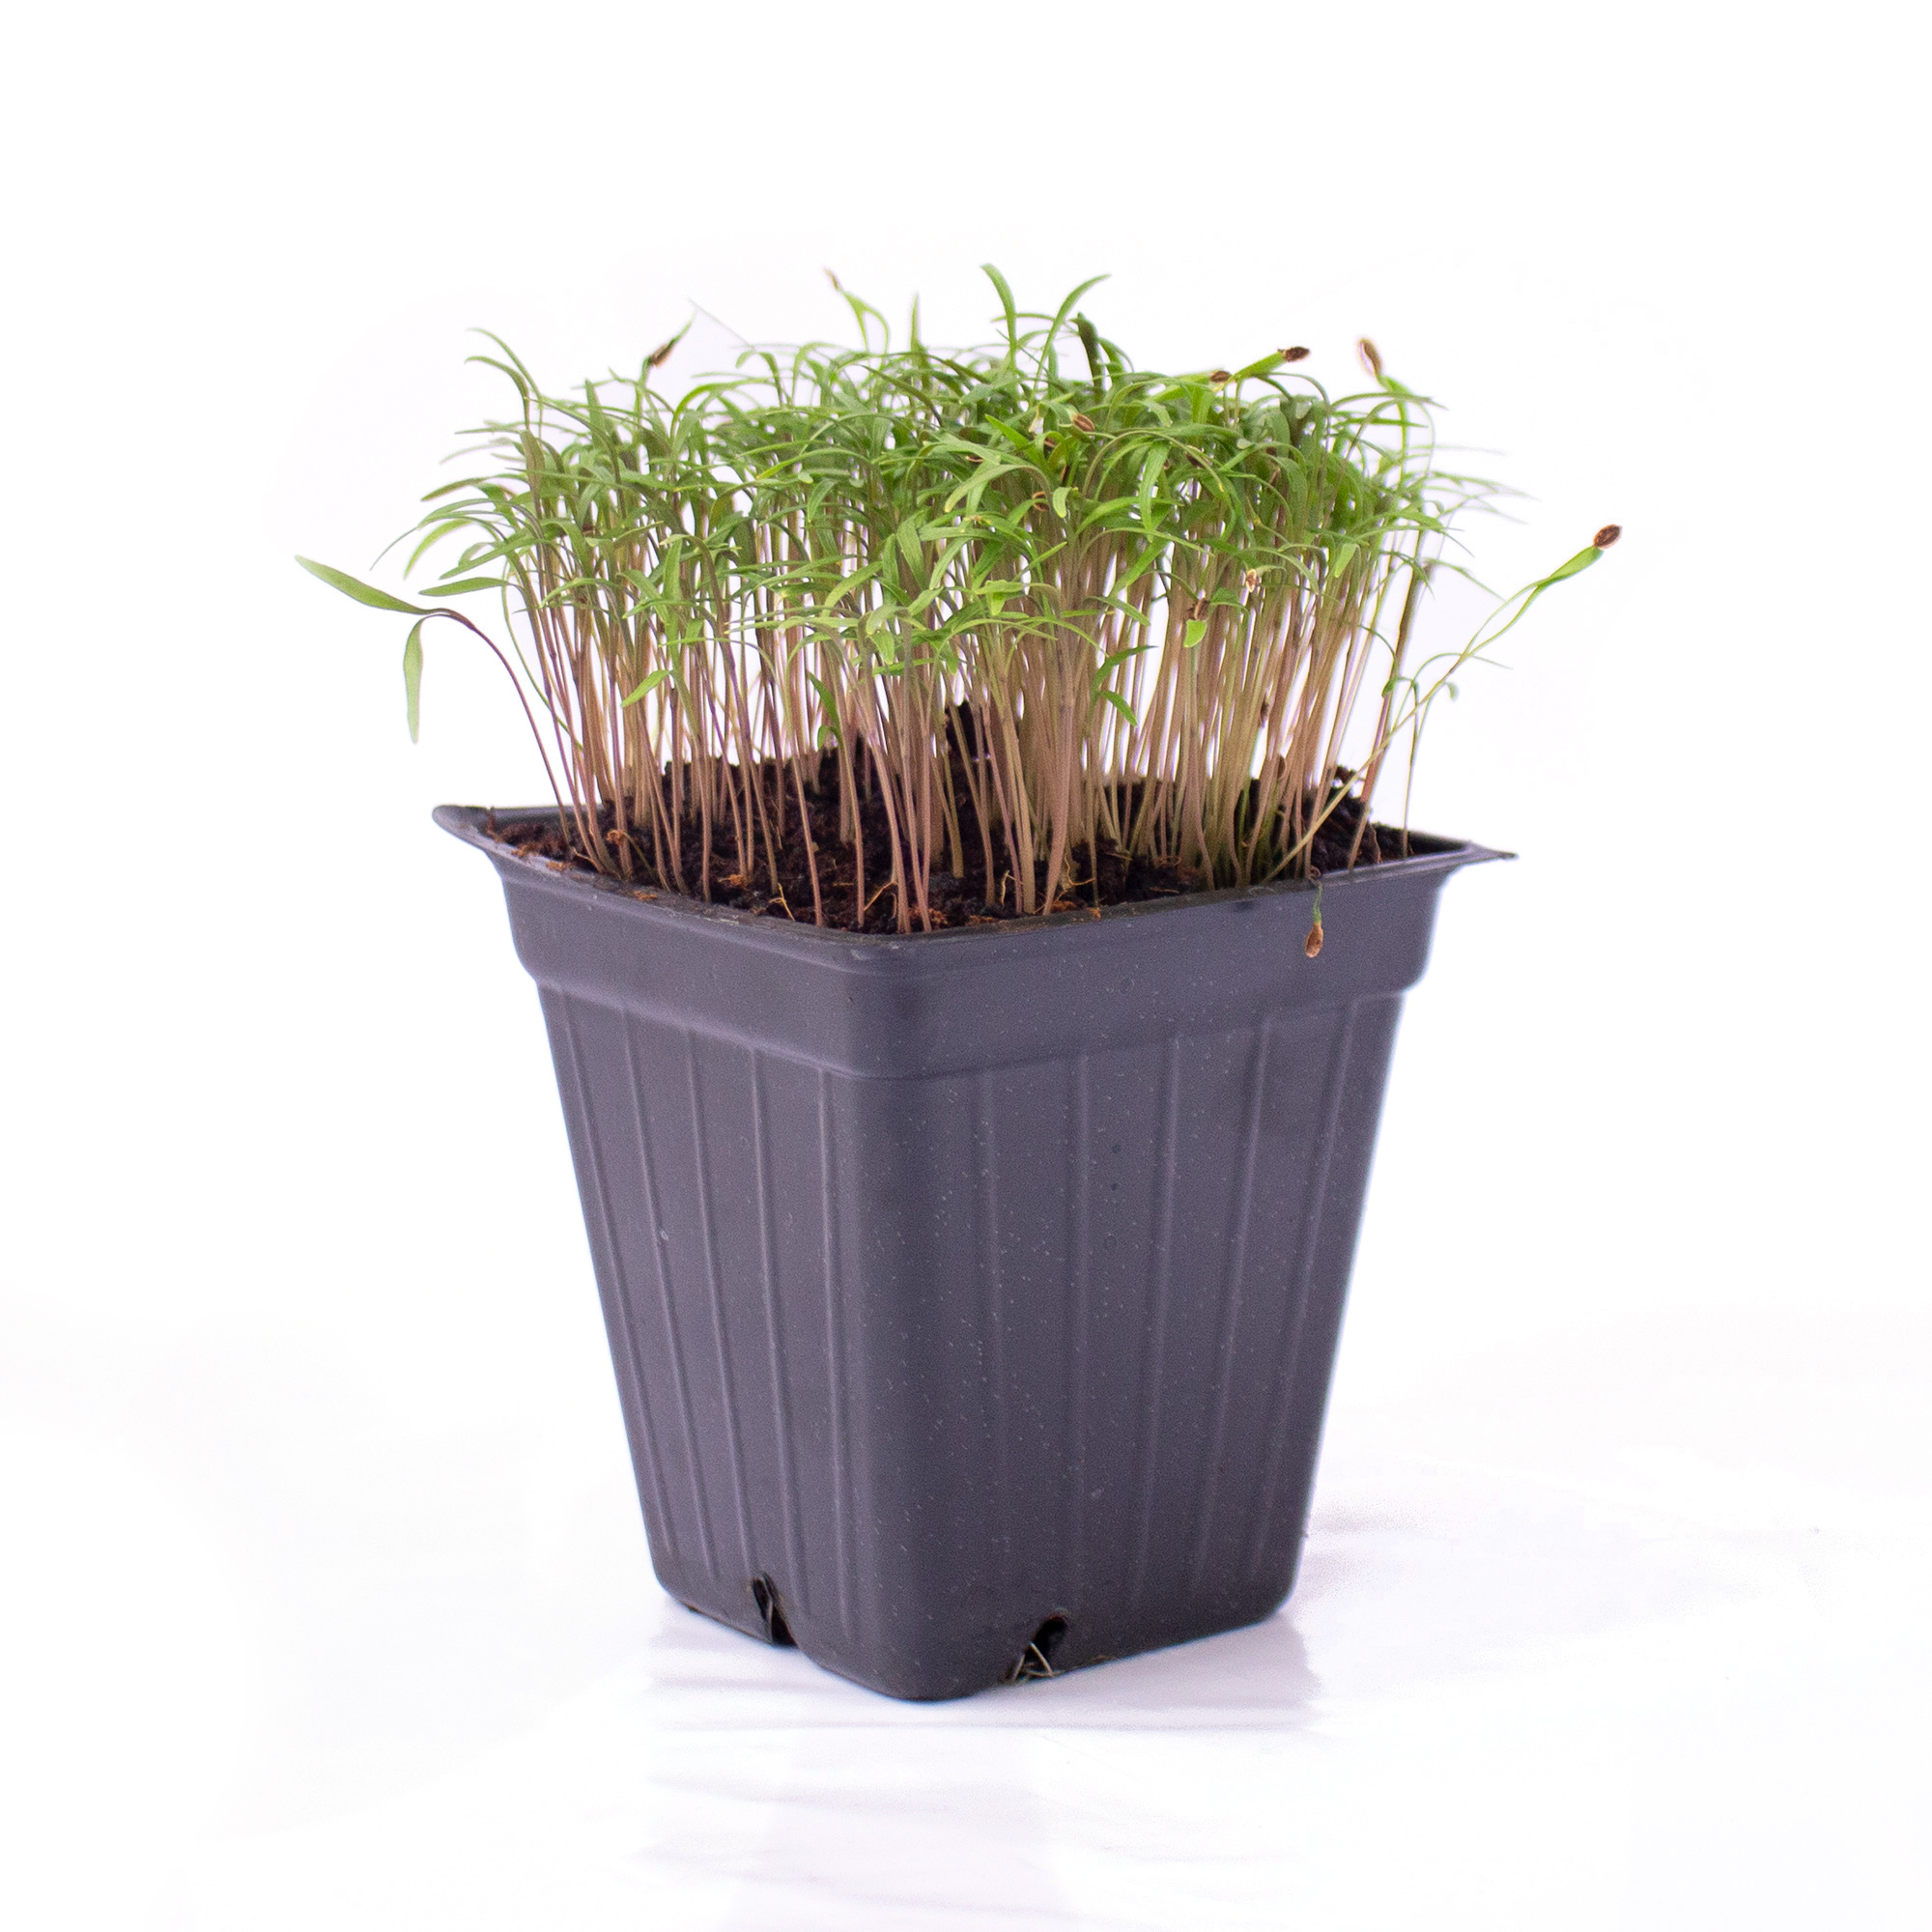
Celery
Celery Microgreens. Apium graveolens. 21-28 days. Microgreens. Non-GMO. Celery microgre… [More]
Celery microgreens have a mild celery flavor and are a great addition to salads, sandwiches, and other dishes.
- Soil: Make sure the soil is well-draining and not too compacted.
- Container: Choose a container with drainage holes, such as a shallow tray or pot. Celery microgreens need a bit more depth to grow than some other microgreens, so a container that is at least 4 inches deep will suffice.
- Sowing: Spread the celery seeds evenly over the surface of the soil, making sure they are not too close together. Cover with a thin layer of soil and gently water.
- Light: Celery microgreens require plenty of light to grow, so place the container in a sunny location or under grow lights. Aim for at least 6 hours of direct sunlight per day.
- Watering: Water the celery microgreens regularly, keeping the soil consistently moist. Celery microgreens are sensitive to drying out, so make sure to water them often enough to prevent the soil from drying out completely.
- Temperature: Celery microgreens prefer cooler temperatures between 60-70°F, so avoid placing the container in a hot or drafty location.
- Harvesting: Celery microgreens can be harvested in as little as 2-3 weeks after sowing, when they are around 2-3 inches tall. Use scissors to snip off the leaves at the base, leaving the roots intact. Rinse the harvested microgreens and pat dry before using.
Chervil
Anthiscus cerefolium Annual. 60 days. Finely cut curled leaves. Parsley-like flavor wit… [More]
Chervil microgreens have a mild anise flavor and are a great addition to salads, soups, and other dishes.
- Soil: Make sure the soil is well-draining and not too compacted.
- Container: Choose a container with drainage holes, such as a shallow tray or pot. Chervil microgreens don’t need a lot of depth to grow, so a container that is at least 2 inches deep will suffice.
- Sowing: Sow the chervil seeds evenly over the surface of the soil, making sure they are not too close together. Cover with a thin layer of soil and gently water.
- Light: Chervil microgreens require plenty of light to grow, so place the container in a sunny location or under grow lights. Aim for at least 6 hours of direct sunlight per day.
- Watering: Water the chervil microgreens regularly, but don’t overwater. Aim to keep the soil moist but not waterlogged.
- Temperature: Chervil microgreens prefer cool temperatures between 55-70°F, so avoid placing the container in a hot or drafty location.
- Harvesting: Chervil microgreens can be harvested in as little as 2-3 weeks after sowing, when they are around 1-2 inches tall. Use scissors to snip off the leaves at the base, leaving the roots intact. Rinse the harvested microgreens and pat dry before using.
Chives
Certified Organic. These seeds are best grown using sure to grow mats or sprouters. The… [More]
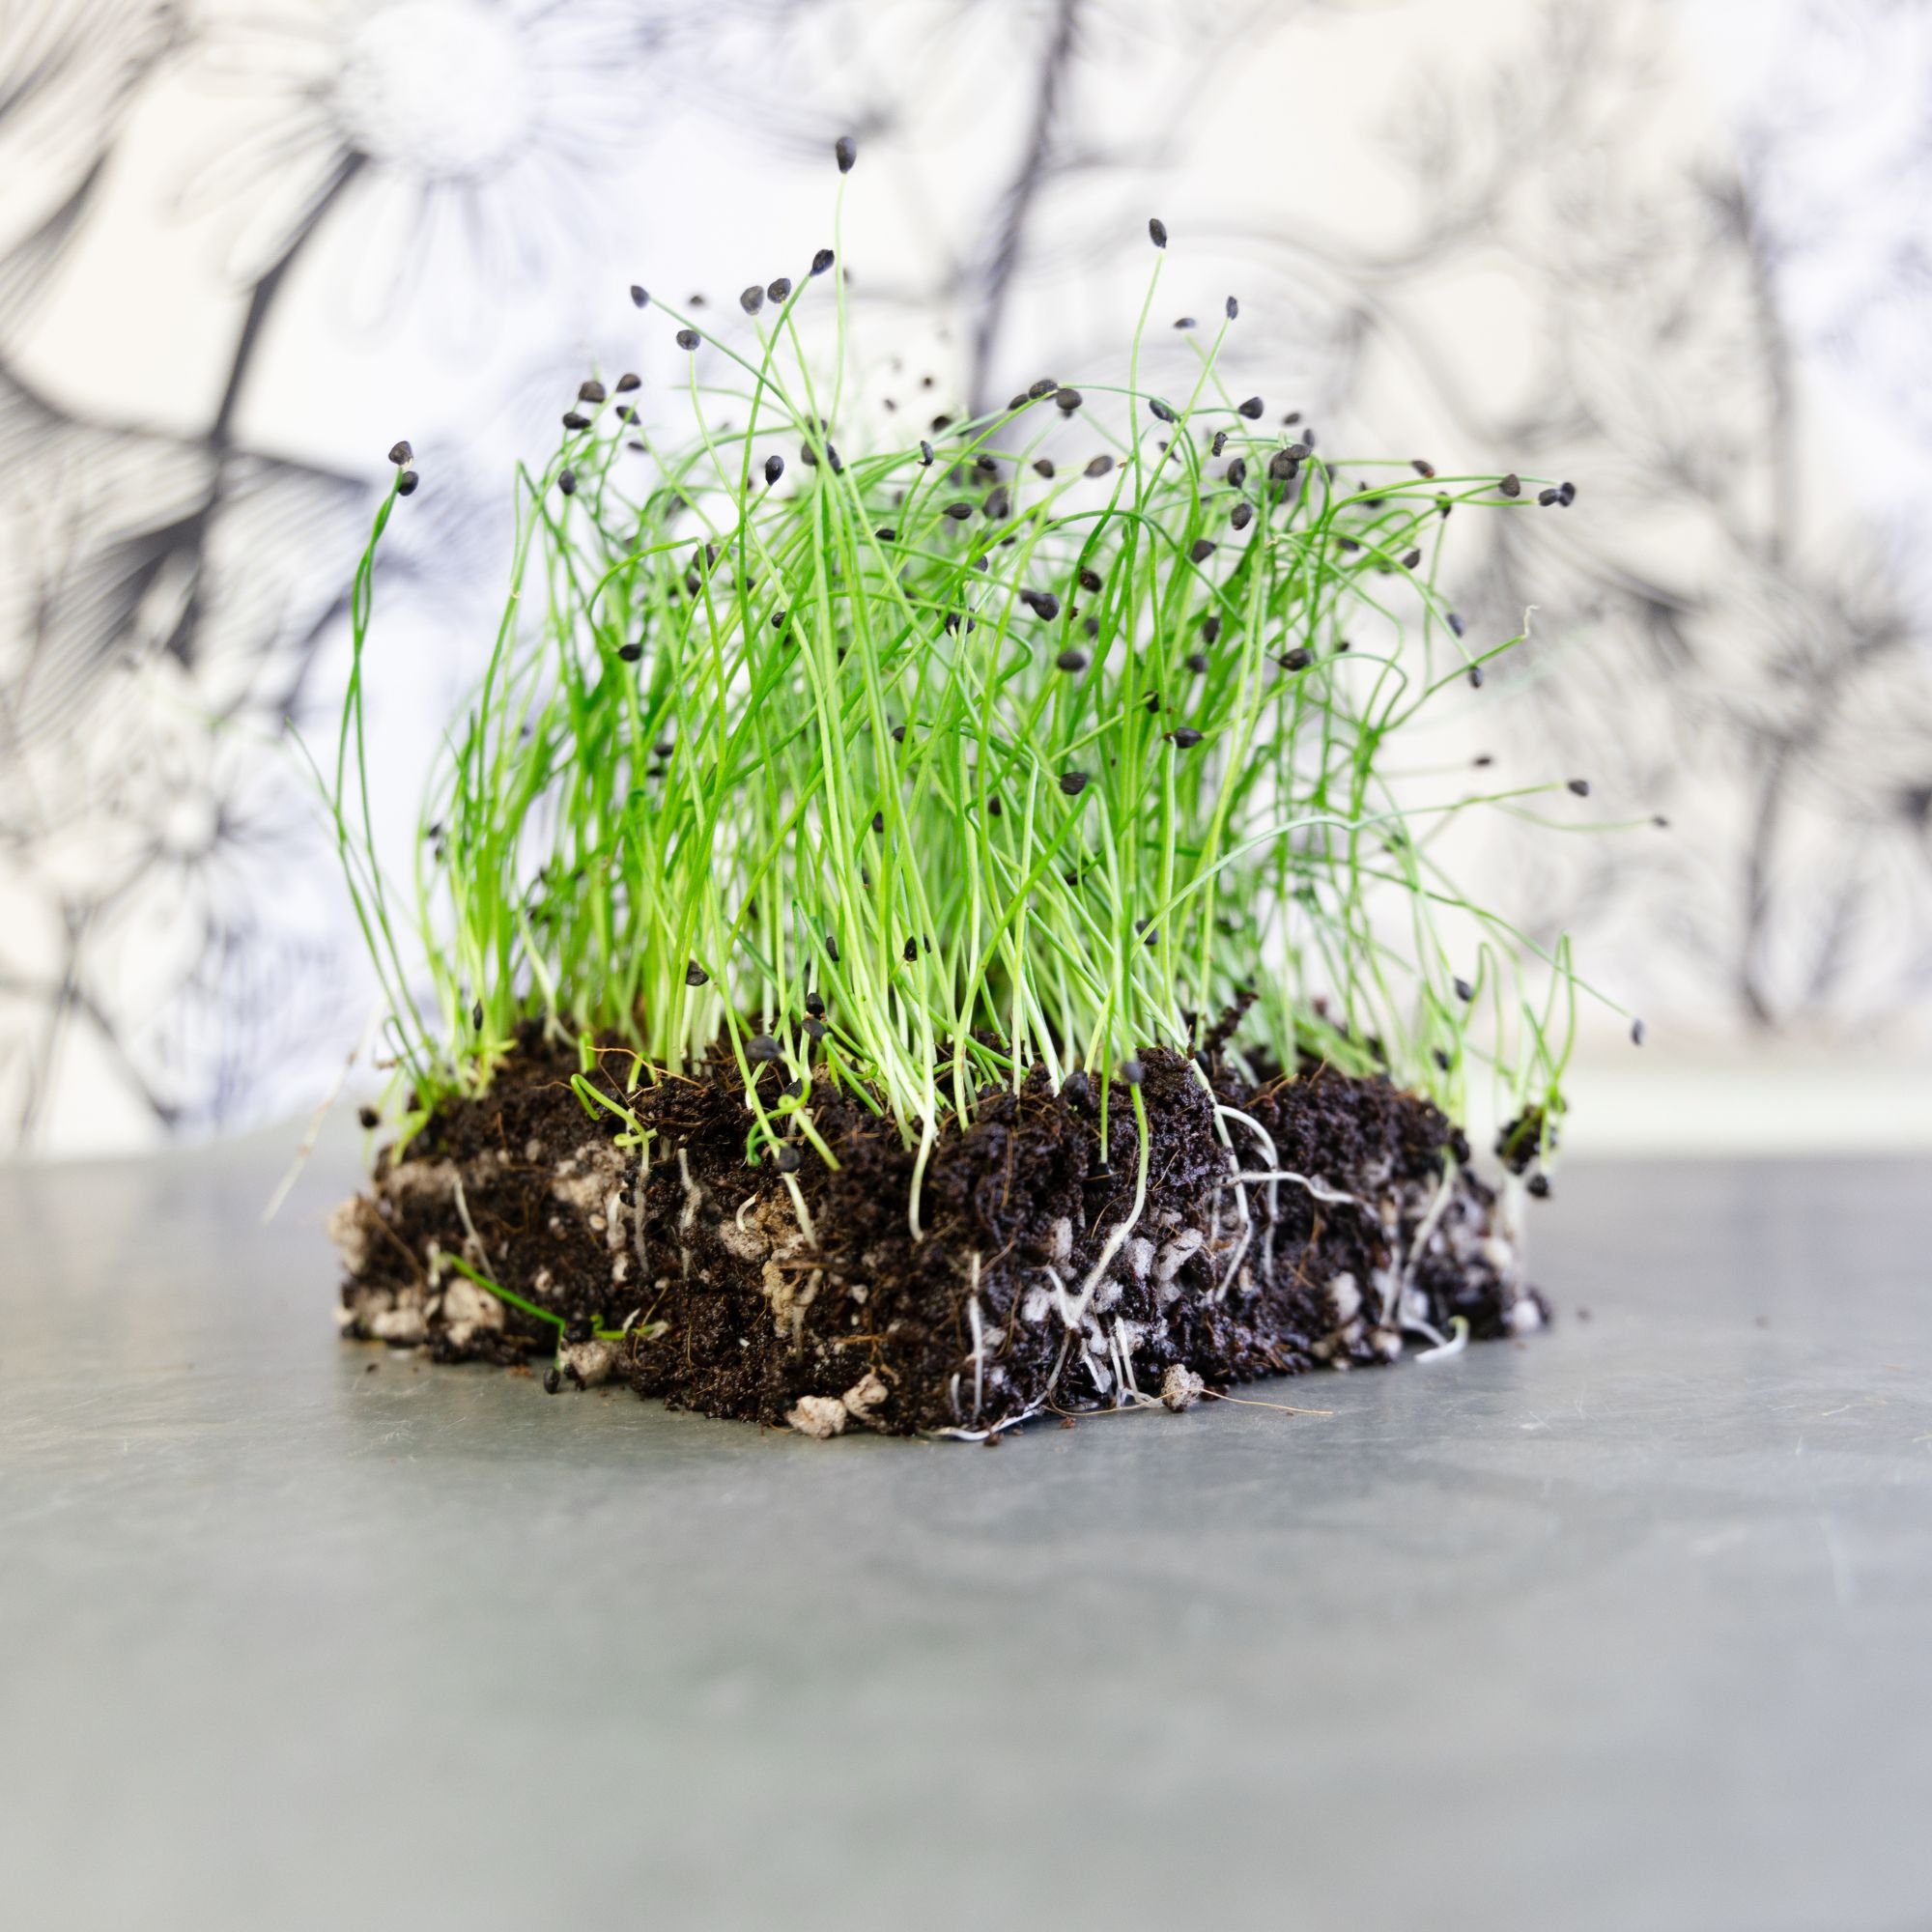
Chive microgreens are a flavorful and nutritious addition to salads, sandwiches, and other dishes.
- Soil: Make sure the soil is well-draining and not too compacted.
- Container: Choose a container with drainage holes, such as a shallow tray or pot. Chive microgreens don’t need a lot of depth to grow, so a container that is at least 2 inches deep will suffice.
- Sowing: Scatter the chive seeds evenly over the surface of the soil, making sure they are not too close together. Cover with a thin layer of soil and gently water.
- Light: Chive microgreens require plenty of light to grow, so place the container in a sunny location or under grow lights. Aim for at least 6 hours of direct sunlight per day.
- Watering: Water the chive microgreens regularly, but don’t overwater. Aim to keep the soil moist but not waterlogged.
- Harvesting: Chive microgreens can be harvested in as little as 1-2 weeks after sowing, when they are around 1-2 inches tall. Use scissors to snip off the leaves at the base, leaving the roots intact. Rinse the harvested microgreens and pat dry before using.
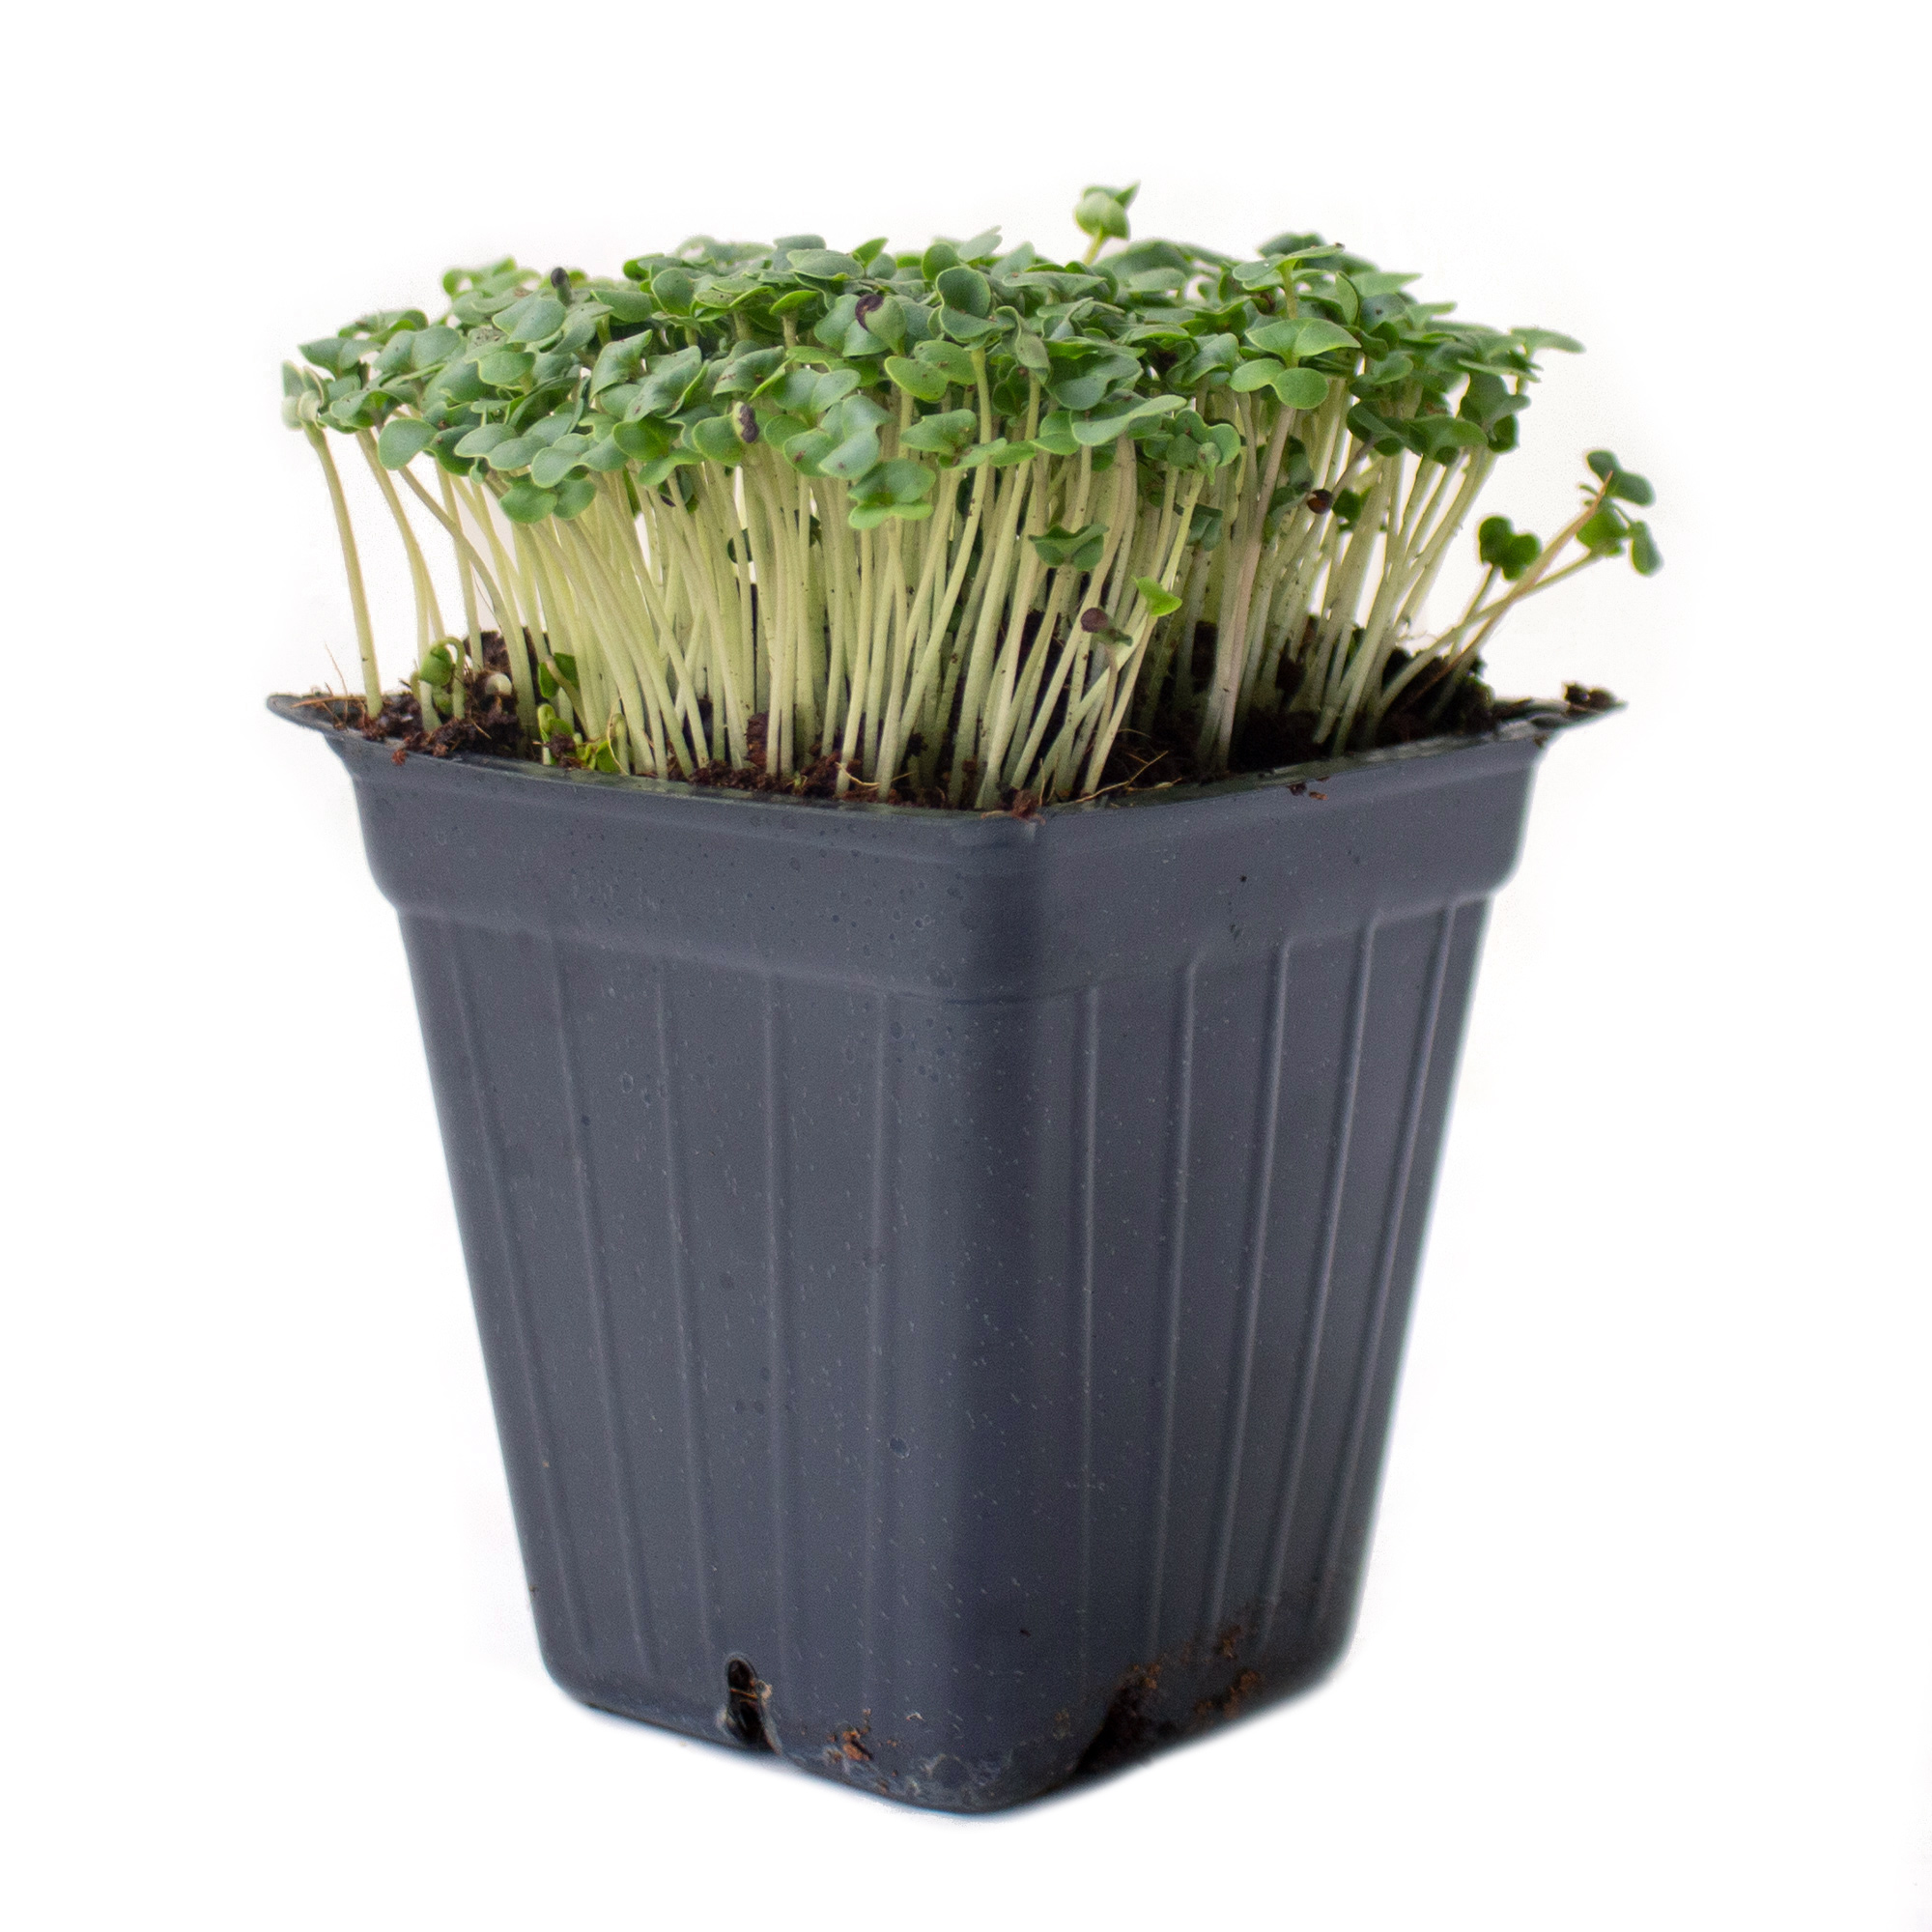
Cilantro
Celery Microgreens. Apium graveolens. 21-28 days. Microgreens. Non-GMO. Celery microgre… [More]
- Soil: Cilantro microgreens can be grown in any good-quality soil, but a potting mix or seed starting mix is recommended. Make sure the soil is well-draining and not too compacted.
- Container: Choose a container with drainage holes, such as a shallow tray or pot. Cilantro microgreens don’t need a lot of depth to grow, so a container that is at least 2 inches deep will suffice.
- Sowing: Sow the cilantro seeds evenly over the surface of the soil, making sure they are not too close together. Cover with a thin layer of soil and gently water.
- Light: Cilantro microgreens require plenty of light to grow, so place the container in a sunny location or under grow lights. Aim for at least 6 hours of direct sunlight per day.
- Watering: Water the cilantro microgreens regularly, but don’t overwater. Aim to keep the soil moist but not waterlogged.
- Harvesting: Cilantro microgreens can be harvested in as little as 2-3 weeks after sowing, when they are around 1-2 inches tall. Use scissors to snip off the leaves at the base, leaving the roots intact.
Dill
Dill Microgreens Seeds. Anethum graveolens. Dill micros are light to dark green and hav… [More]
- Soil: Dill microgreens can be grown in a variety of soils, but a good-quality potting mix or seed starting mix is recommended. Make sure the soil is well-draining to avoid waterlogged roots.
- Container: Choose a container with drainage holes, such as a shallow tray or pot. Dill microgreens don’t need a lot of depth to grow, so a container that is at least 2 inches deep will suffice.
- Sowing: Sow the dill seeds evenly over the surface of the soil, making sure they are not too close together. Cover with a thin layer of soil and gently water.
- Light: Dill microgreens require plenty of light to grow, so place the container in a sunny location or under grow lights. Aim for at least 6 hours of direct sunlight per day.
- Watering: Water the dill microgreens regularly, but don’t overwater. Aim to keep the soil moist but not waterlogged.
- Harvesting: Dill microgreens can be harvested in as little as 2-3 weeks after sowing, when they are around 1-2 inches tall. Use scissors to snip off the leaves at the base, leaving the roots intact.
Fennel
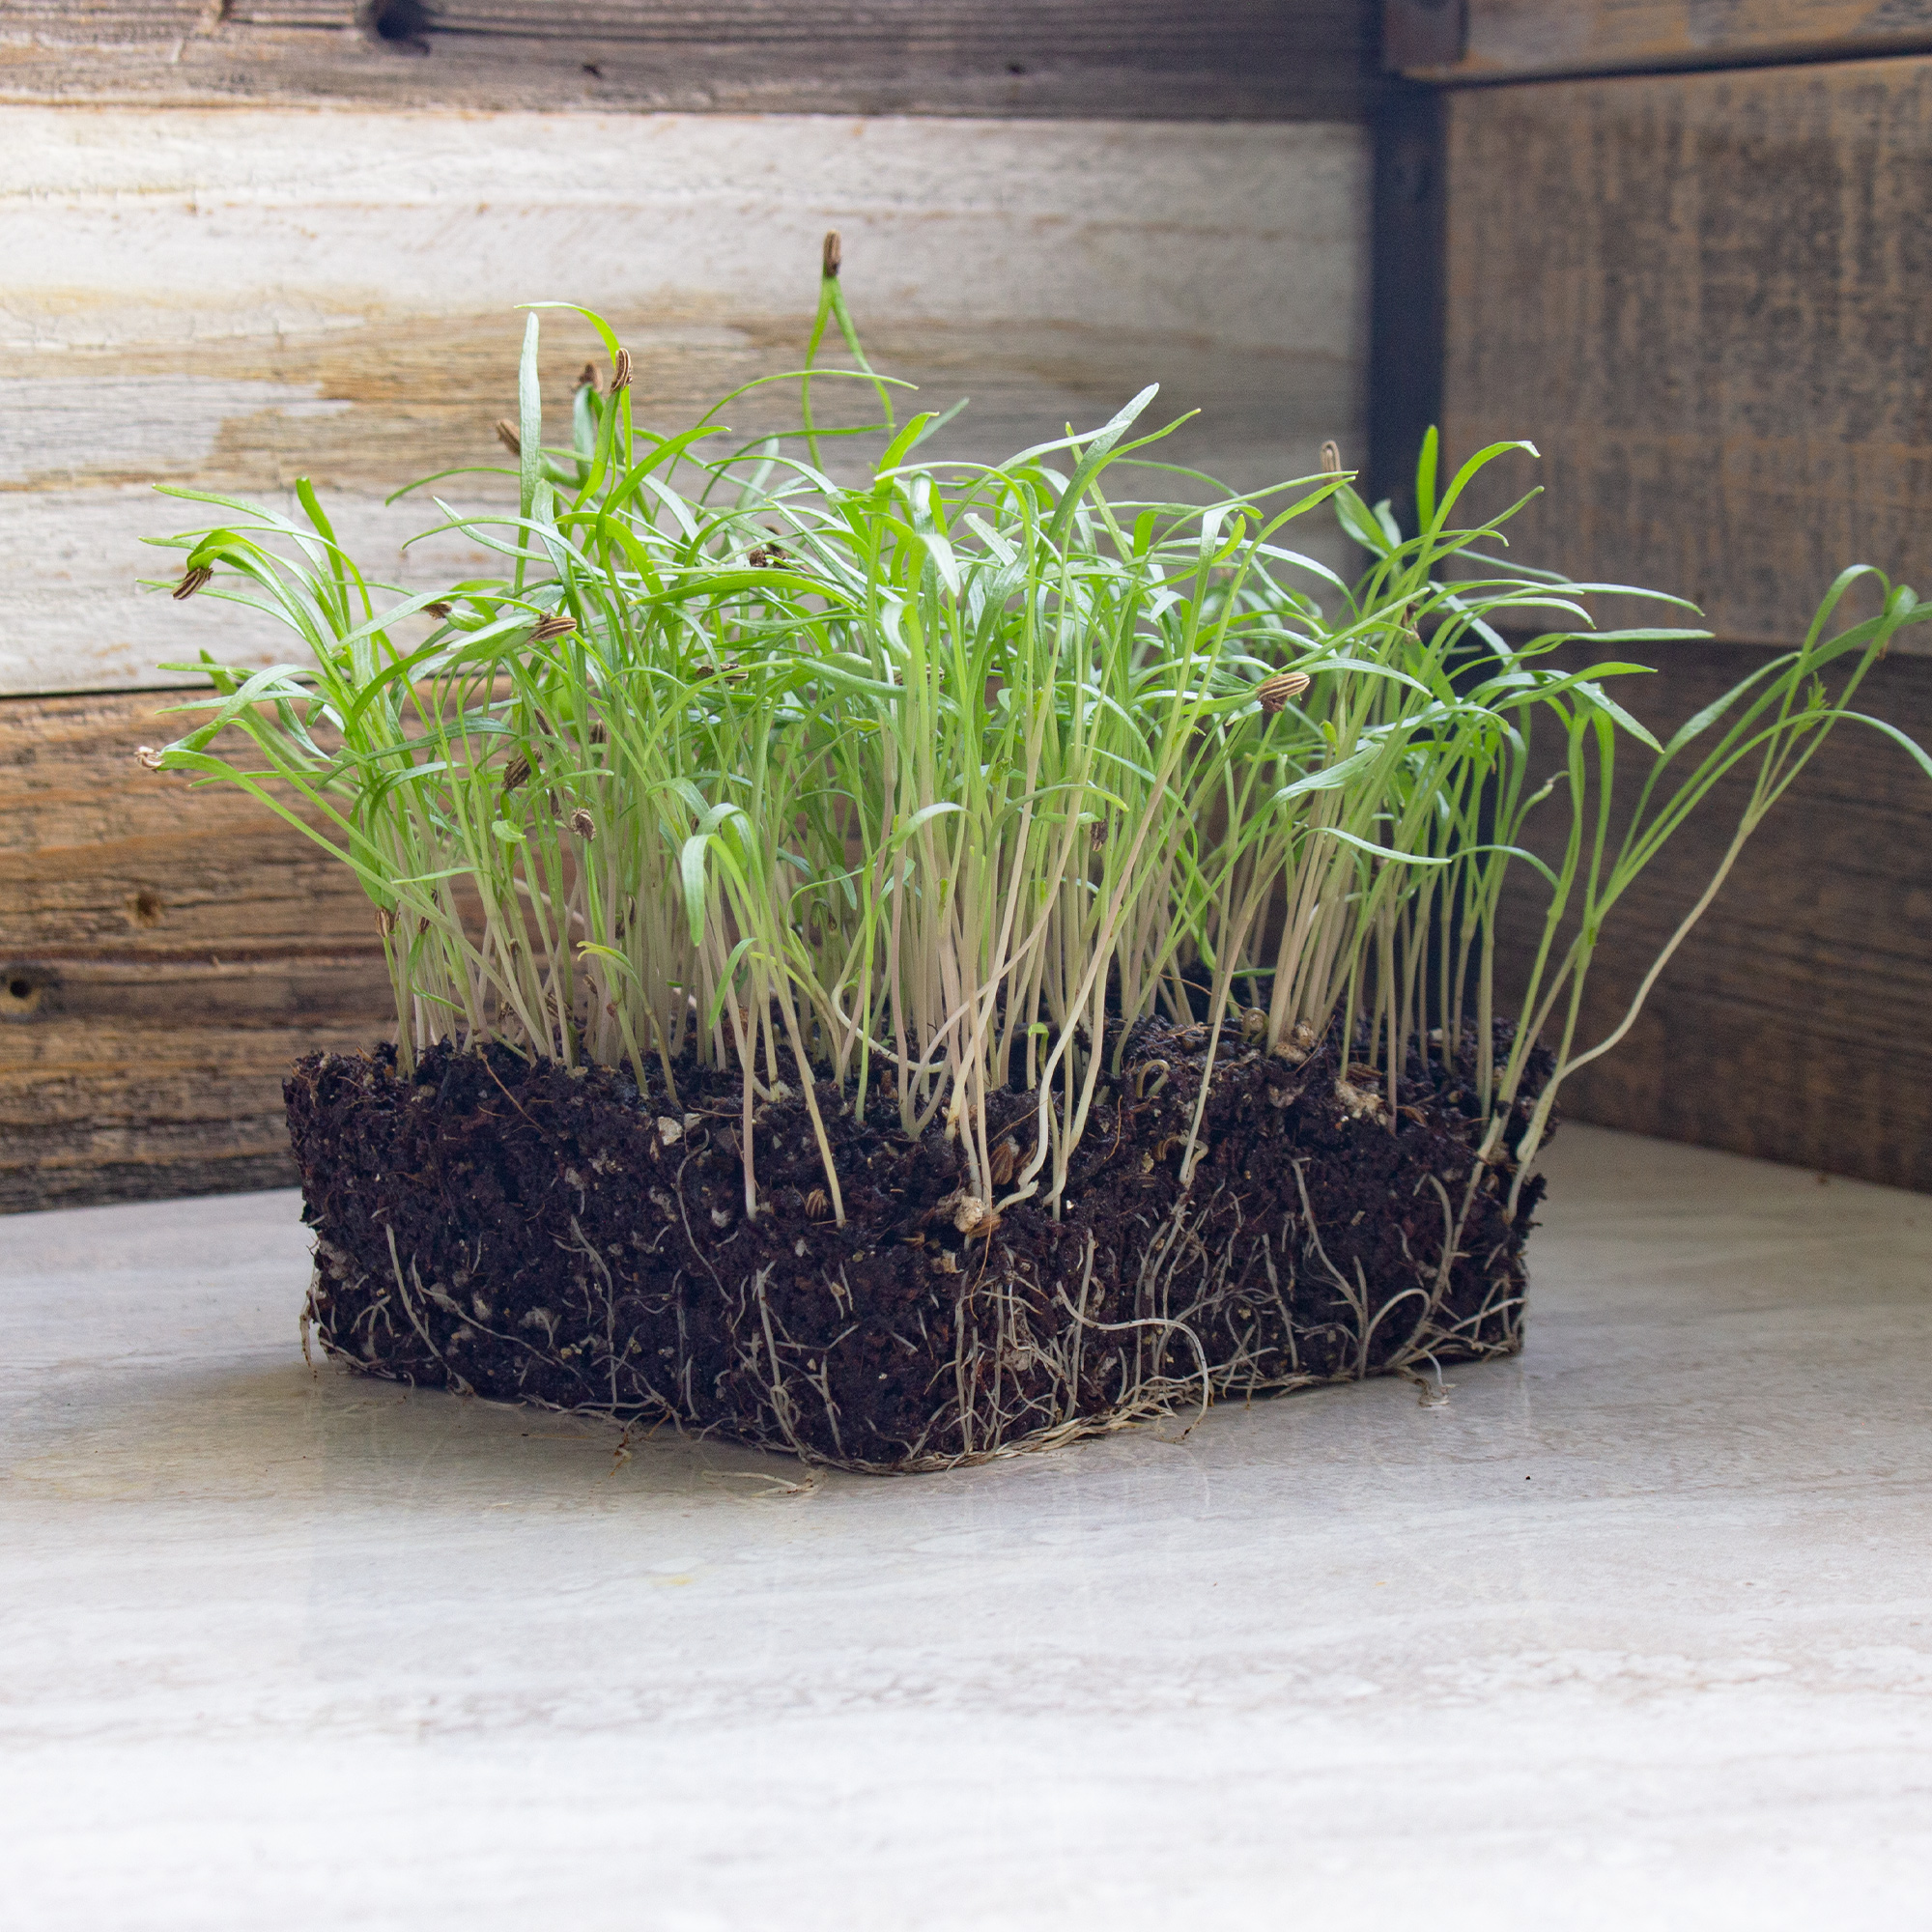
Fennel Sweet (Foeniculum Vulgar Dulce) is an excellent addition to home gardens. It is … [More]
Fennel microgreens have a mild, licorice-like flavor and are a great addition to salads, sandwiches, and other dishes.
- Soil: Fennel microgreens grow best in a well-draining soil mix that is rich in nutrients. A good potting mix or seed starting mix is recommended.
- Container: Choose a shallow container with drainage holes, such as a tray or pot. Fennel microgreens don’t need a lot of depth to grow, so a container that is at least 2 inches deep will suffice.
- Sowing: Scatter the fennel seeds evenly over the soil surface, making sure they are not too close together. Cover with a thin layer of soil and gently water.
- Light: Fennel microgreens require plenty of light to grow, so place the container in a sunny location or under grow lights. Aim for at least 6 hours of direct sunlight per day.
- Watering: Water the fennel microgreens regularly, keeping the soil moist but not waterlogged.
- Temperature: Fennel microgreens prefer cooler temperatures between 55-65°F, so avoid placing the container in a hot or drafty location.
- Harvesting: Fennel microgreens can be harvested in as little as 1-2 weeks after sowing, when they are around 2-3 inches tall. Use scissors to snip off the leaves at the base, leaving the roots intact.
Kale
50-60 days. For those that are interested in growing greens all through the winter, Dwa… [More]
Kale microgreens have a slightly bitter, earthy flavor and are a great source of vitamins and minerals. They are a versatile addition to salads, smoothies, and other dishes.
- Soil: Kale microgreens grow best in a well-draining soil mix that is rich in nutrients. A good potting mix or seed starting mix is recommended.
- Container: Choose a shallow container with drainage holes, such as a tray or pot. Kale microgreens don’t need a lot of depth to grow, so a container that is at least 2 inches deep will suffice.
- Sowing: Scatter the kale seeds evenly over the soil surface, making sure they are not too close together. Cover with a thin layer of soil and gently water.
- Light: Kale microgreens require plenty of light to grow, so place the container in a sunny location or under grow lights. Aim for at least 6 hours of direct sunlight per day.
- Watering: Water the kale microgreens regularly, keeping the soil moist but not waterlogged.
- Temperature: Kale microgreens prefer cooler temperatures between 55-65°F, so avoid placing the container in a hot or drafty location.
- Harvesting: Kale microgreens can be harvested in as little as 1-2 weeks after sowing, when they are around 2-3 inches tall. Use scissors to snip off the leaves at the base, leaving the roots intact.
Lettuce
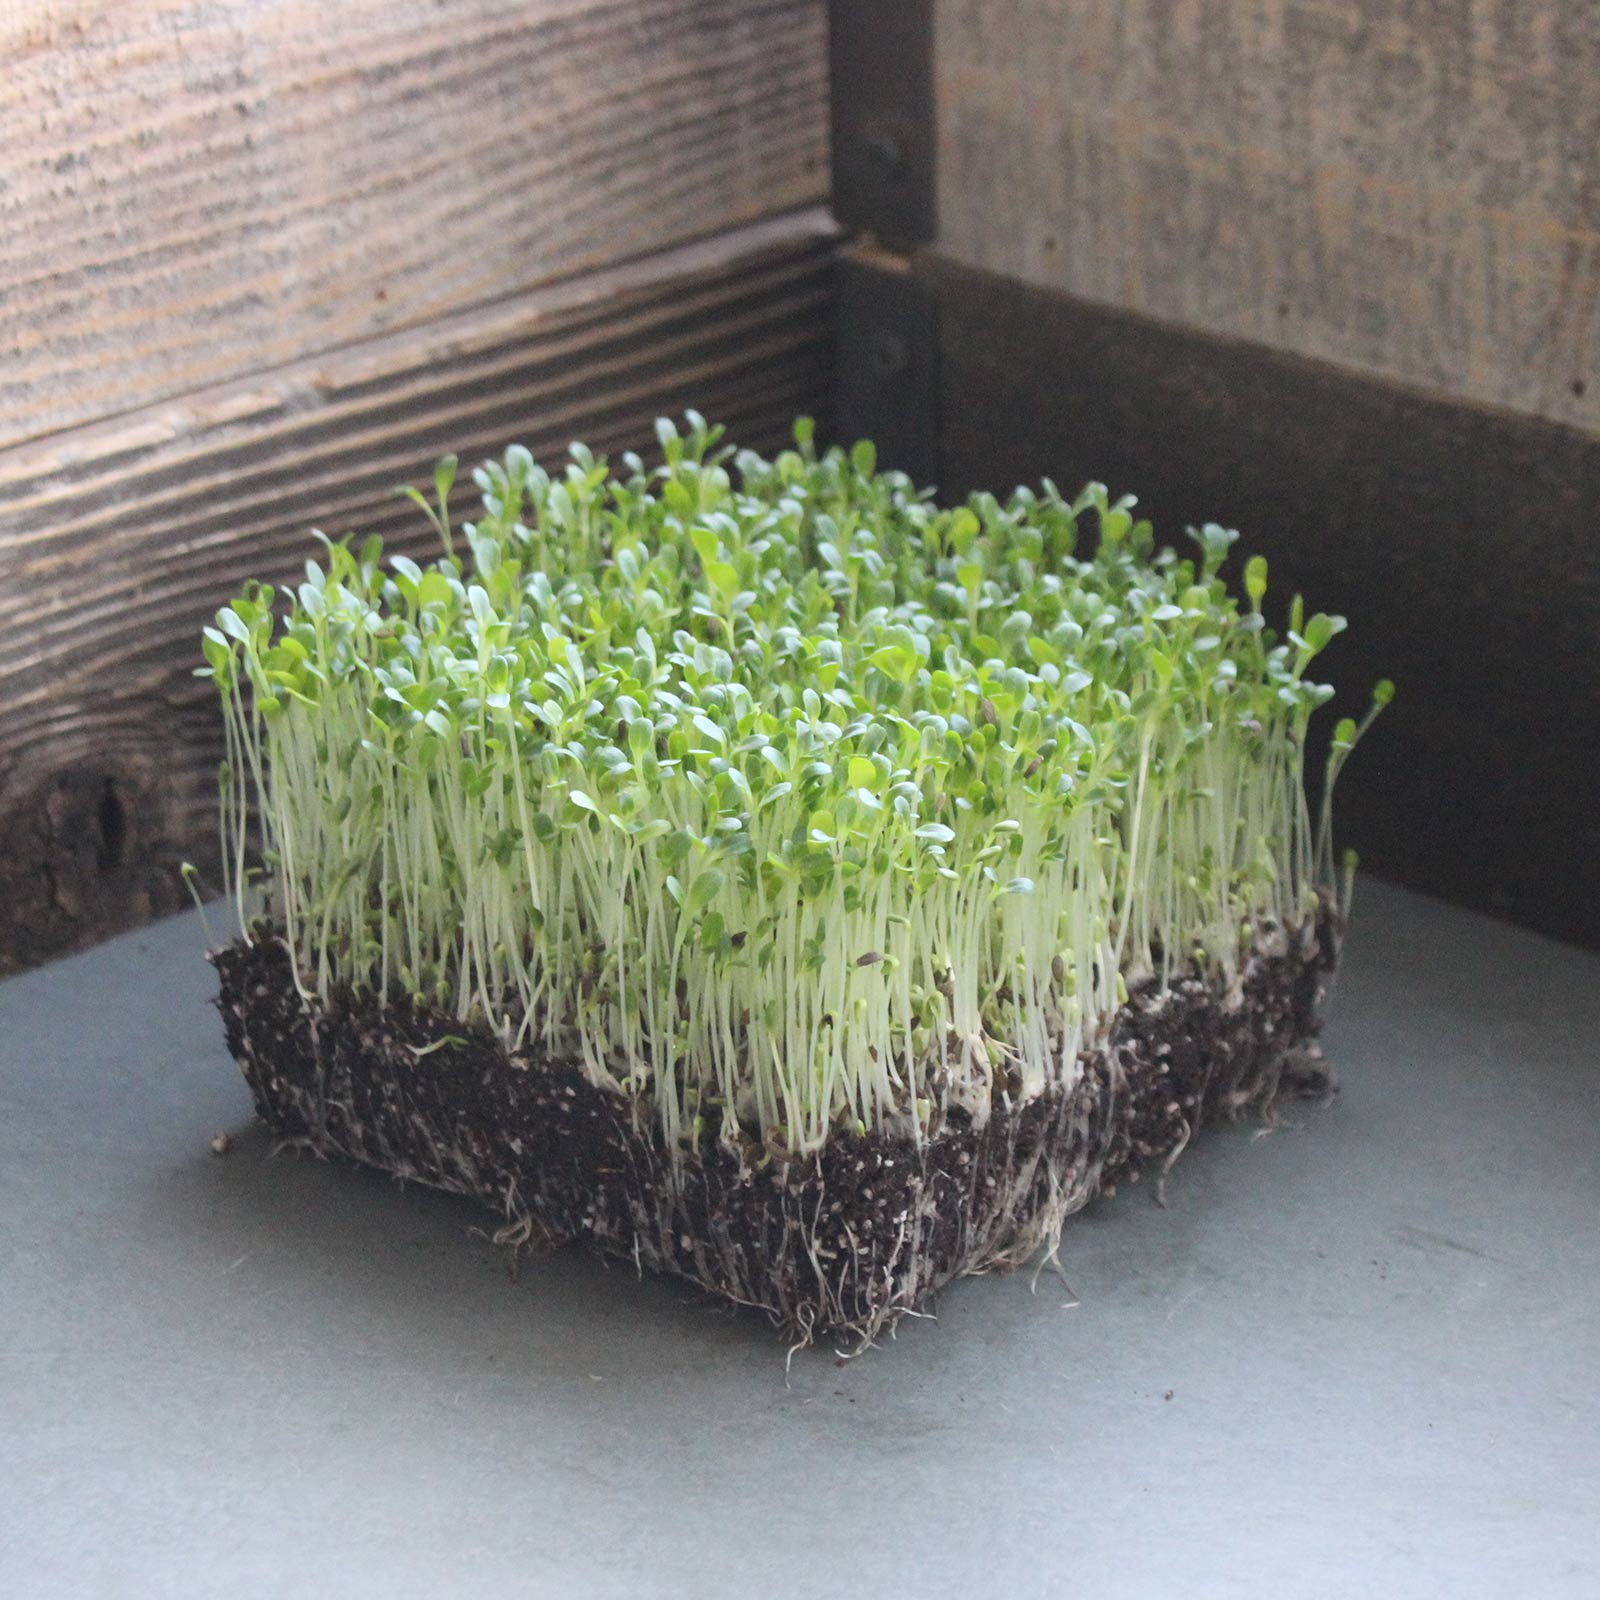
Waldmann’s Green Lettuce is easy to grow, flavorful, and an excellent choice as a base … [More]
Lettuce microgreens have a mild, sweet flavor and are a great source of vitamins and minerals.
- Soil: Lettuce microgreens grow best in a well-draining soil mix that is rich in nutrients. A good potting mix or seed starting mix is recommended.
- Container: Choose a shallow container with drainage holes, such as a tray or pot. Lettuce microgreens don’t need a lot of depth to grow, so a container that is at least 2 inches deep will suffice.
- Sowing: Scatter the lettuce seeds evenly over the soil surface, making sure they are not too close together. Cover with a thin layer of soil and gently water.
- Light: Lettuce microgreens require plenty of light to grow, so place the container in a sunny location or under grow lights. Aim for at least 6 hours of direct sunlight per day.
- Watering: Water the lettuce microgreens regularly, keeping the soil moist but not waterlogged.
- Temperature: Lettuce microgreens prefer cooler temperatures between 55-65°F, so avoid placing the container in a hot or drafty location.
- Harvesting: Lettuce microgreens can be harvested in as little as 1-2 weeks after sowing when they are around 2-3 inches tall. Use scissors to snip off the leaves at the base, leaving the roots intact. Rinse the harvested microgreens and pat dry before using.
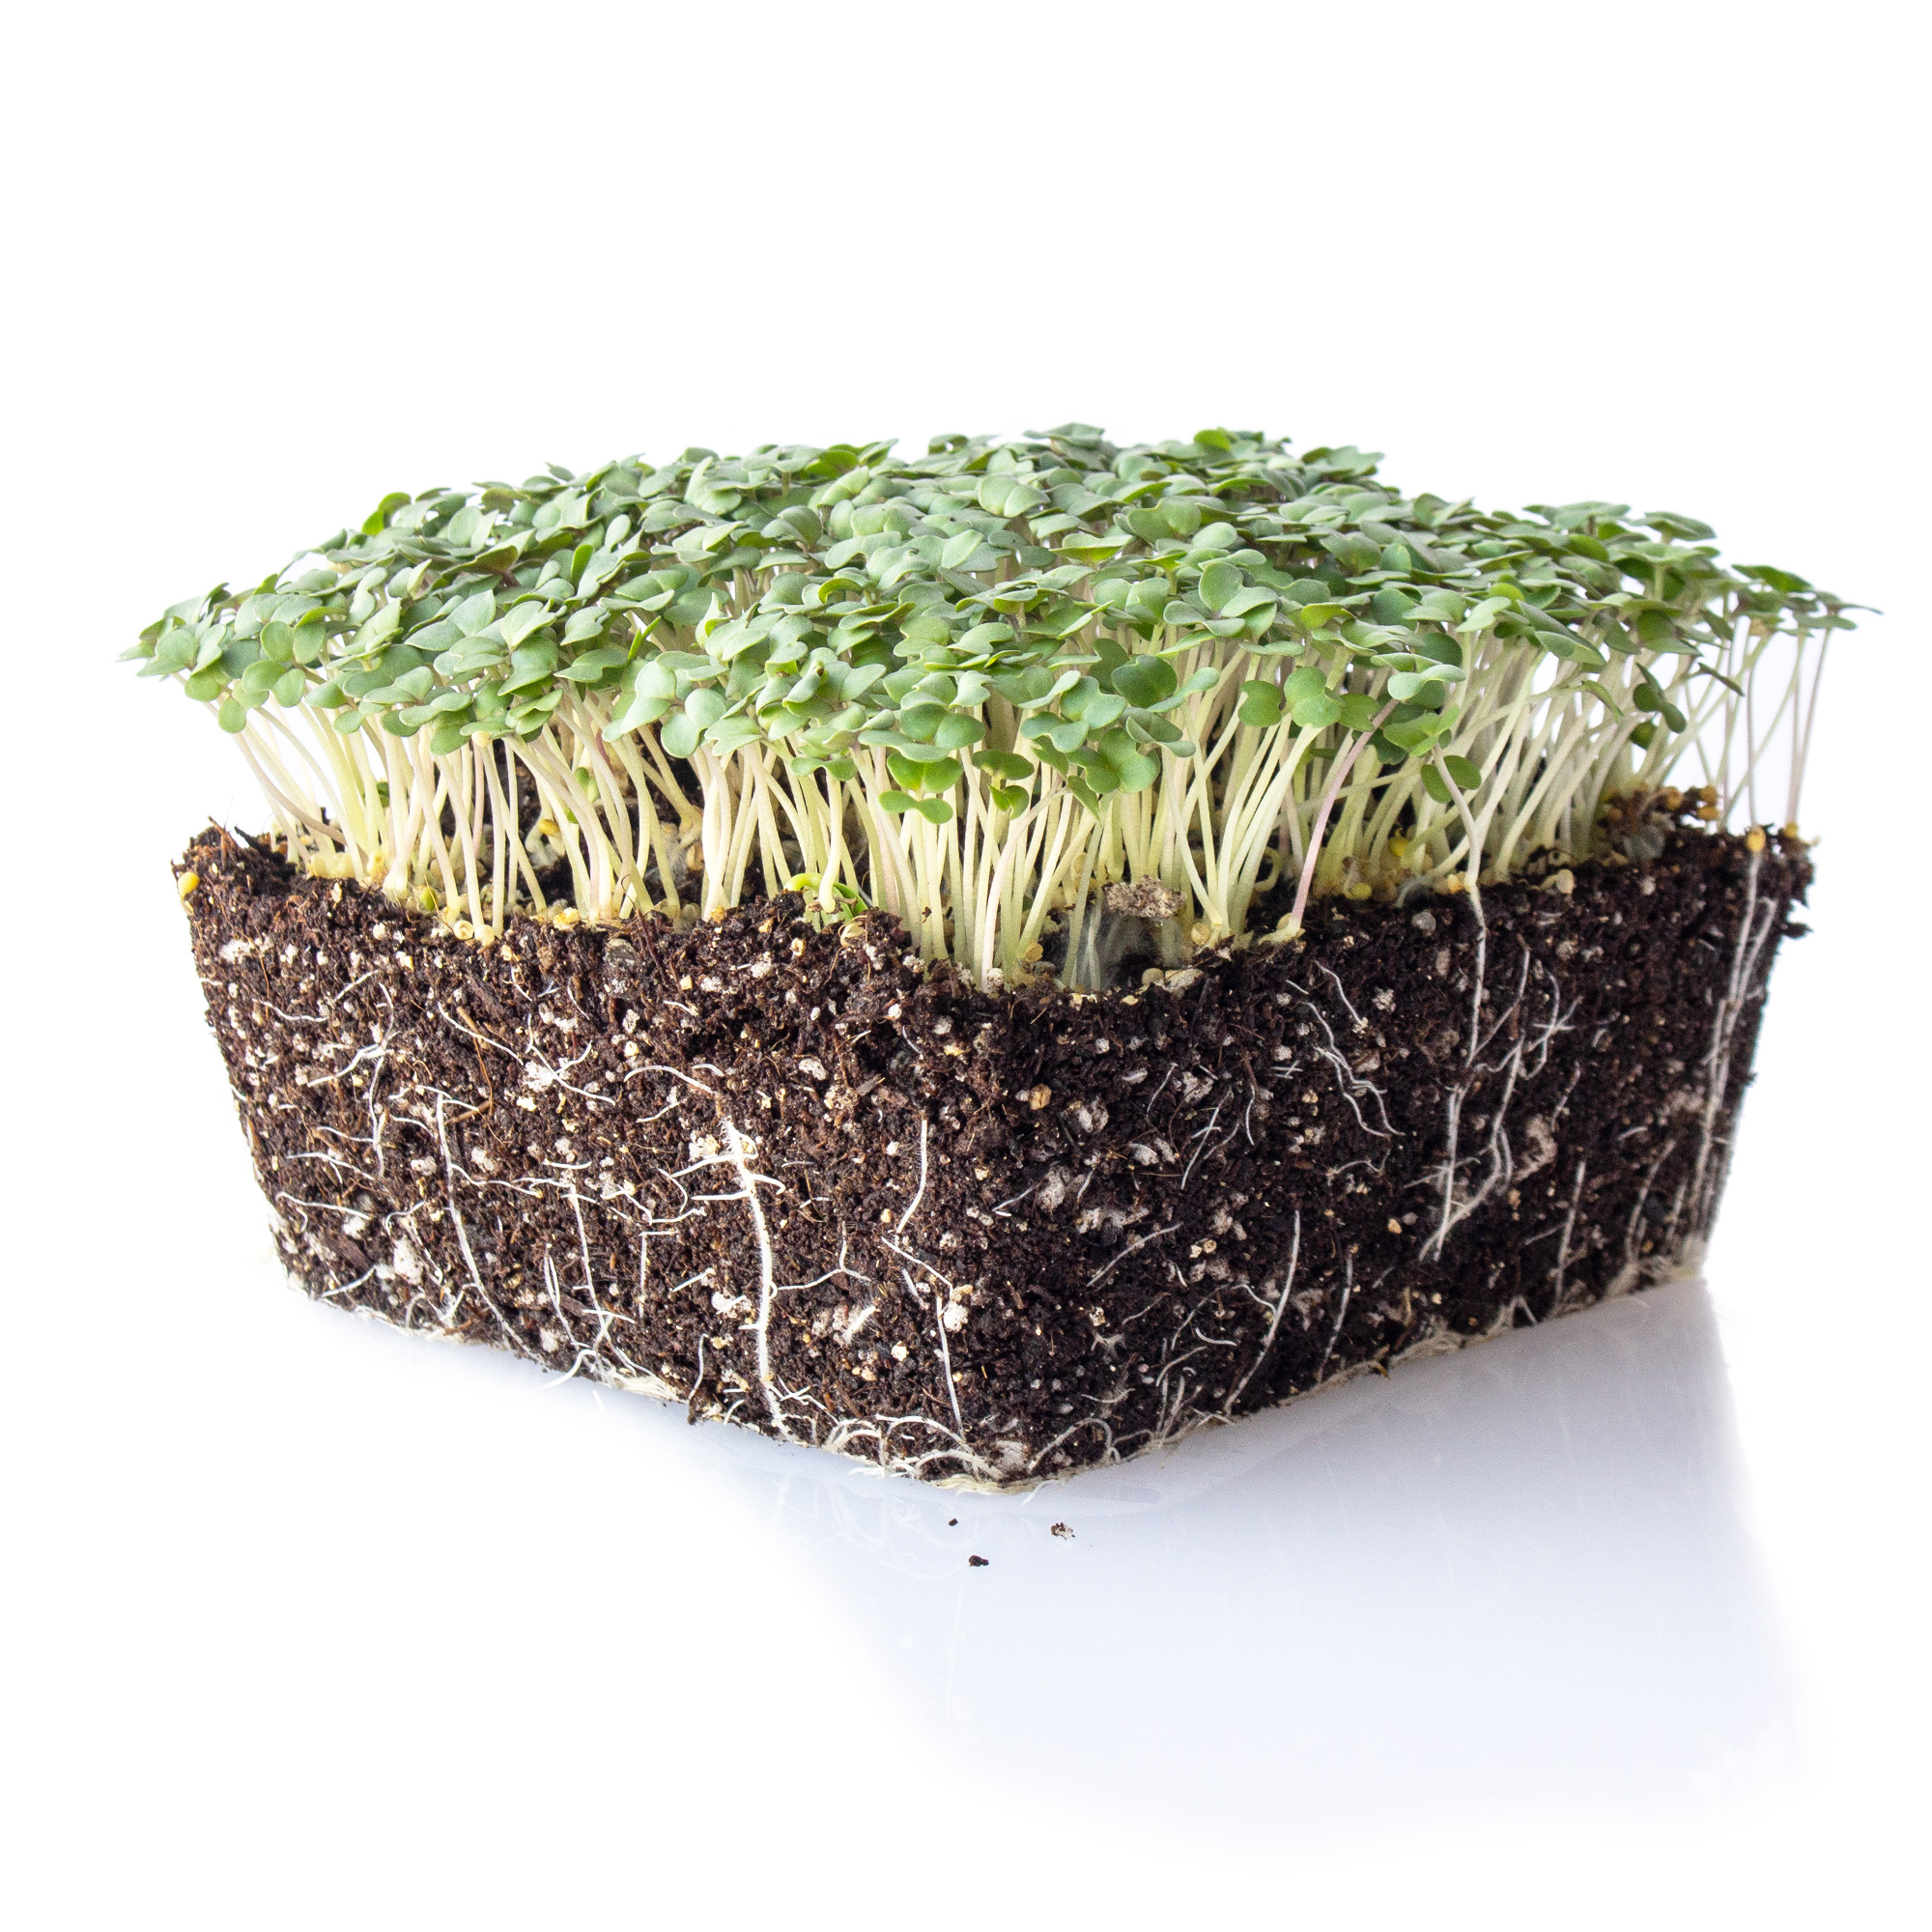
Mizuna
45 days. 20 days for baby leaf. With a mild peppery mustard flavor, this green is great… [More]
Mizuna microgreens have a slightly spicy, mustard-like flavor and are a great source of vitamins and minerals.
- Soil: Mizuna microgreens grow best in a well-draining soil mix that is rich in nutrients. A good potting mix or seed starting mix is recommended.
- Container: Choose a shallow container with drainage holes, such as a tray or pot. Mizuna microgreens don’t need a lot of depth to grow, so a container that is at least 2 inches deep will suffice.
- Sowing: Scatter the mizuna seeds evenly over the soil surface, making sure they are not too close together. Cover with a thin layer of soil and gently water.
- Light: Mizuna microgreens require plenty of light to grow, so place the container in a sunny location or under grow lights. Aim for at least 6 hours of direct sunlight per day.
- Watering: Water the mizuna microgreens regularly, keeping the soil moist but not waterlogged.
- Temperature: Mizuna microgreens prefer cooler temperatures between 55-65°F, so avoid placing the container in a hot or drafty location.
- Harvesting: Mizuna microgreens can be harvested in as little as 1-2 weeks after sowing when they are around 2-3 inches tall. Use scissors to snip off the leaves at the base, leaving the roots intact. Rinse the harvested microgreens and pat dry before using.
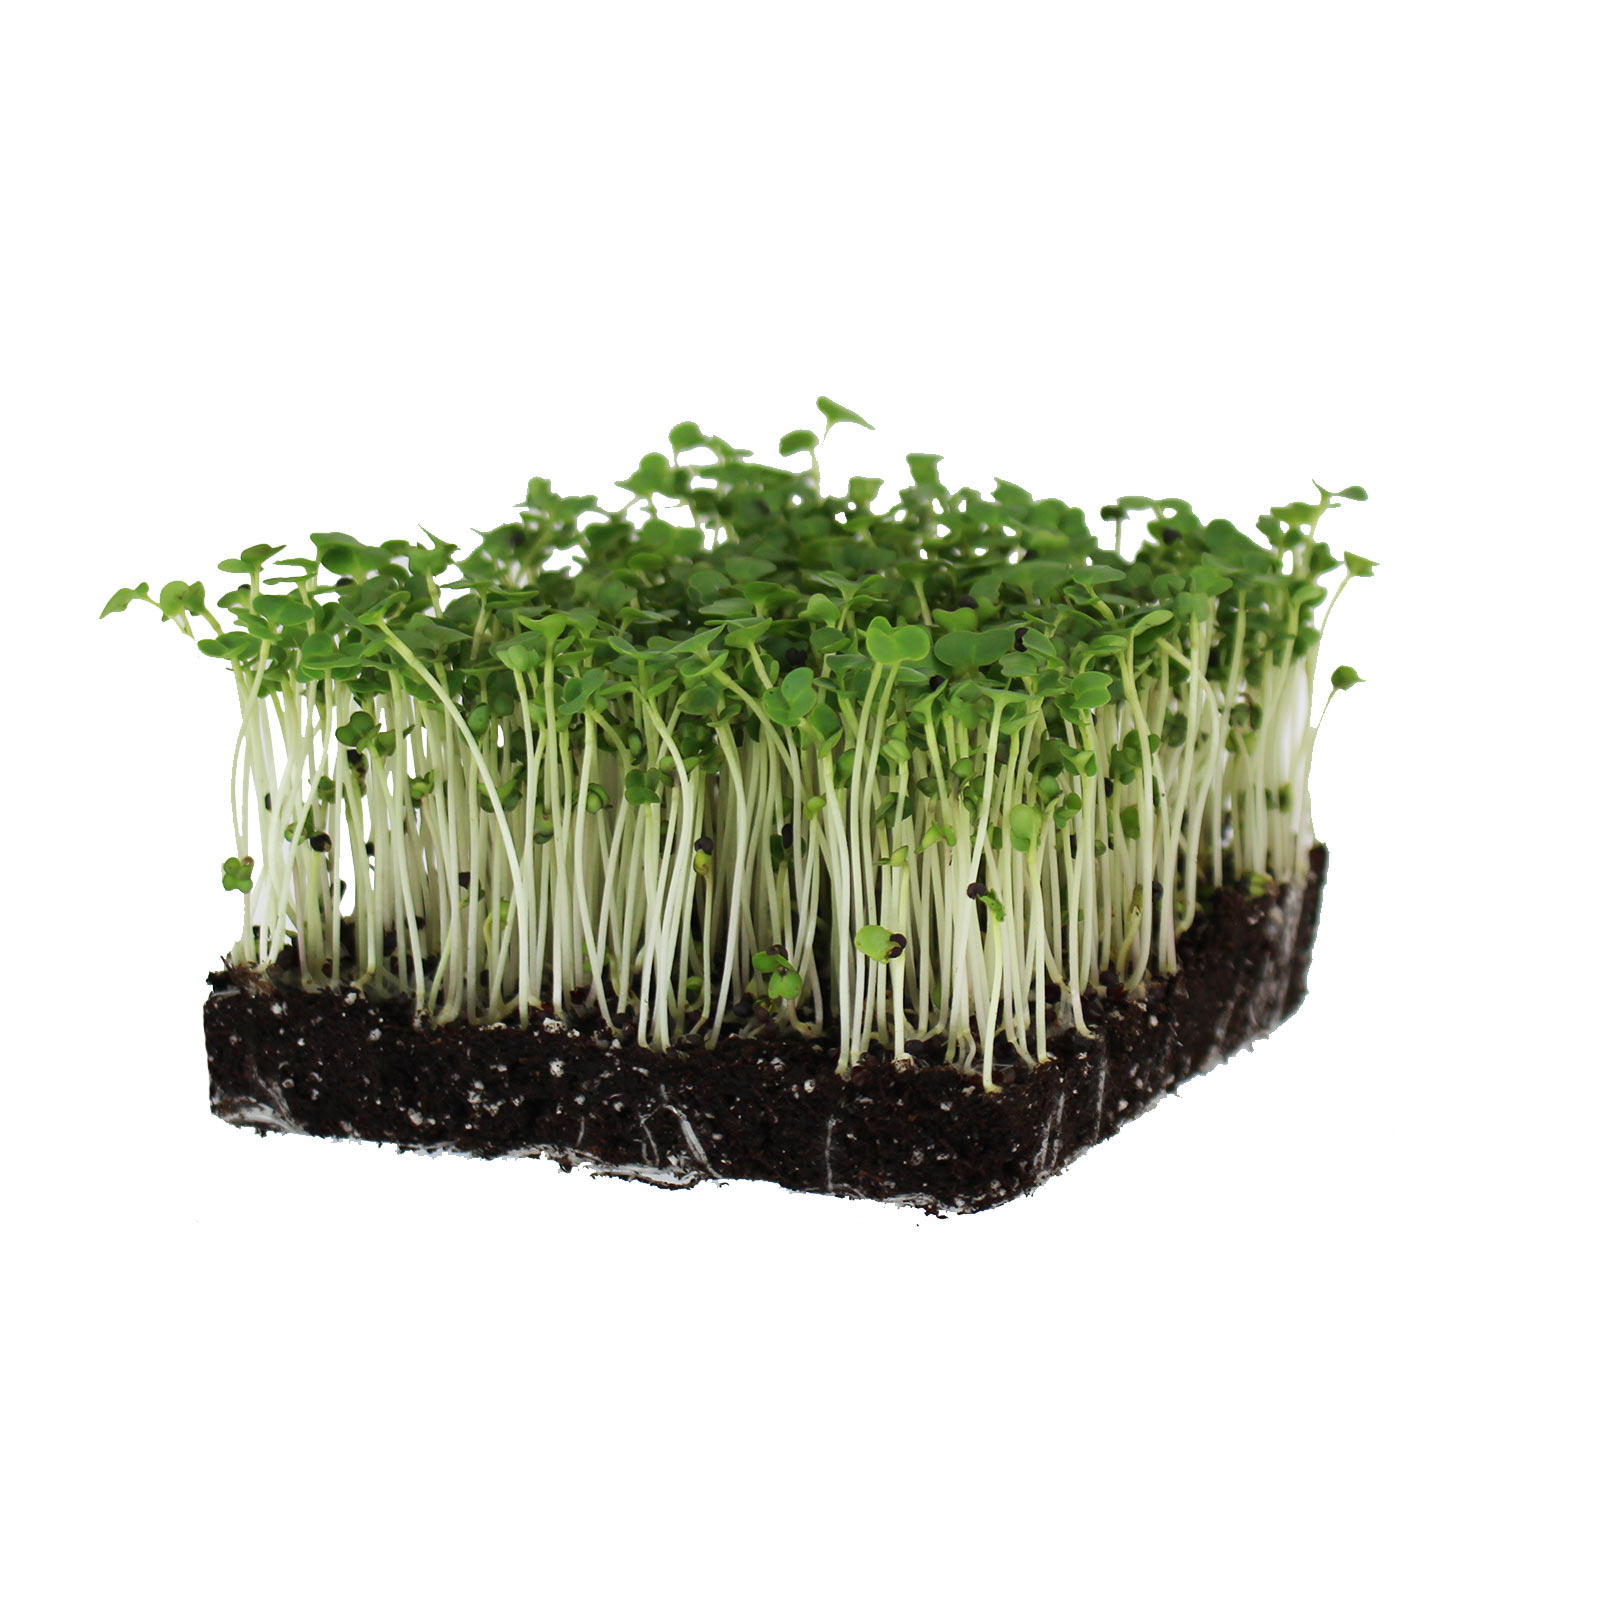
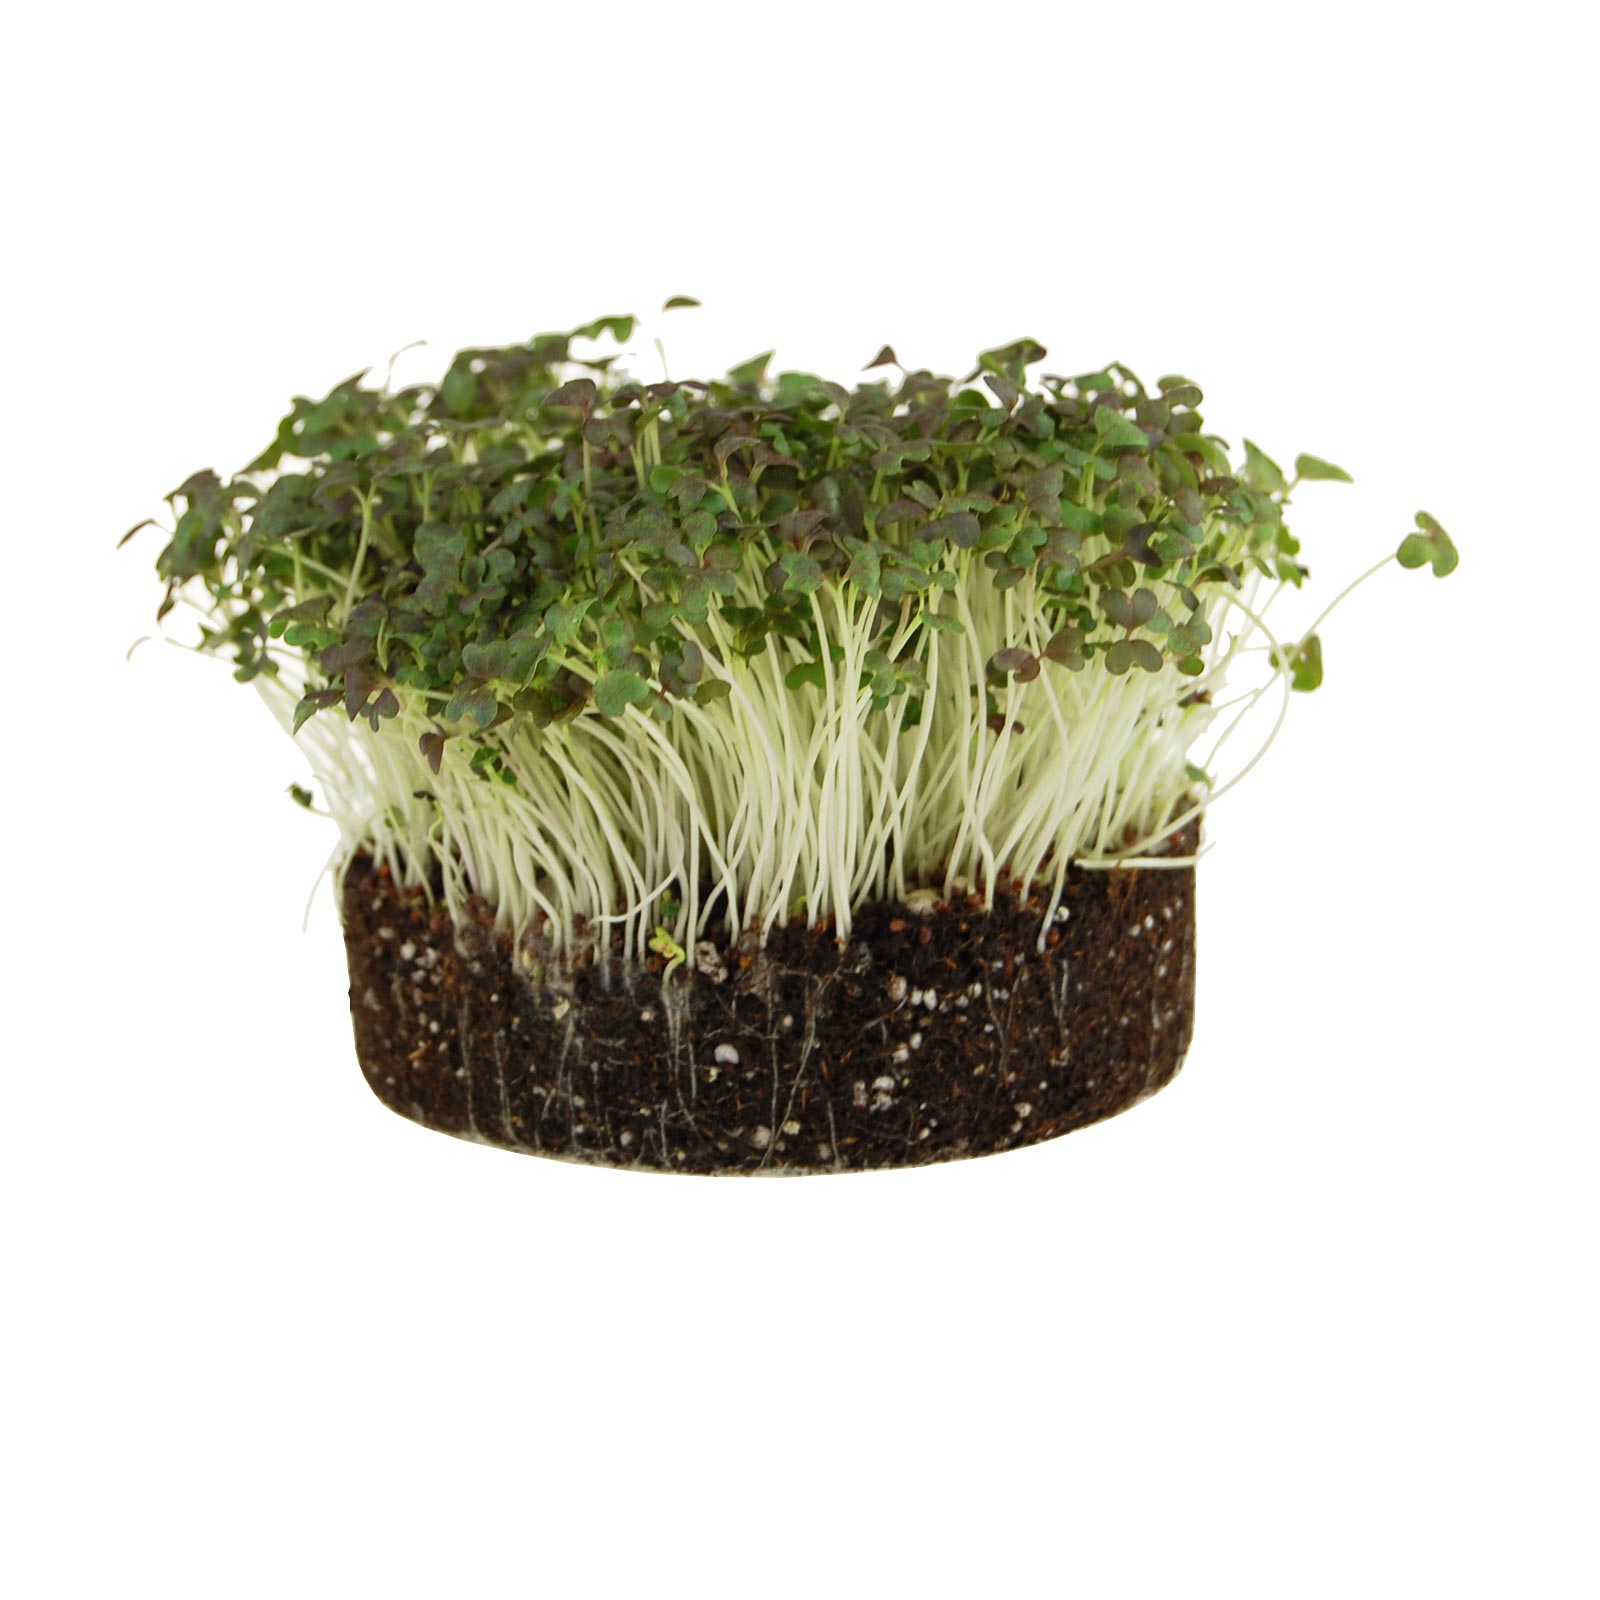
Mustard greens
Yellow Mustard Microgreens Seeds. Non-GMO, Open Pollinated. Yellow Mustard Microgreens … [More]
Mustard green microgreens have a spicy, peppery flavor and are a great source of vitamins and minerals.
- Soil: Mustard green microgreens grow best in a well-draining soil mix that is rich in nutrients. A good potting mix or seed starting mix is recommended.
- Container: Choose a shallow container with drainage holes, such as a tray or pot. Mustard green microgreens don’t need a lot of depth to grow, so a container that is at least 2 inches deep will suffice.
- Sowing: Scatter the mustard green seeds evenly over the soil surface, making sure they are not too close together. Cover with a thin layer of soil and gently water.
- Light: Mustard green microgreens require plenty of light to grow, so place the container in a sunny location or under grow lights. Aim for at least 6 hours of direct sunlight per day.
- Watering: Water the mustard green microgreens regularly, keeping the soil moist but not waterlogged.
- Temperature: Mustard green microgreens prefer cooler temperatures between 55-65°F, so avoid placing the container in a hot or drafty location.
- Harvesting: Mustard green microgreens can be harvested in as little as 1-2 weeks after sowing when they are around 2-3 inches tall. Use scissors to snip off the leaves at the base, leaving the roots intact. Rinse the harvested microgreens and pat dry before using.
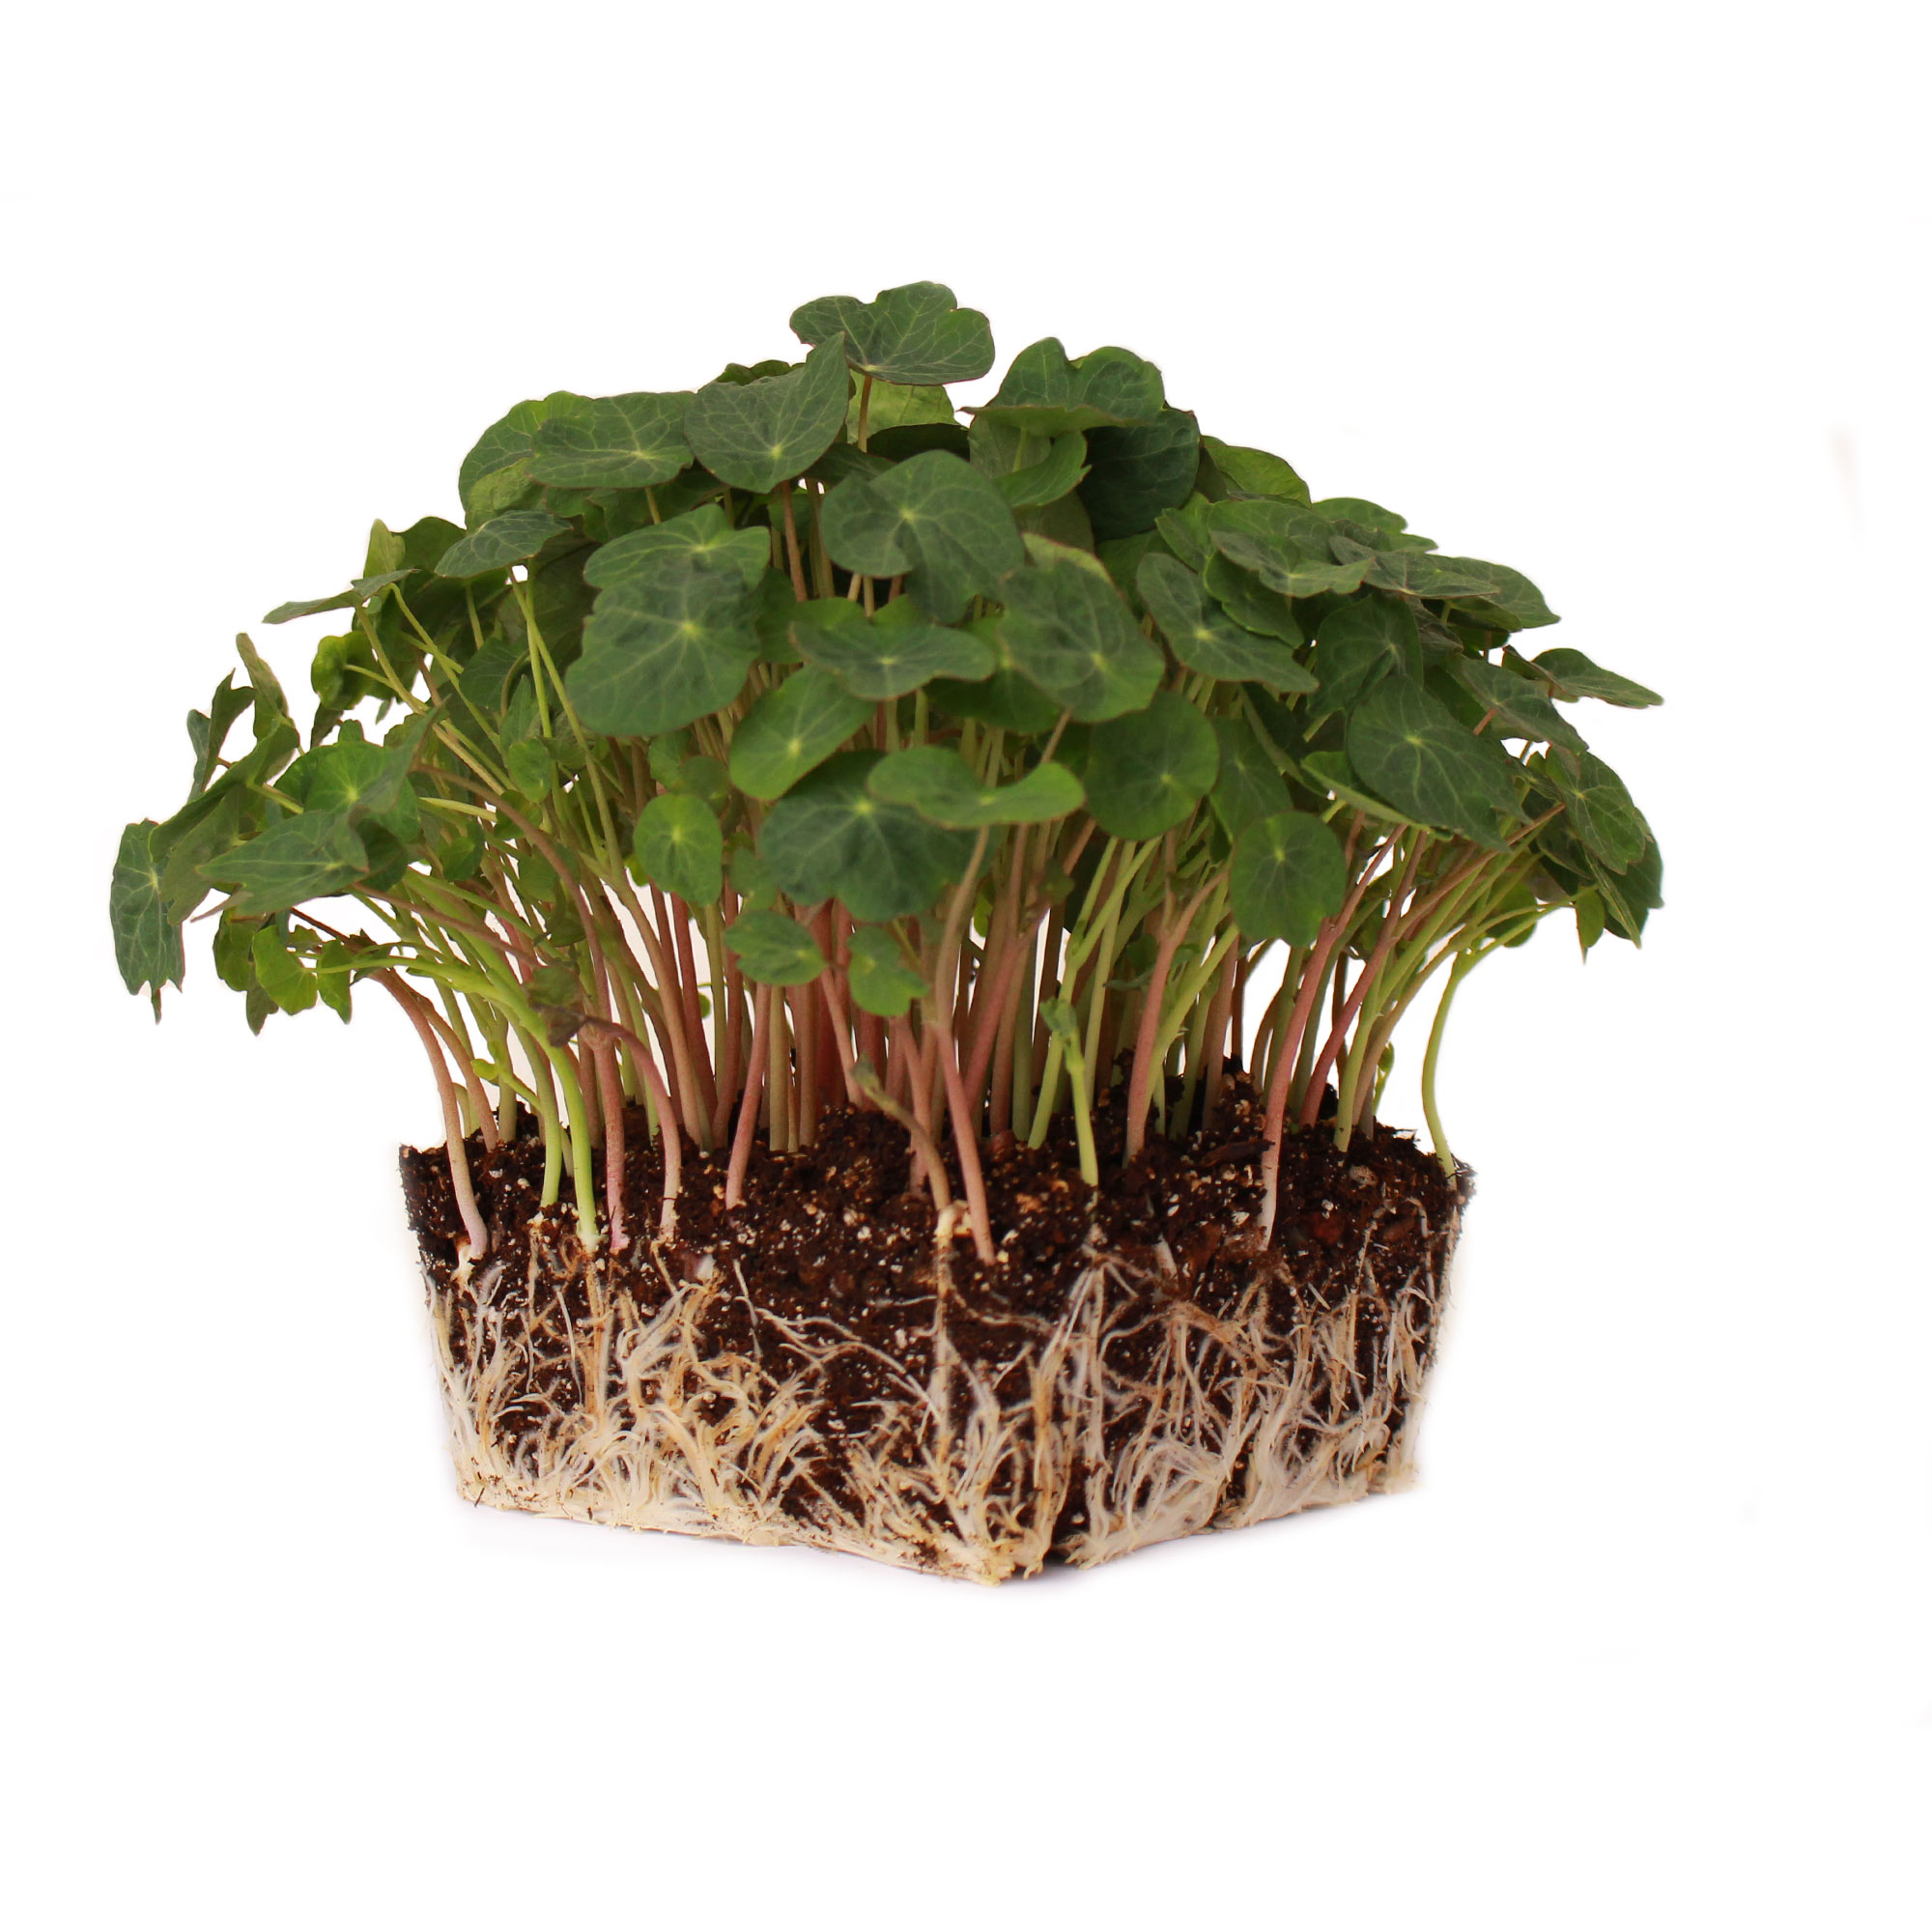
Nasturtium
Whirlybird Mix Nasturtium has medium green leaves with some of the wavy edges rimmed wi… [More]
Nasturtiums are a unique and beautiful microgreen with a slightly peppery, spicy flavor. They are also a great source of vitamins C and D, and can add color and texture to salads,
- Soil: Nasturtium microgreens grow best in a well-draining soil mix that is rich in nutrients. A potting mix or seed starting mix is a good choice.
- Container: Choose a shallow container with drainage holes, such as a tray or pot. Nasturtium microgreens don’t require a lot of depth to grow, so a container that is at least 2 inches deep will work.
- Sowing: Scatter the nasturtium seeds evenly over the soil surface, making sure they are not too close together. Cover with a thin layer of soil and gently water.
- Light: Nasturtium microgreens require plenty of light to grow, so place the container in a sunny location or under grow lights. Aim for at least 6 hours of direct sunlight per day.
- Watering: Water the nasturtium microgreens regularly, keeping the soil moist but not waterlogged.
- Temperature: Nasturtium microgreens prefer cooler temperatures between 60-70°F, so avoid placing the container in a hot or drafty location.
- Harvesting: Nasturtium microgreens can be harvested in 1-2 weeks after sowing when they are around 1-2 inches tall. Use scissors to snip off the leaves at the base, leaving the roots intact. Rinse the harvested microgreens and pat dry before using.
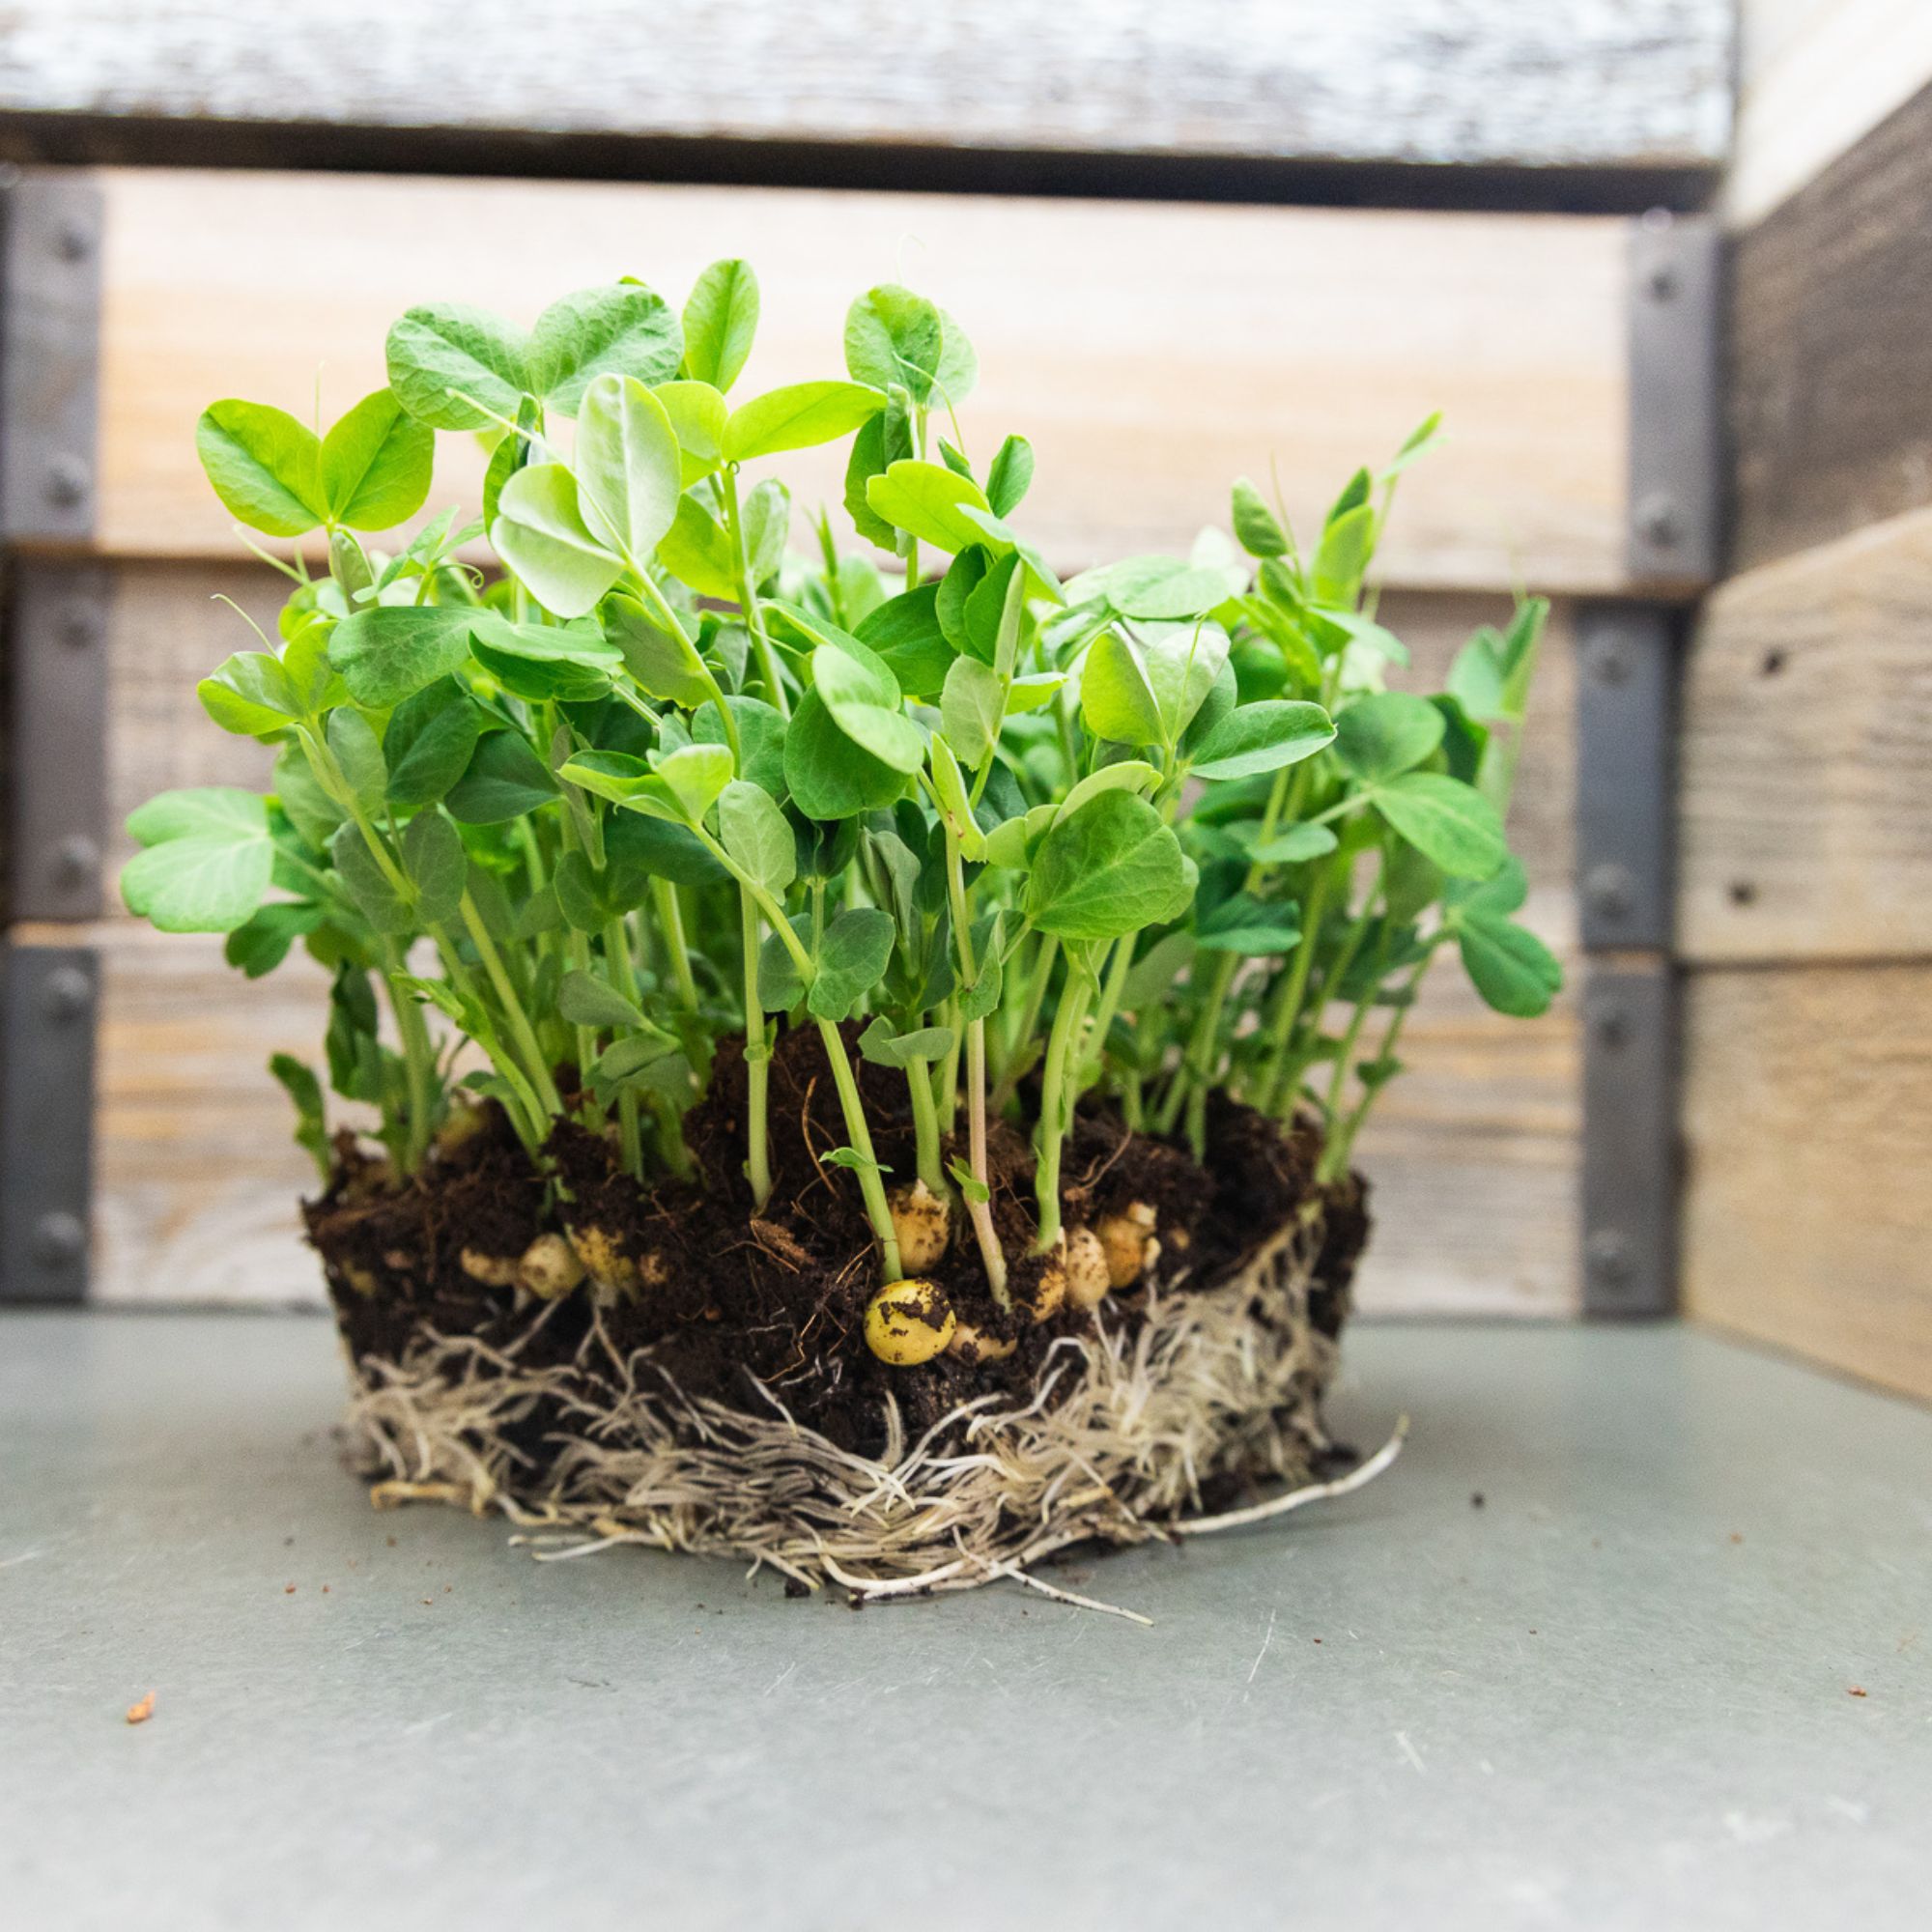
Pea shoots
Pea Microgreen Seeds. Pea microgreens are grown differently than most other microgreens… [More]
Pea shoots are a popular microgreen with a sweet, delicate flavor and a crunchy texture. They are packed with nutrients, including vitamins A, C, and K, and are a great addition to salads, sandwiches, and other dishes.
- Soil: Pea shoots grow best in a well-draining soil mix that is rich in nutrients. A potting mix or seed starting mix is a good choice.
- Container: Choose a shallow container with drainage holes, such as a tray or pot. Pea shoots don’t require a lot of depth to grow, so a container that is at least 2 inches deep will work.
- Sowing: Soak the pea seeds in water for a few hours before sowing to speed up germination. Scatter the seeds evenly over the soil surface, making sure they are not too close together. Cover with a thin layer of soil and gently water.
- Light: Pea shoots require plenty of light to grow, so place the container in a sunny location or under grow lights. Aim for at least 6 hours of direct sunlight per day.
- Watering: Water the pea shoots regularly, keeping the soil moist but not waterlogged.
- Temperature: Pea shoots prefer cooler temperatures between 60-70°F, so avoid placing the container in a hot or drafty location.
- Harvesting: Pea shoots can be harvested in 2-3 weeks after sowing when they are around 3-4 inches tall. Use scissors to snip off the leaves at the base, leaving the roots intact. Rinse the harvested microgreens and pat dry before using.
- Storage: Pea shoots are best used fresh, but they can be stored in the refrigerator in an airtight container for a few days.
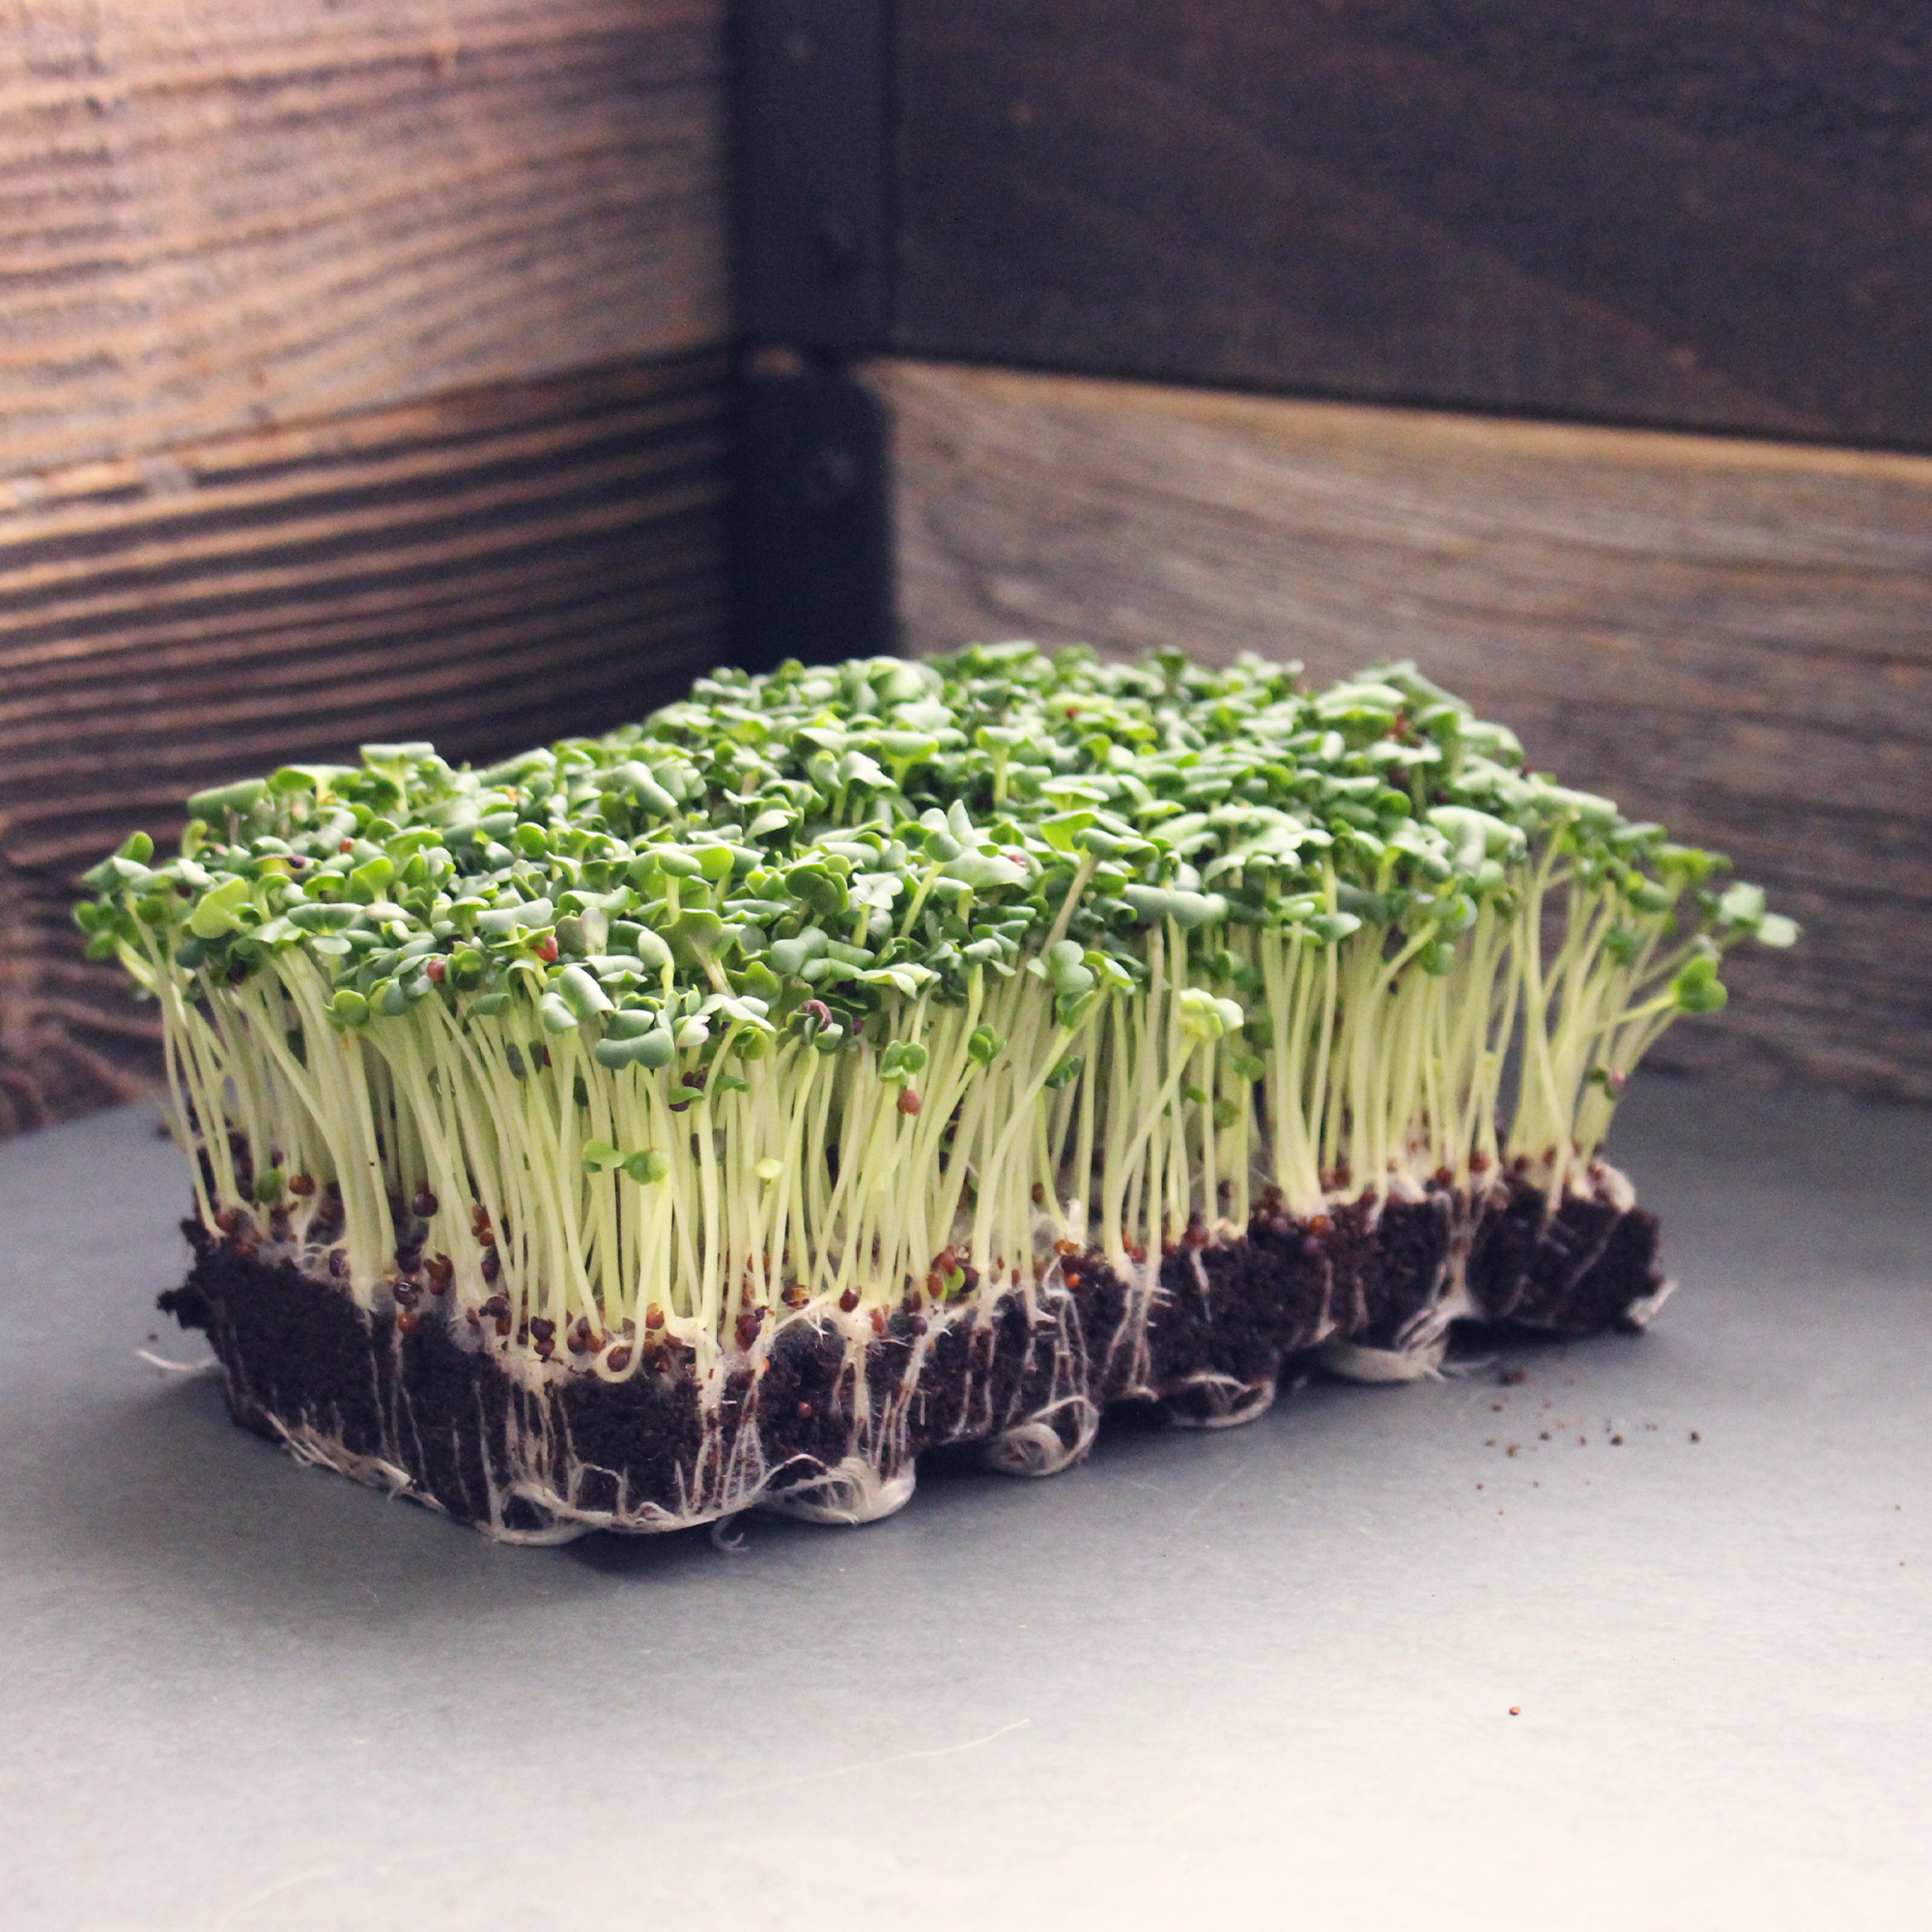
Radish
A colorful blend of a wide variety of radish microgreens seeds including green leaves w… [More]
Radish microgreens have a peppery, slightly spicy flavor and are a good source of vitamins and minerals
- Soil: Radish microgreens grow best in a well-draining soil mix that is rich in nutrients. A potting mix or seed starting mix is a good choice.
- Container: Choose a shallow container with drainage holes, such as a tray or pot. Radish microgreens don’t require a lot of depth to grow, so a container that is at least 2 inches deep will work.
- Sowing: Scatter the radish seeds evenly over the soil surface, making sure they are not too close together. Cover with a thin layer of soil and gently water.
- Light: Radish microgreens require plenty of light to grow, so place the container in a sunny location or under grow lights. Aim for at least 6 hours of direct sunlight per day.
- Watering: Water the radish microgreens regularly, keeping the soil moist but not waterlogged.
- Temperature: Radish microgreens prefer cooler temperatures between 60-70°F, so avoid placing the container in a hot or drafty location.
- Harvesting: Radish microgreens can be harvested in as little as 4-7 days after sowing when they are around 1-2 inches tall. Use scissors to snip off the leaves at the base, leaving the roots intact. Rinse the harvested microgreens and pat dry before using.
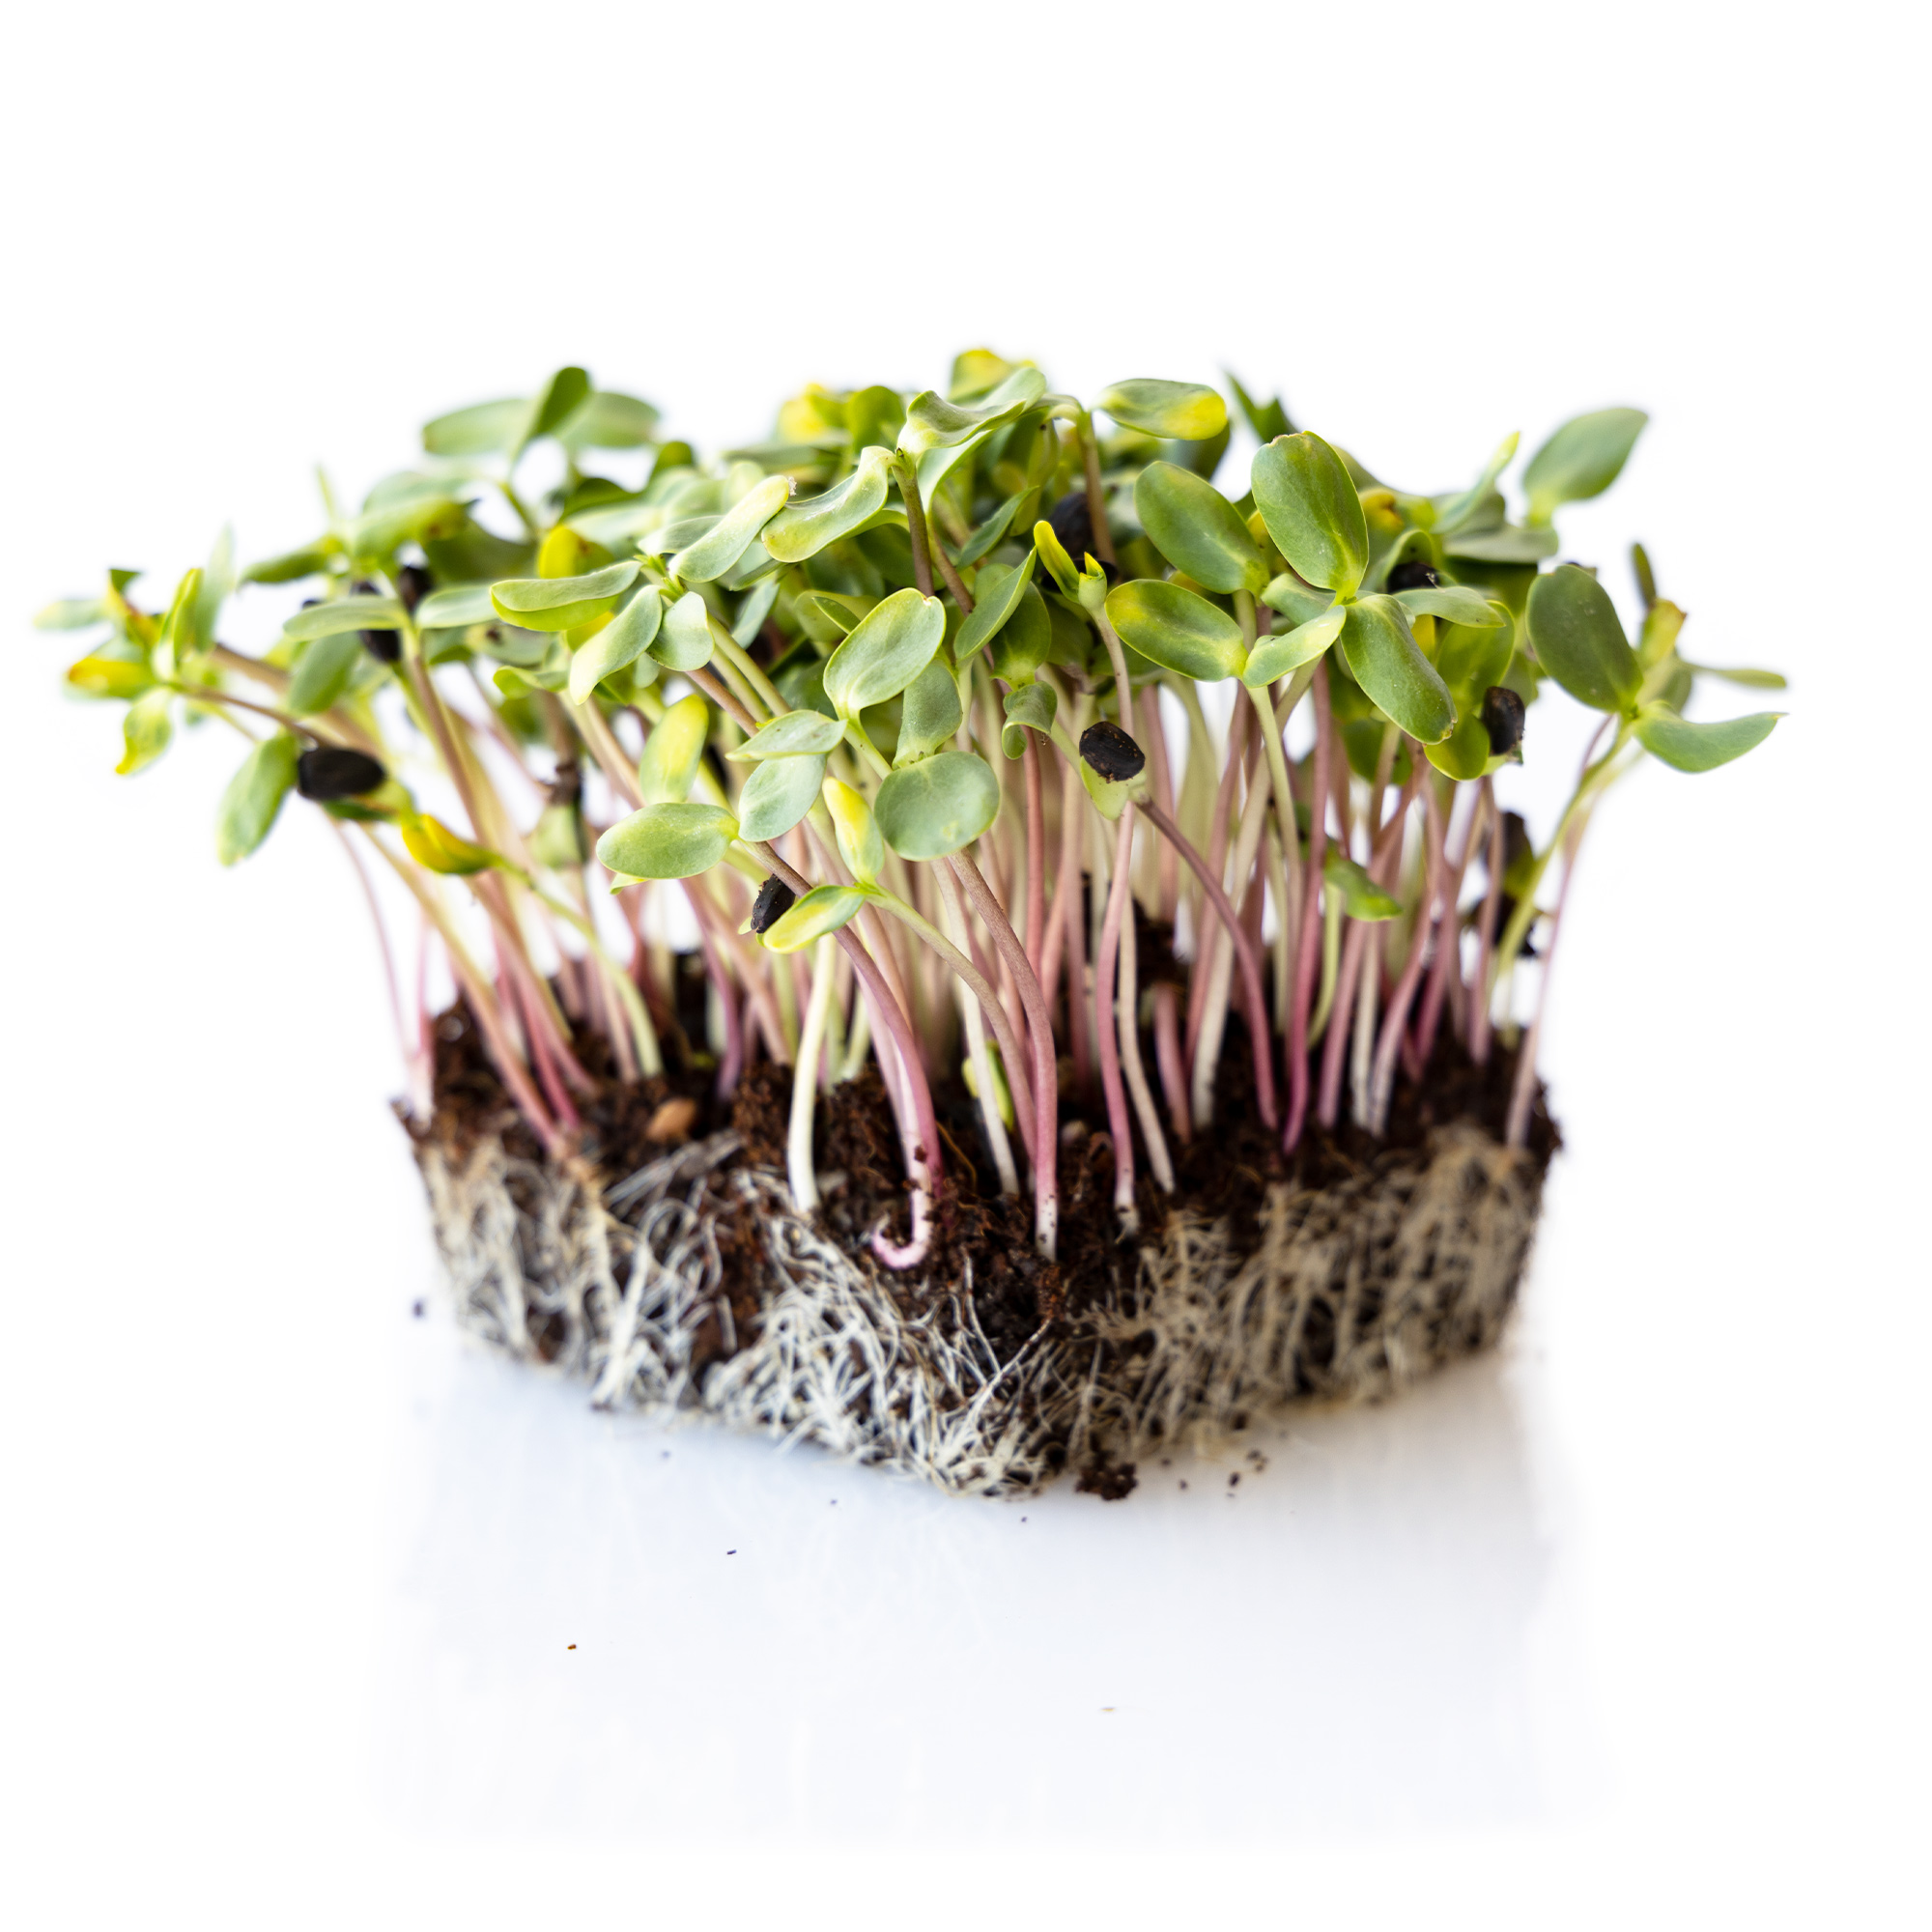
Sunflower
Organic Red Storm sunflower microgreen seeds grow exotic red sunflower microgreens that… [More]
Sunflower microgreens have a nutty, earthy flavor and are a good source of protein, vitamins, and minerals.
- Soil: Sunflower microgreens grow best in a soilless growing medium, such as coco coir or peat moss. These mediums are lightweight and provide good drainage, which helps to prevent overwatering.
- Container: Choose a shallow container with drainage holes, such as a tray or pot. Sunflower microgreens don’t require a lot of depth to grow, so a container that is at least 2 inches deep will work.
- Sowing: Soak the sunflower seeds in water for 8-12 hours before sowing. This helps to soften the seed coat and improve germination. Scatter the soaked seeds evenly over the soil surface, making sure they are not too close together. Cover with a thin layer of soil and gently water.
- Light: Sunflower microgreens require plenty of light to grow, so place the container in a sunny location or under grow lights. Aim for at least 6 hours of direct sunlight per day.
- Watering: Water the sunflower microgreens regularly, keeping the soil moist but not waterlogged.
- Temperature: Sunflower microgreens prefer warmer temperatures between 70-80°F, so avoid placing the container in a cold or drafty location.
- Harvesting: Sunflower microgreens can be harvested in 7-14 days after sowing when they are around 2-3 inches tall. Use scissors to snip off the leaves at the base, leaving the roots intact. Rinse the harvested microgreens and pat dry before using.
Tatsoi (Bonus Item)
50 days. This mustard grows in rosettes of dark green, spoon-shaped leaves. Easy to gro… [More]
Tatsoi microgreens have a mild, mustard-like flavor and are a good source of vitamins and minerals.
- Soil: Tatsoi microgreens grow best in a soilless growing medium, such as coco coir or peat moss. These mediums are lightweight and provide good drainage, which helps to prevent overwatering.
- Container: Choose a shallow container with drainage holes, such as a tray or pot. Tatsoi microgreens don’t require a lot of depth to grow, so a container that is at least 2 inches deep will work.
- Sowing: Scatter the tatsoi seeds evenly over the soil surface, making sure they are not too close together. Cover with a thin layer of soil and gently water.
- Light: Tatsoi microgreens require plenty of light to grow, so place the container in a sunny location or under grow lights. Aim for at least 6 hours of direct sunlight per day.
- Watering: Water the tatsoi microgreens regularly, keeping the soil moist but not waterlogged.
- Temperature: Tatsoi microgreens prefer cooler temperatures between 55-70°F, so avoid placing the container in a hot or sunny location.
- Harvesting: Tatsoi microgreens can be harvested in 7-14 days after sowing when they are around 2-3 inches tall. Use scissors to snip off the leaves at the base, leaving the roots intact. Rinse the harvested microgreens and pat dry before using.
FAQ
How often do I need to water microgreens?
As a general guideline, it is recommended to water microgreens once or twice a day, or as needed to keep the growing medium evenly moist. To avoid overwatering, it’s a good idea to allow the top layer of soil to dry out slightly before watering again.
One way to check if your microgreens need watering is to lift up the tray and feel the weight. If the tray feels light, it’s time to water.
How many seeds per tray of microgreens?
As a general rule of thumb, you can use 1-2 ounces of seeds per 10″x20″ tray for most microgreens. This will yield a dense growth of microgreens that are ready to harvest in about 1-2 weeks. Some types of microgreens, such as sunflower and pea shoots, require less seed density and can be grown with as little as 1/2 to 3/4 of an ounce of seeds per tray.
What is the best medium for growing microgreens?
I would recommend using a high-quality soil mix that is specifically formulated for growing microgreens. A good soil mix will provide the necessary nutrients, moisture retention, and drainage for healthy microgreen growth.
How often can you harvest microgreens?
After the initial harvest, many microgreens can be regrown for additional harvests, although the quality and yield may decrease over time.

